
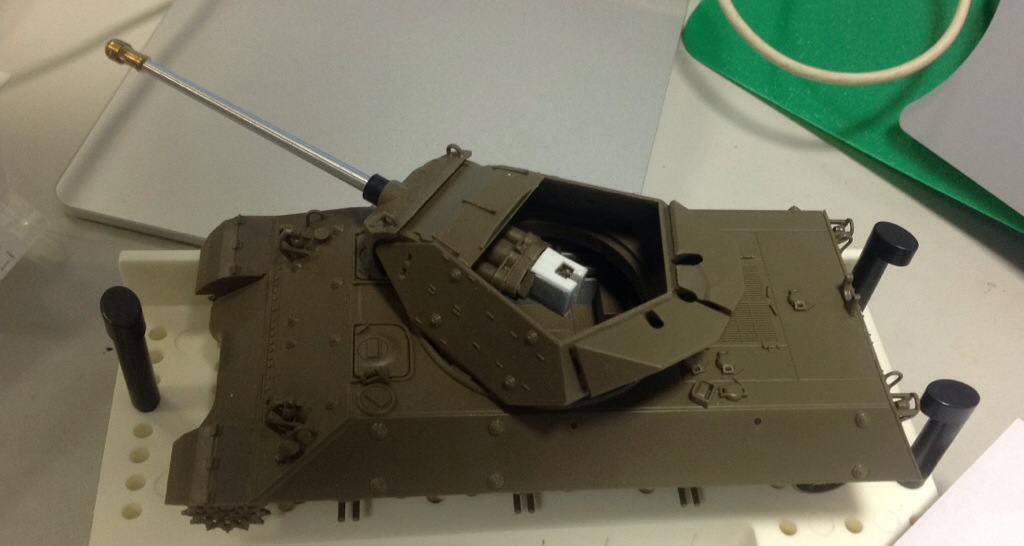
So I’ve been still working on this on and off.. first, is to sort the basic hull out. After a quiet Friday afternoon of snipping and gluing:
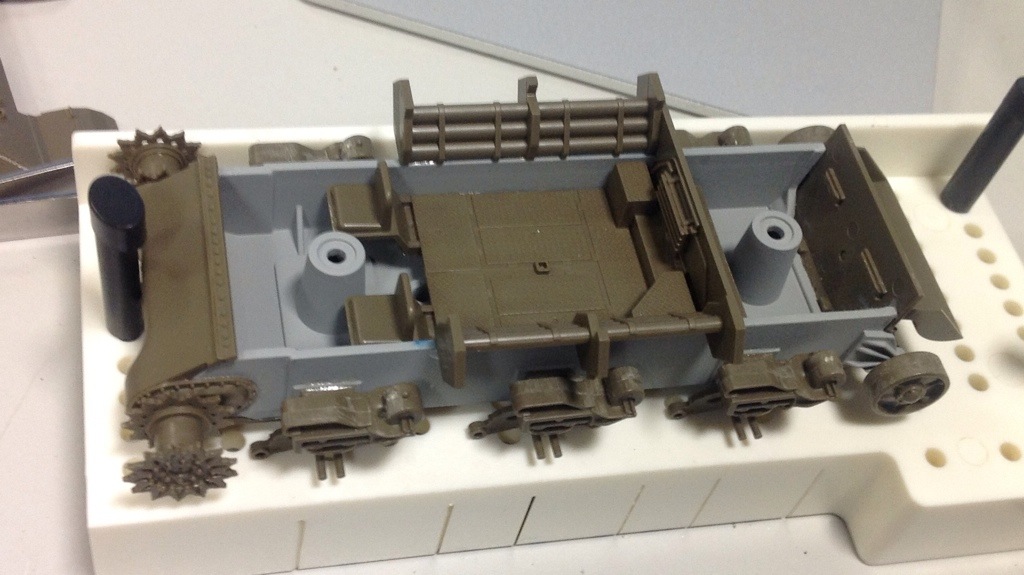 Nothing really out of ordinary, since it’s per instruction. The only difference is that I decided to glue the sponson ammo bins to the lower hull instead of the upper hull. This is to facilitate painting, since gluing to the upper hull will require me to paint this part first before gluing.
Similarly, the bogies are half-glued and the wheels and outer cover left off, still on sprue. Bitter experience from the Firefly taught me to keep those on sprue, spray them, then assemble… for my sanity.
Not that Tamiya is particularly interested in my sanity. Really Tamiya? You want me to cut out bolt heads, in 1/48 scale, and glue them individually? REALLY?
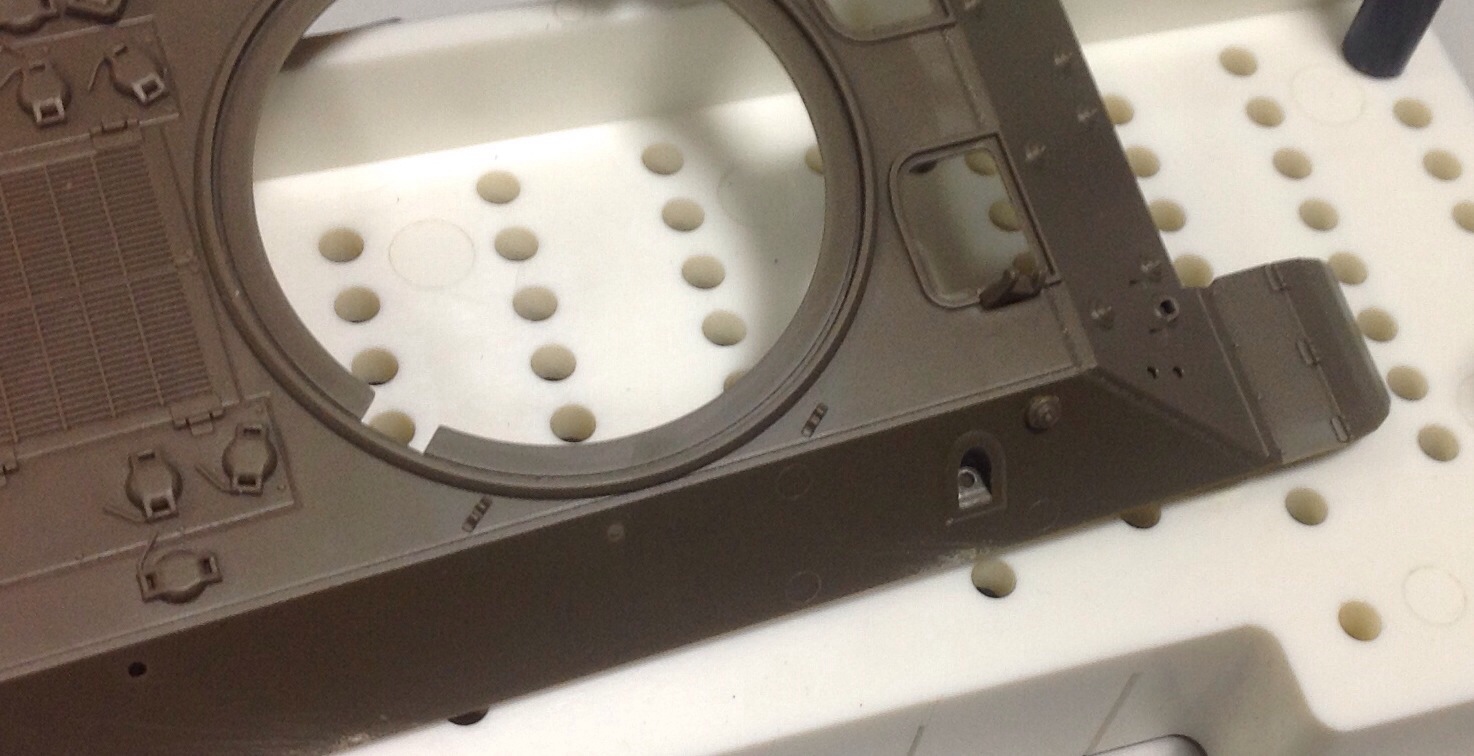 I ended up losing two of the bolt heads to the carpet. Tamiya was kind enough to include extras, but not kind enough to just find another way…
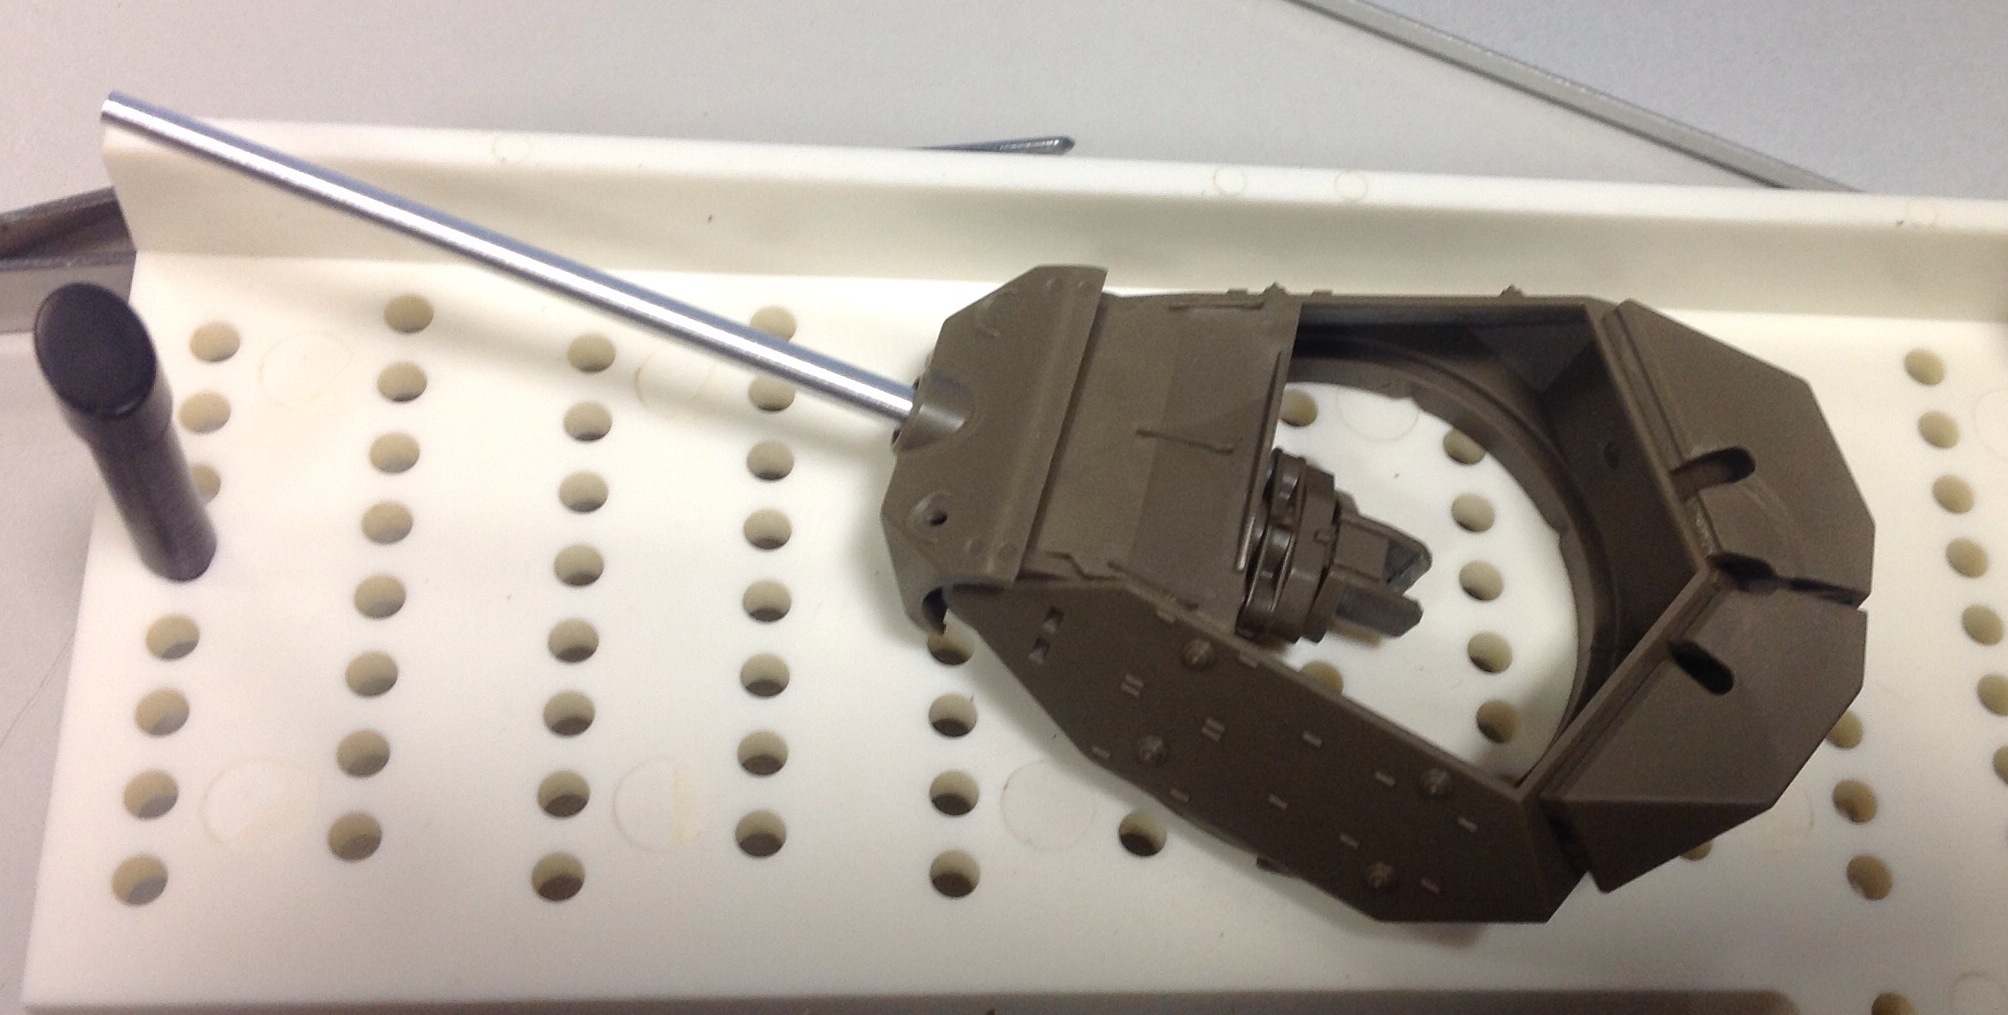
Work on the turret, specifically the gun, continued. This time, the breech is glued on and the whole assembly aligned… won’t do for the round to take a detour while travelling down the barrel.
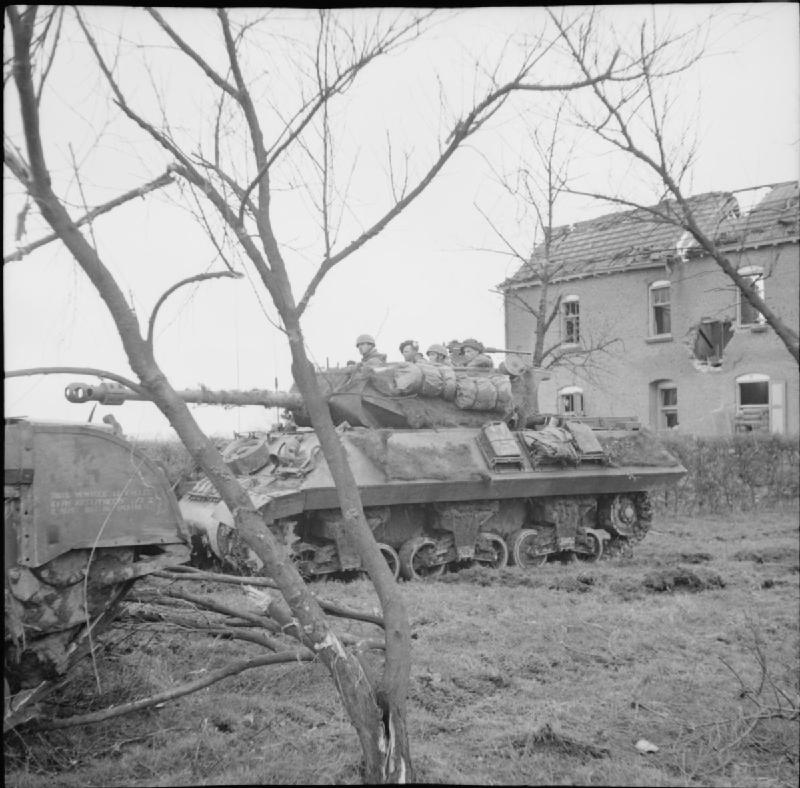
Then work began to make the breech more like a 17 pdr. I used a variety of online sources, though, the most useful one here. For the breech, I used this pic heavily:

You can see that the original M10 gun had a breech that is shaped somewhat differently (plus the two flanges around the breech block had a joint at the bottom; in the above pic I’ve cut it out). So I needed to reshape the breech rather heavily.
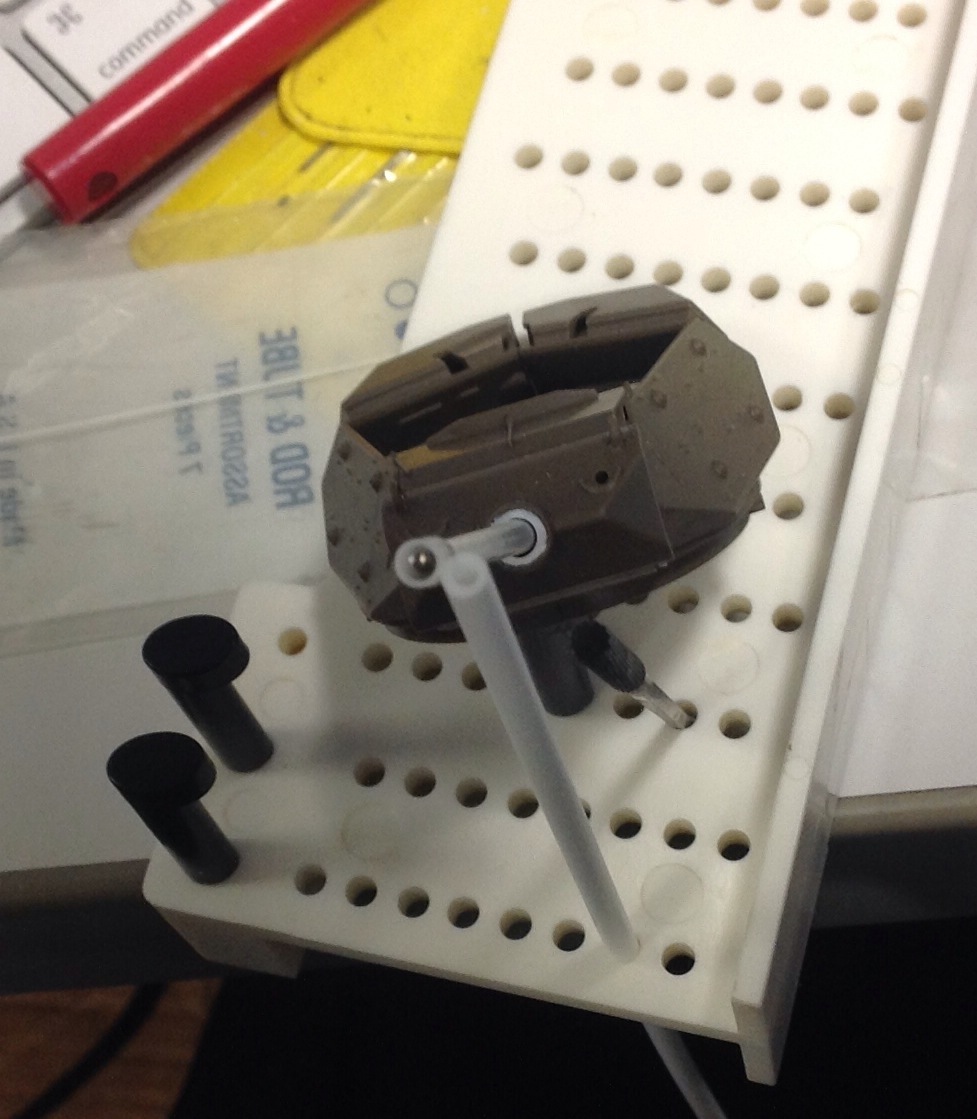
 You can see that I’ve roughed in the shape, but there are details I’ve yet to add. The top hole/ anchor point for example, and some smallish rods and studs. I might go and add those, just to add relief. The side “fenders” I’ll reuse the existing M10 ones, since they are fairly decent. I’ll still need to add the ammo stowage and equipment on the side walls, but those I have references for and should be easy enough.
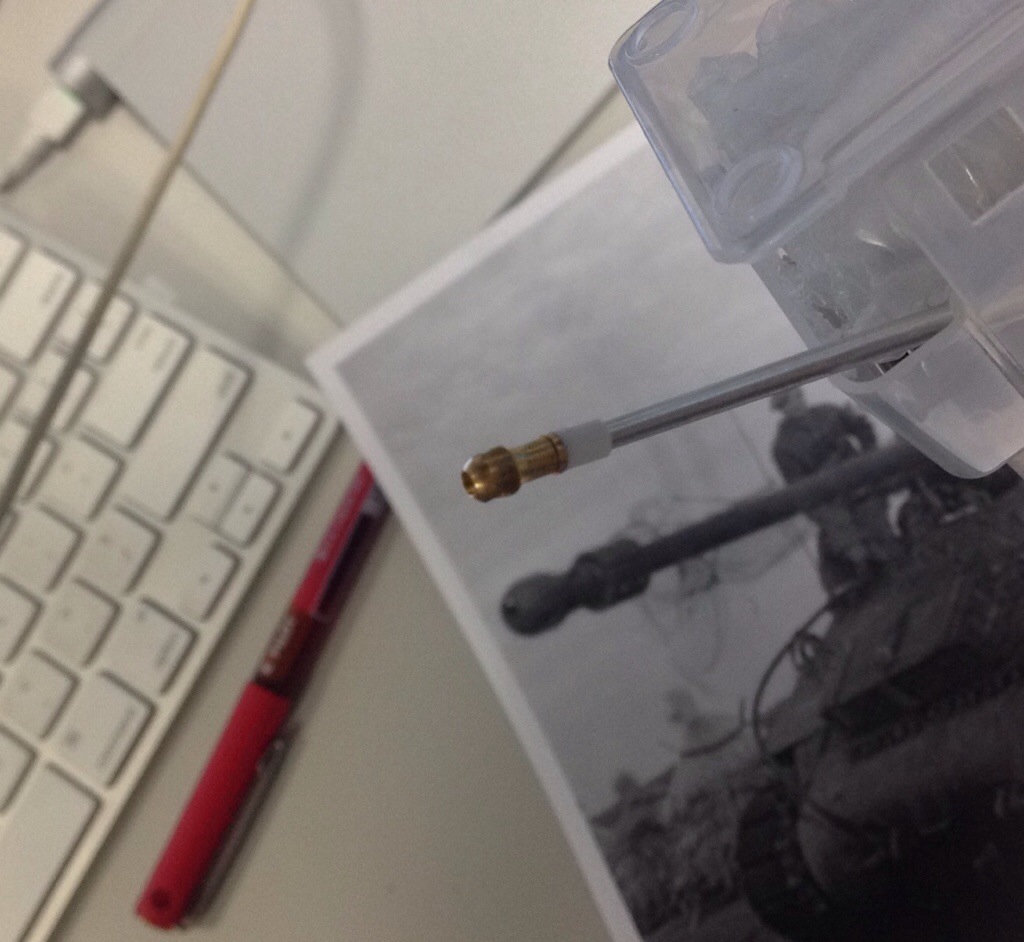
The next item to do is the counterweight at the end of the barrel. This is one of the most iconic item of the M10c, and really, one of the more difficult to replicate because of its nature. It’s two half cylinders bolted together, with the bolts forming a distinctive pattern that has to be replicated. You can see it from a reversed angle here:

In this particular tank, the half cylinders are placed with the dividing line vertical, but other contemporary had it horizontal:
 So basically, I just make it up as I go along…
First thing first, we need to build up the counterweight. doing two half-cylinders separately is just insane. I went with getting a plastic pipe to fit down the metal 17 pdr barrel — it seemed easier. That the barrel came with a washer to attach the counterweight is a big plus.
However, it wasn’t that simple.. below is a comparison of the inner diameter of the original pipe I used, and the final inner diameter I ended up with:
 As you can imagine, it’s a bloody lot of work to thin the walls down! I went up 3 different diameters of reamers, and used a round diamond file.. took almost an hour to hollow it out sufficiently. Now it fits over the barrel, with an attached washer so that it doesn’t slip towards the mantle. Even then, I still didn’t quite get it right:
Force perspective shot. Took forever to set up too. The barrel and muzzle brake size looks correct to period photo, but the counterweight is obviously too small. The next size pipe I have on hand that can slip over is too thick, so it looks as if I have to build it up via plastic strips. Might be a good thing, since I might be able to detail in the bolts with that approach.
And so that’s what I’ll have to do. Hopefully I can get to detailing the inner walls at some point…
Pingback: BAM: M10c, In Progress III - sg-lynx.net