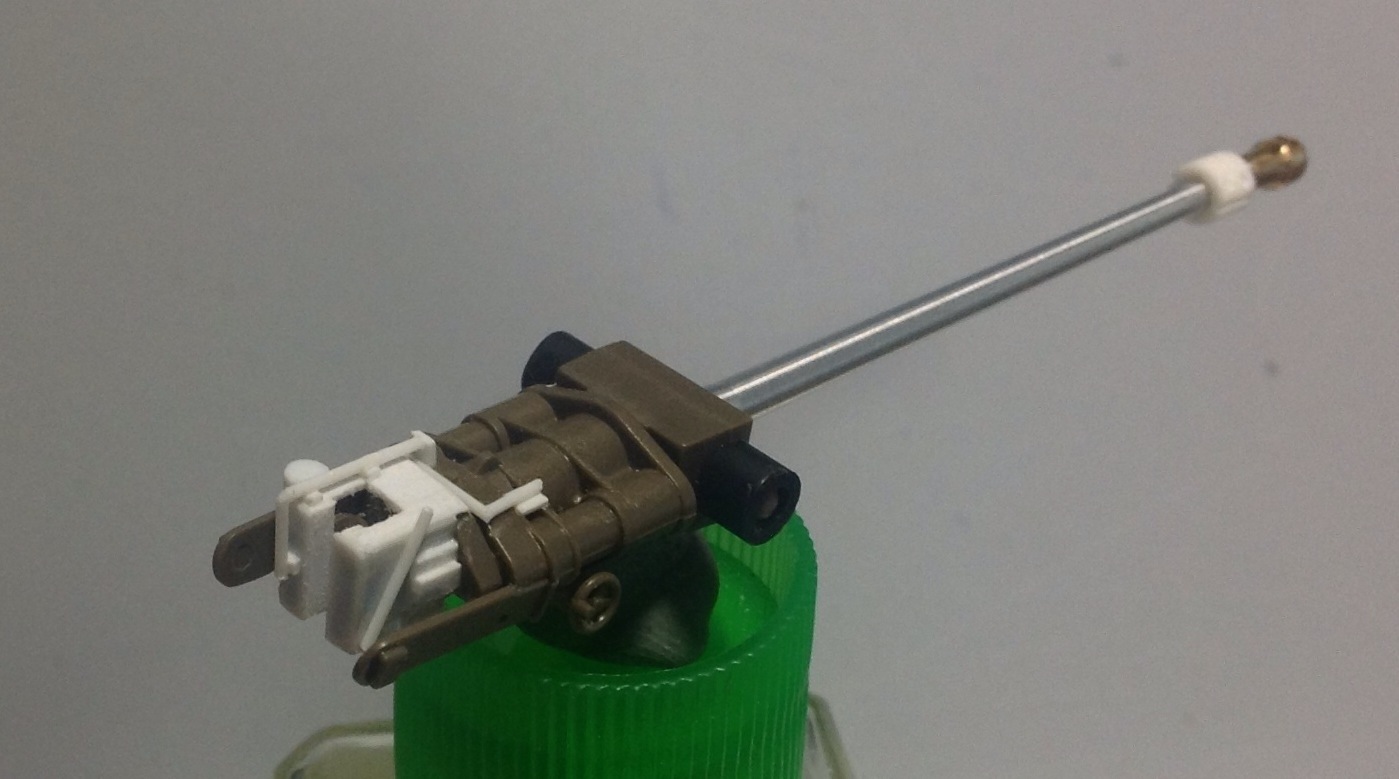
So, back to work. I was semi-ready to work on the turret interior, but forgot to close up the sponsons. That and I prefer to work on detailing both the breech and the counterweight of the 17 pdr… So I did that first.
I was using mostly these pics for reference:


So yeah, mostly just thin pla-rod and thin strips, I wasn’t looking to reproduce to 100% accuracy, but just enough to hint at the items.. this is after all a gaming piece, not a museum-accurate model (and given some of the state of the WWII armour in some museums…)
Still wondering whether I should add the hoisting point at the top of the 17 pdr. It’s not always present, so I’m not that keen to do so. Still, it would add relief to the model…
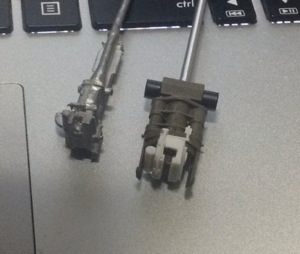
I was wondering how mine measure up to other wargaming models, then I smacked myself on the head; I have a 17 pdr in 28mm.. from Warlord’s Bolt Action range. Stooopid me. So I took a comparison pic.
Bear in mind that BAM is 28mm or marketed as 1/56, while the Tamiya I’m working on is 1/48. So naturally the BAM 17 pdr would be a bit smaller. But aside from that and the obvious differences necessary to put a 17 pdr into a turret mount, the mechanism actually looked pretty similar. Hmm… the story that the Brits turned the breech through 90 degree to fit the 17 pdr into the Sherman Firefly apparently doesn’t apply to the M10c.
Anyhow, one of the more perplexing things I have to do is to make a counterweight. As mentioned previously, That counterweight is rather distinctive, so I was a bit apprehensive about doing it. As it turned out, it didn’t look too bad… Well, at least I think: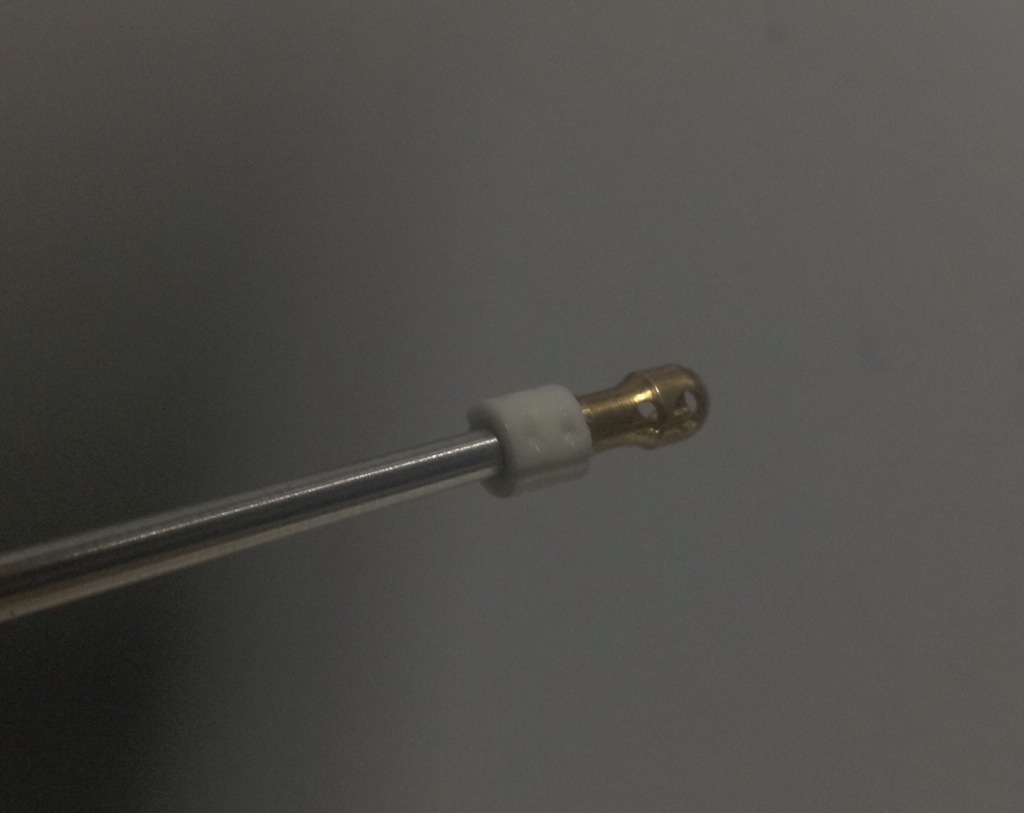
I basically took a diamond file and reamers to the counterweight; the seam is waaaay coarser than a scale representation would be, but again, this is a gaming model and I made things a bit more obvious for the obvious knuckleheads… 😀 The details, especially for the bolt-holes, are a bit soft, but hopefully the paint job can bring this more to the fore.
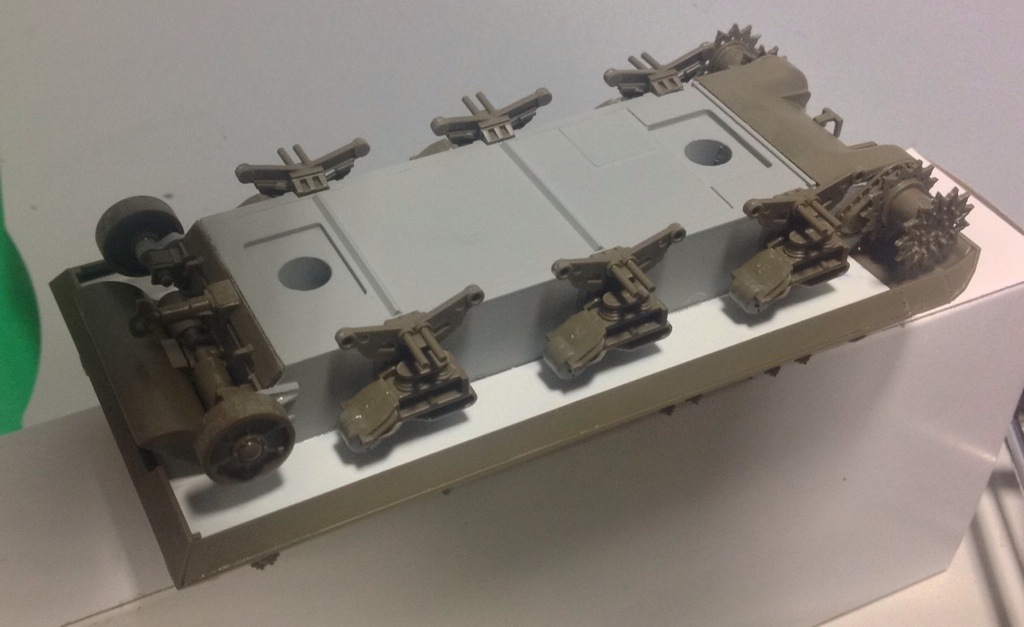
I also worked on covering up the exposed sponsons. Tamiya didn’t bother covering up the bottom of the sponsons as they figured most of their models will become static displays and people won’t get an angle to see the exposed sponsons. I’m a little more picky. On the Sherman Firefly, I attached the sponson covers to the upper hull (IIRC), but on the M10c, I decided that, due to the overlapping sides, I prefer these to be on the lower hull, and this is how I did mine: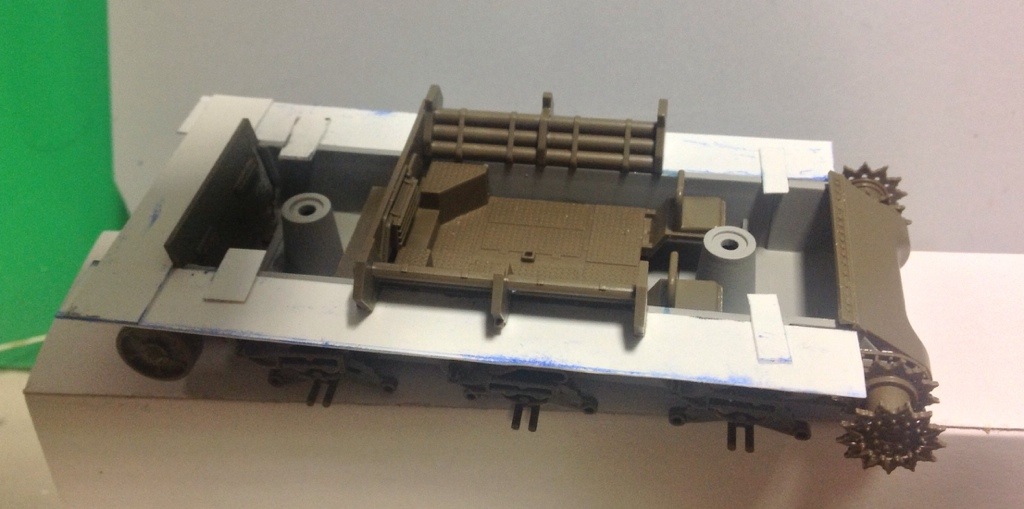
Very obviously, I didn’t bother to get very decorative with the “stays”.. those, nobody should ever see them, especially after I screwed the hulls together. The back portion is often overlooked by people, as that is the engine compartment and looks to be ok to have a big void. Again, I’m picky and I slapped some pla-card to cover it up. When you put it together, this is how it looks:
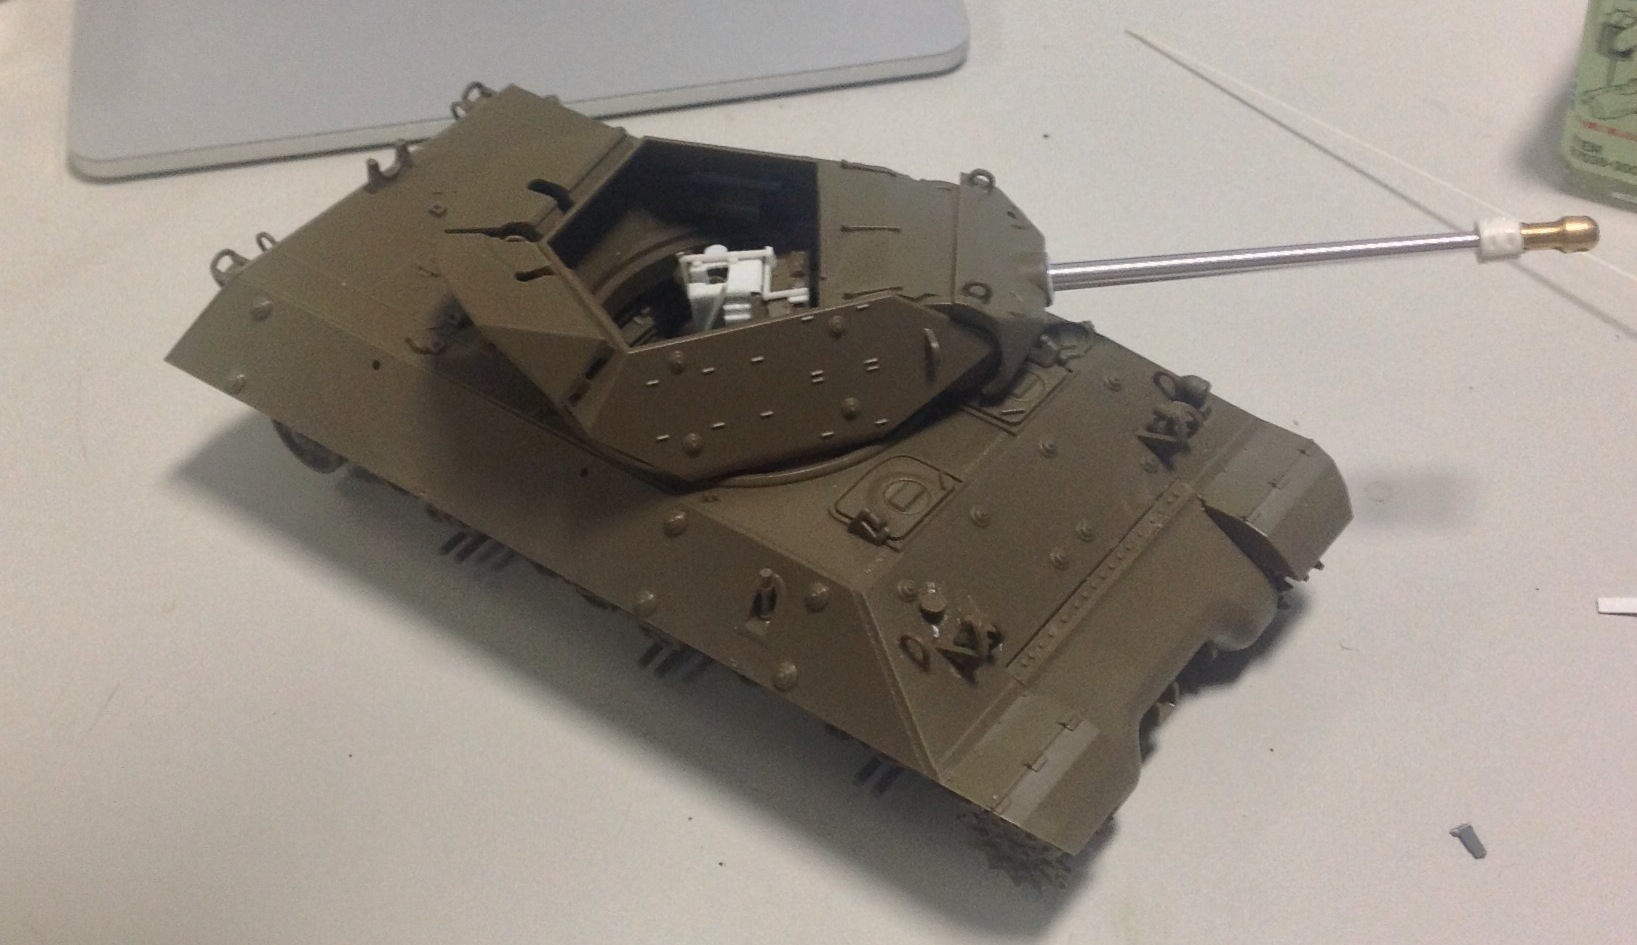
There should be enough clearance for the tracks, so I’m not too worried about those. It’s nice and covered up, which makes me happy.. That front fender portion, I realised should not have the sponson covers, so I cut things a bit short and left it at that.
So, yeah the exterior’s pretty done. The sharp-eyed of you would see a bit of the interior details had been added. I’ll go more into that later, as I still need to add more Sten SMGs and the actual 17 pdr rounds.. yes I got some brass replacement rounds. The main headache left other than the ammo rack at the back of the turret is that odd dish-shaped plate on the mantle itself, covering the joint of the barrel to the mantle:
You can see it’s some sort of weird domed shape thing-a-bob and I’m wondering how to scratch-build it. Then again, some models apparently don’t have that:

So it’s a bit of a tossup as to whether to add it or not. I probably would, just for the challenge of actually learning how to make it.
