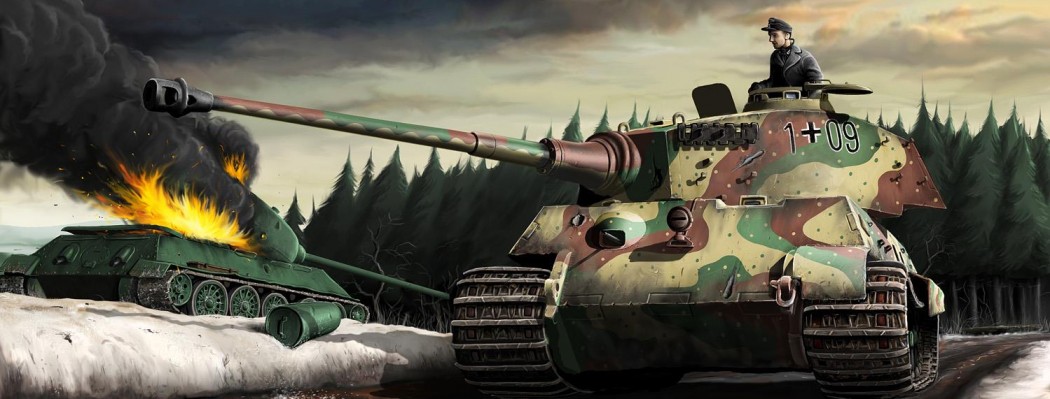

So I recently picked up a Warlord Games Cromwell, which is 1/56 scale. I honestly prefer 1/48 scale more, that’s a nice size and feels right next to 28mm infantry, but Tamiya 1/48 Cromwell is rare and I’m basically just trying this kit out to see how it works out.
Short form? It’s not terribad. But I have issues with it. Warning: Long article.
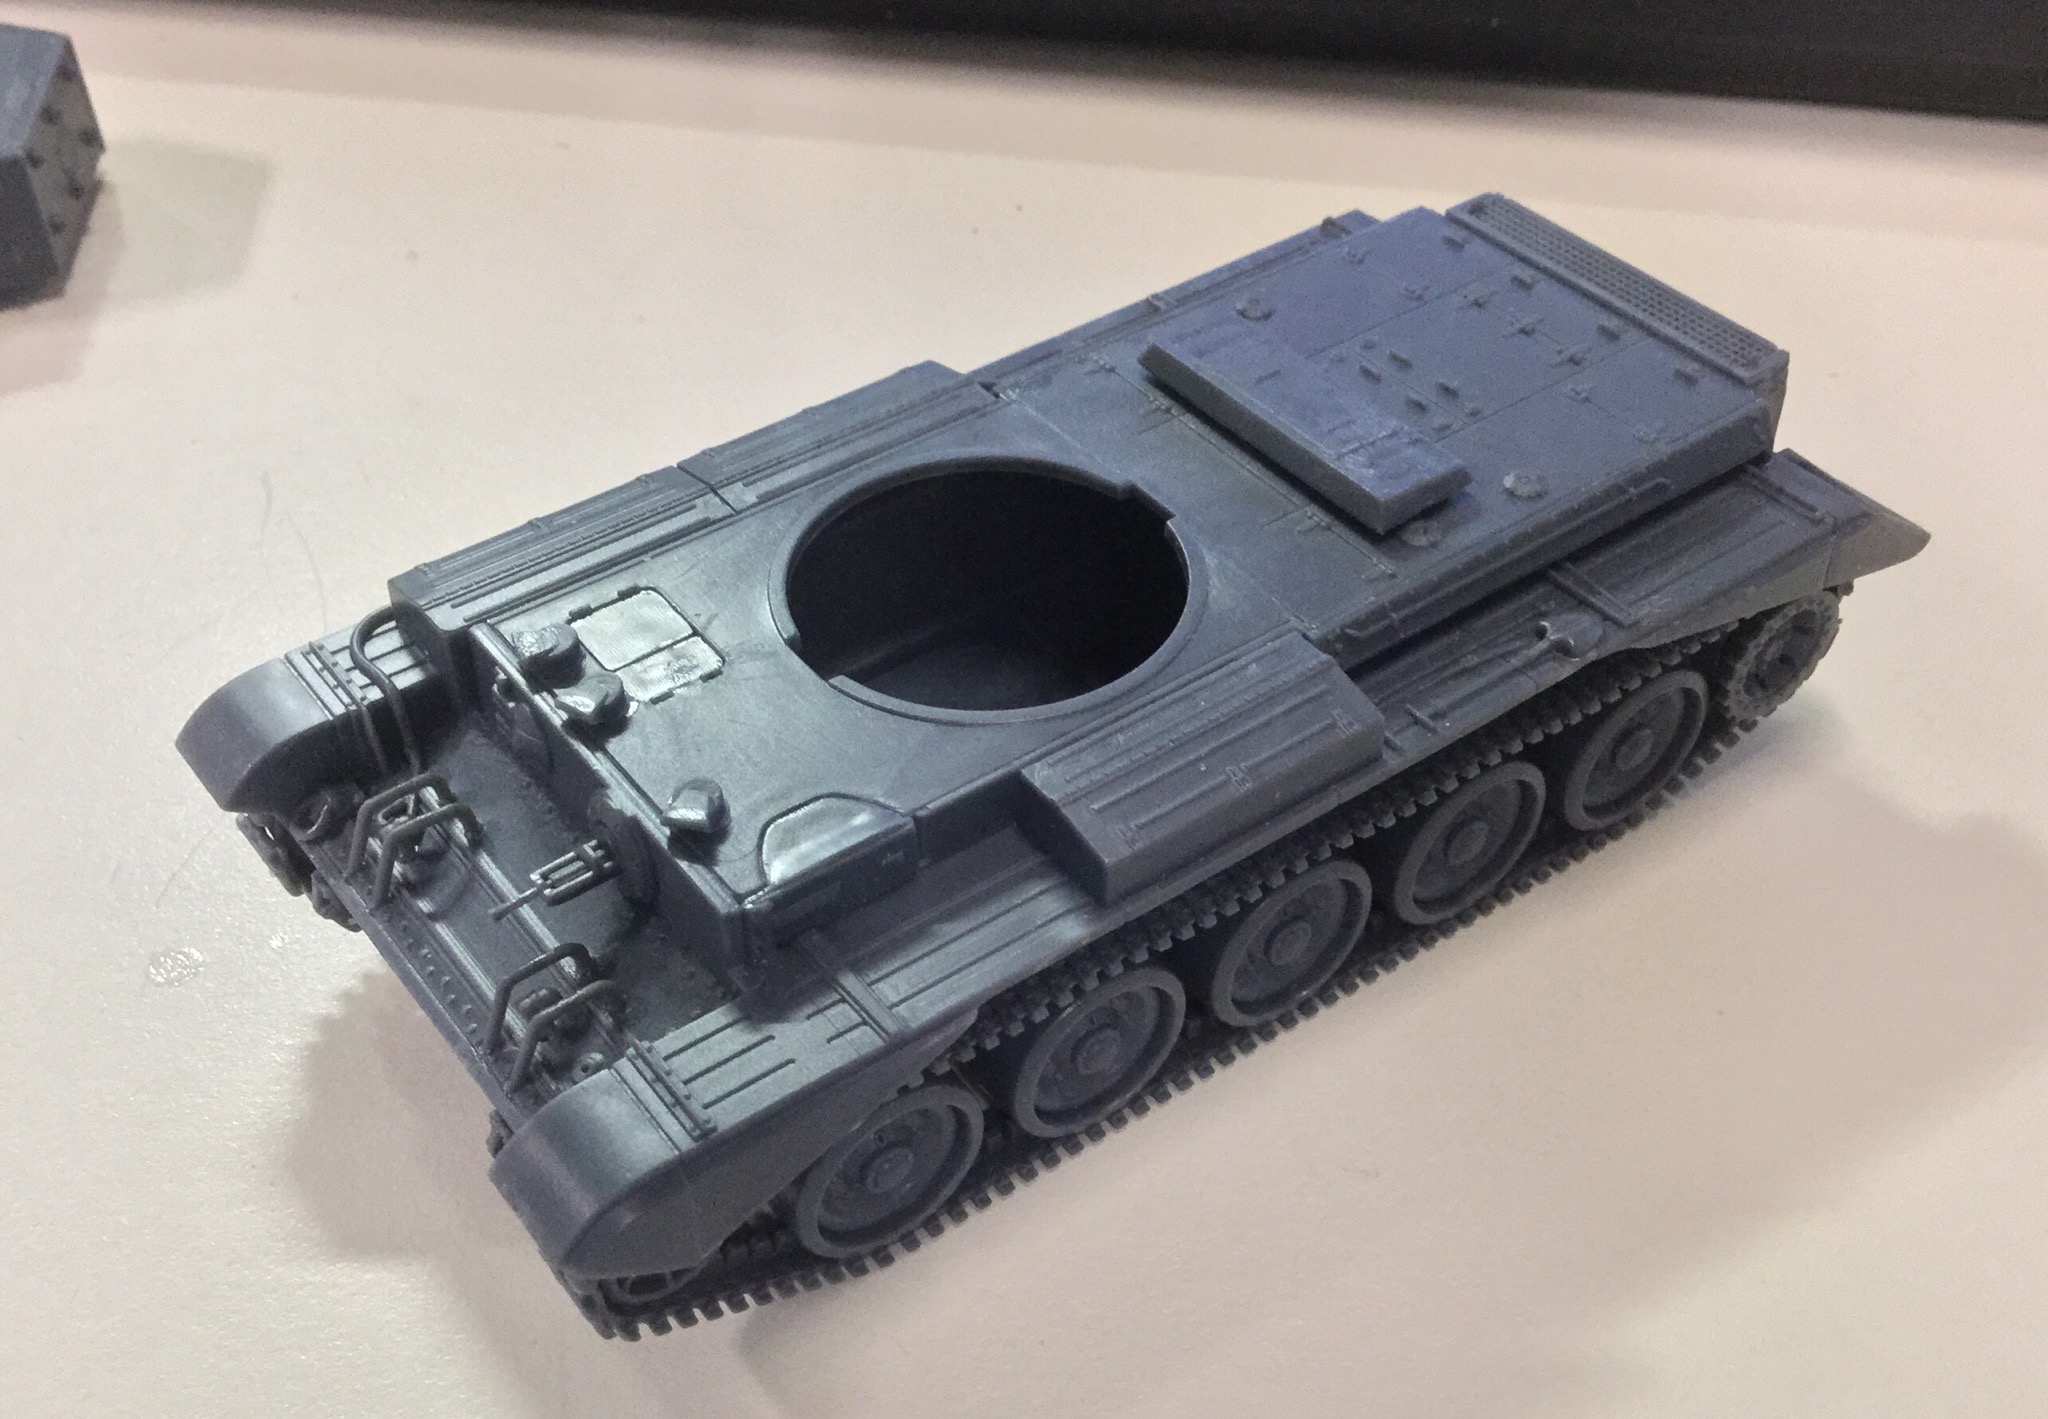
Let’s deal with the positives first. It’s got nice details, a bit soft but otherwise present and accounted for. The assembly wasn’t overly difficult, though I didn’t enjoy it. The size has also a nice compact feel to it. It’s not a bad kit — there are worse out there.
Of course, we must compare the Cromwell with the Sherman, both are 1/56 Warlord Games plastics.
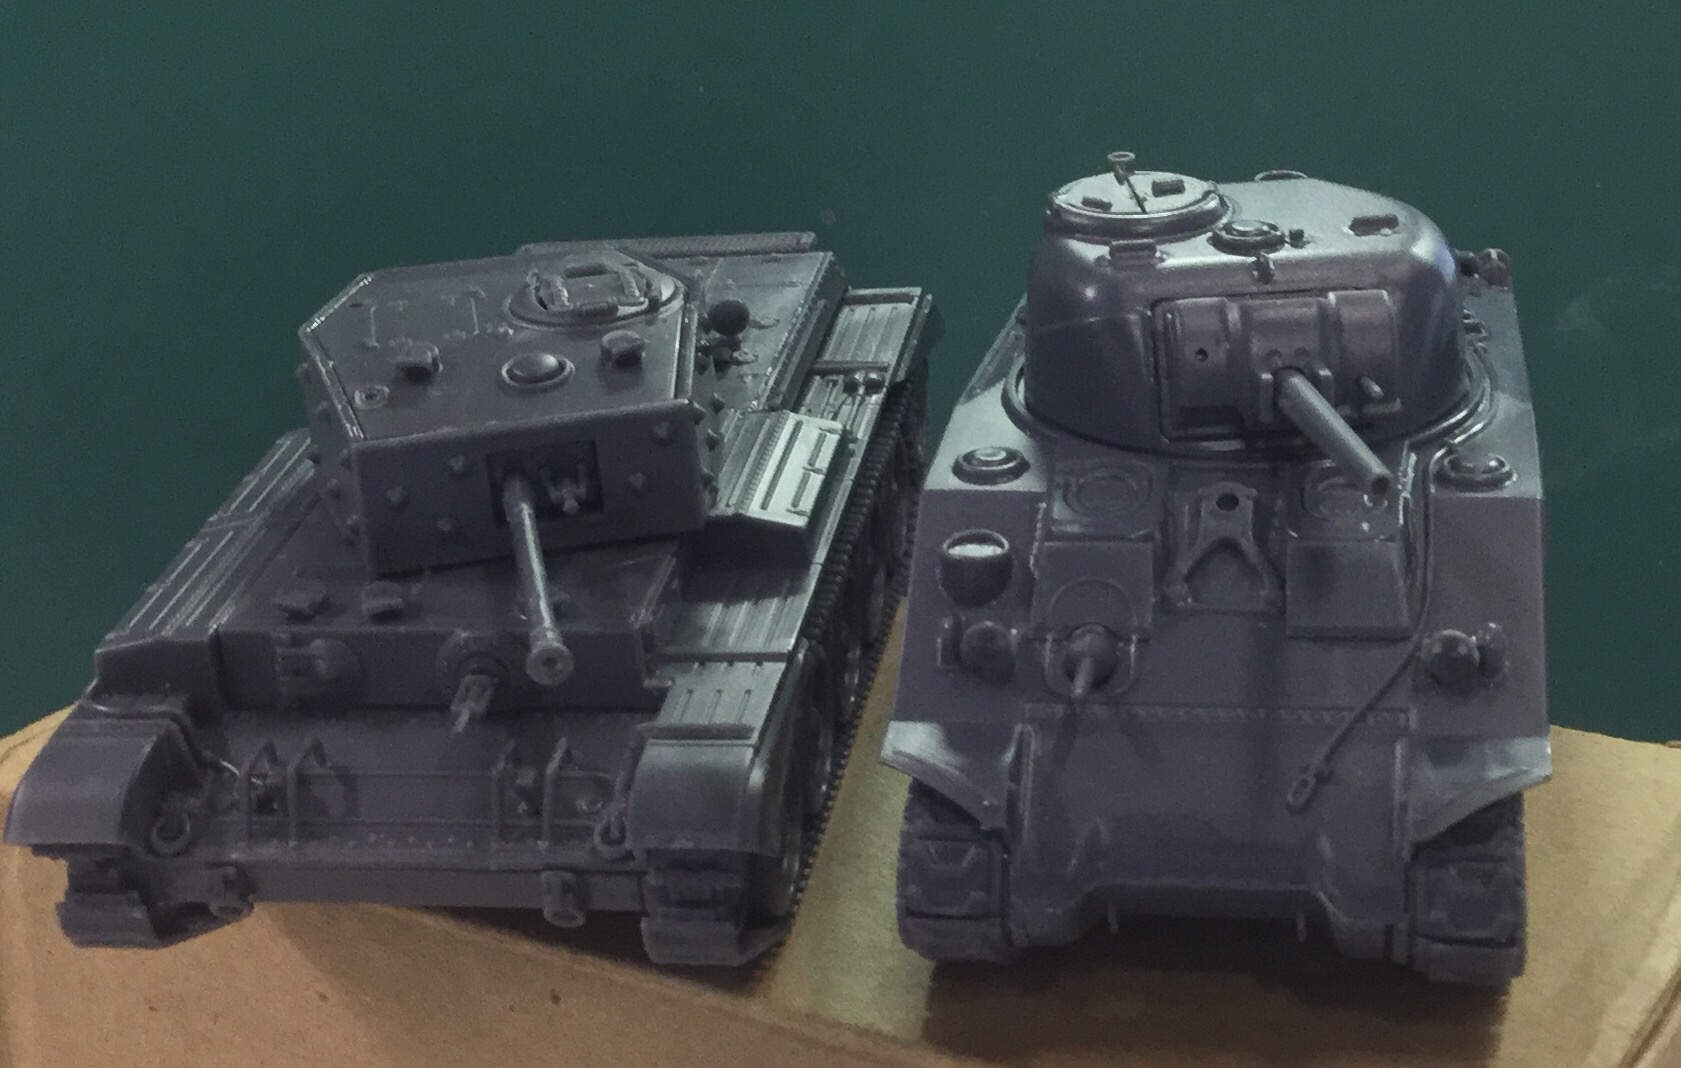
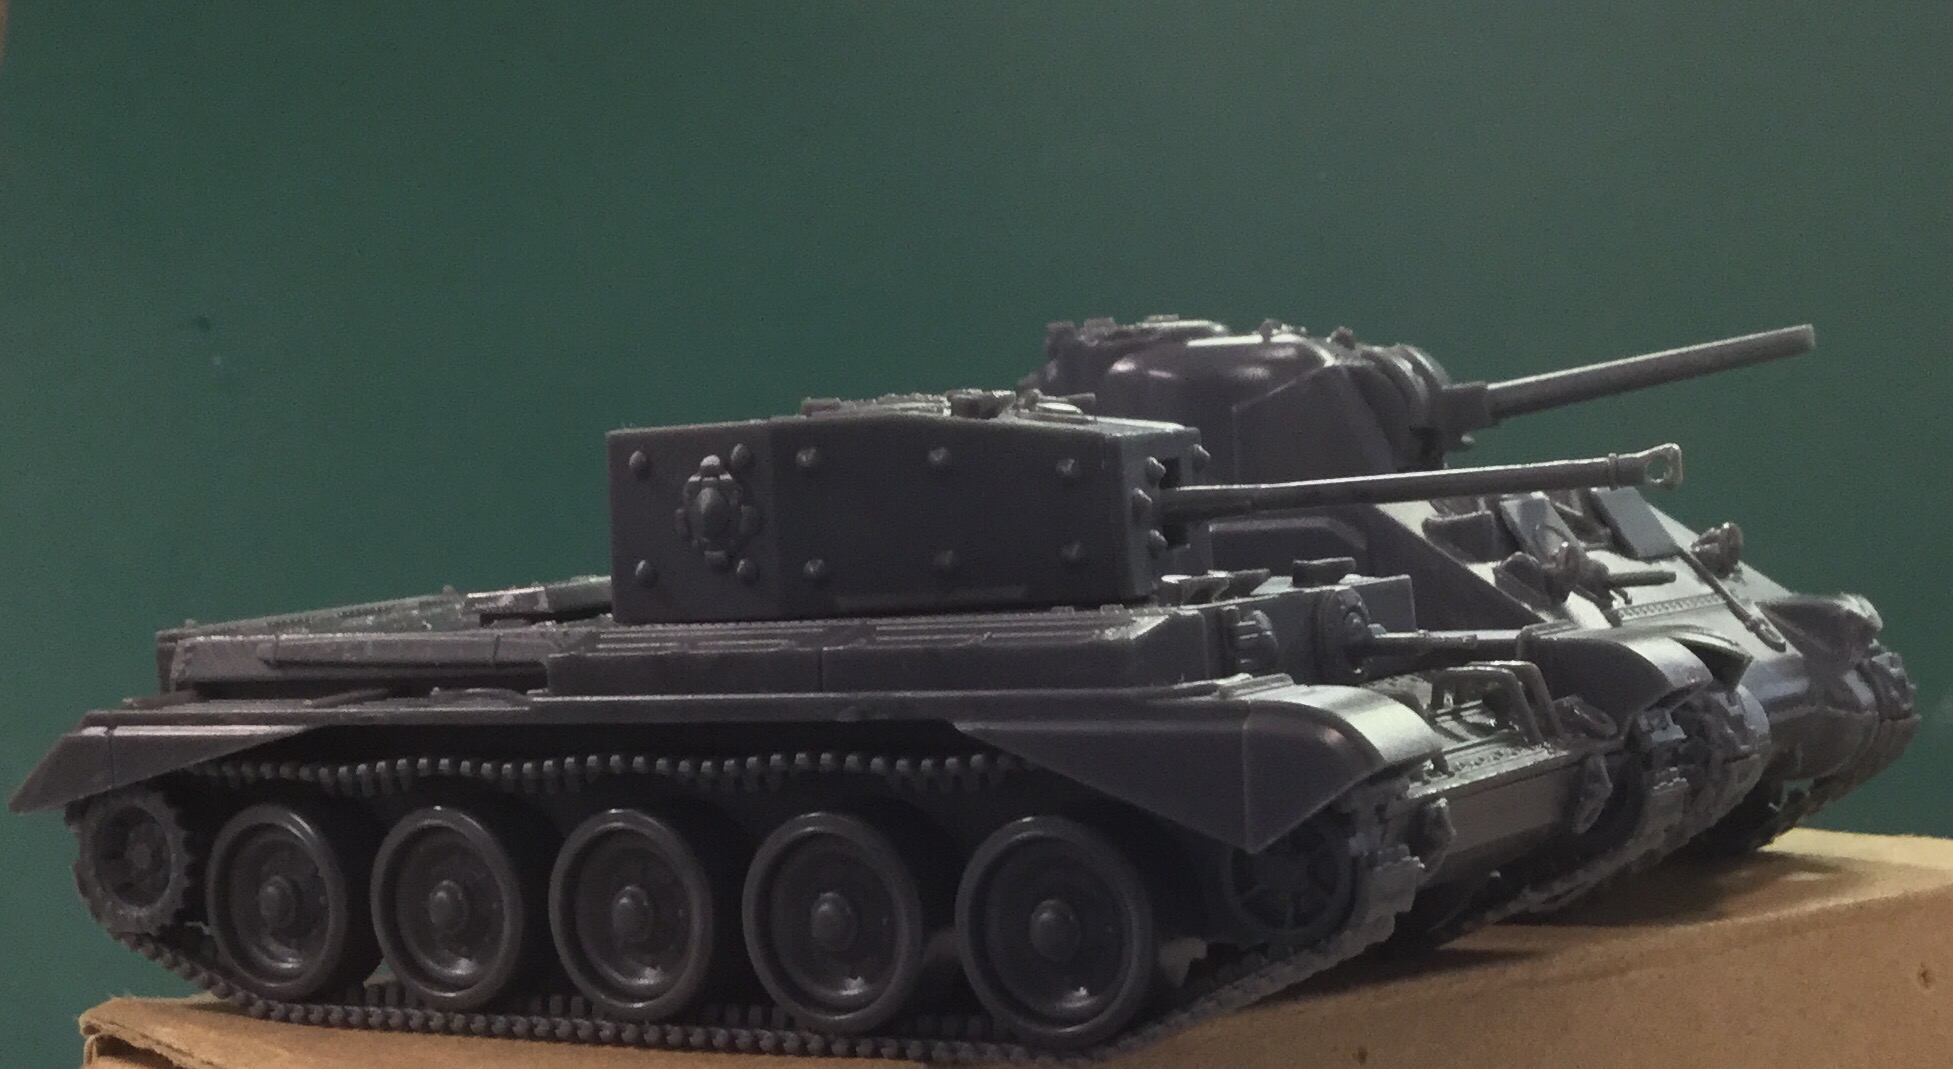
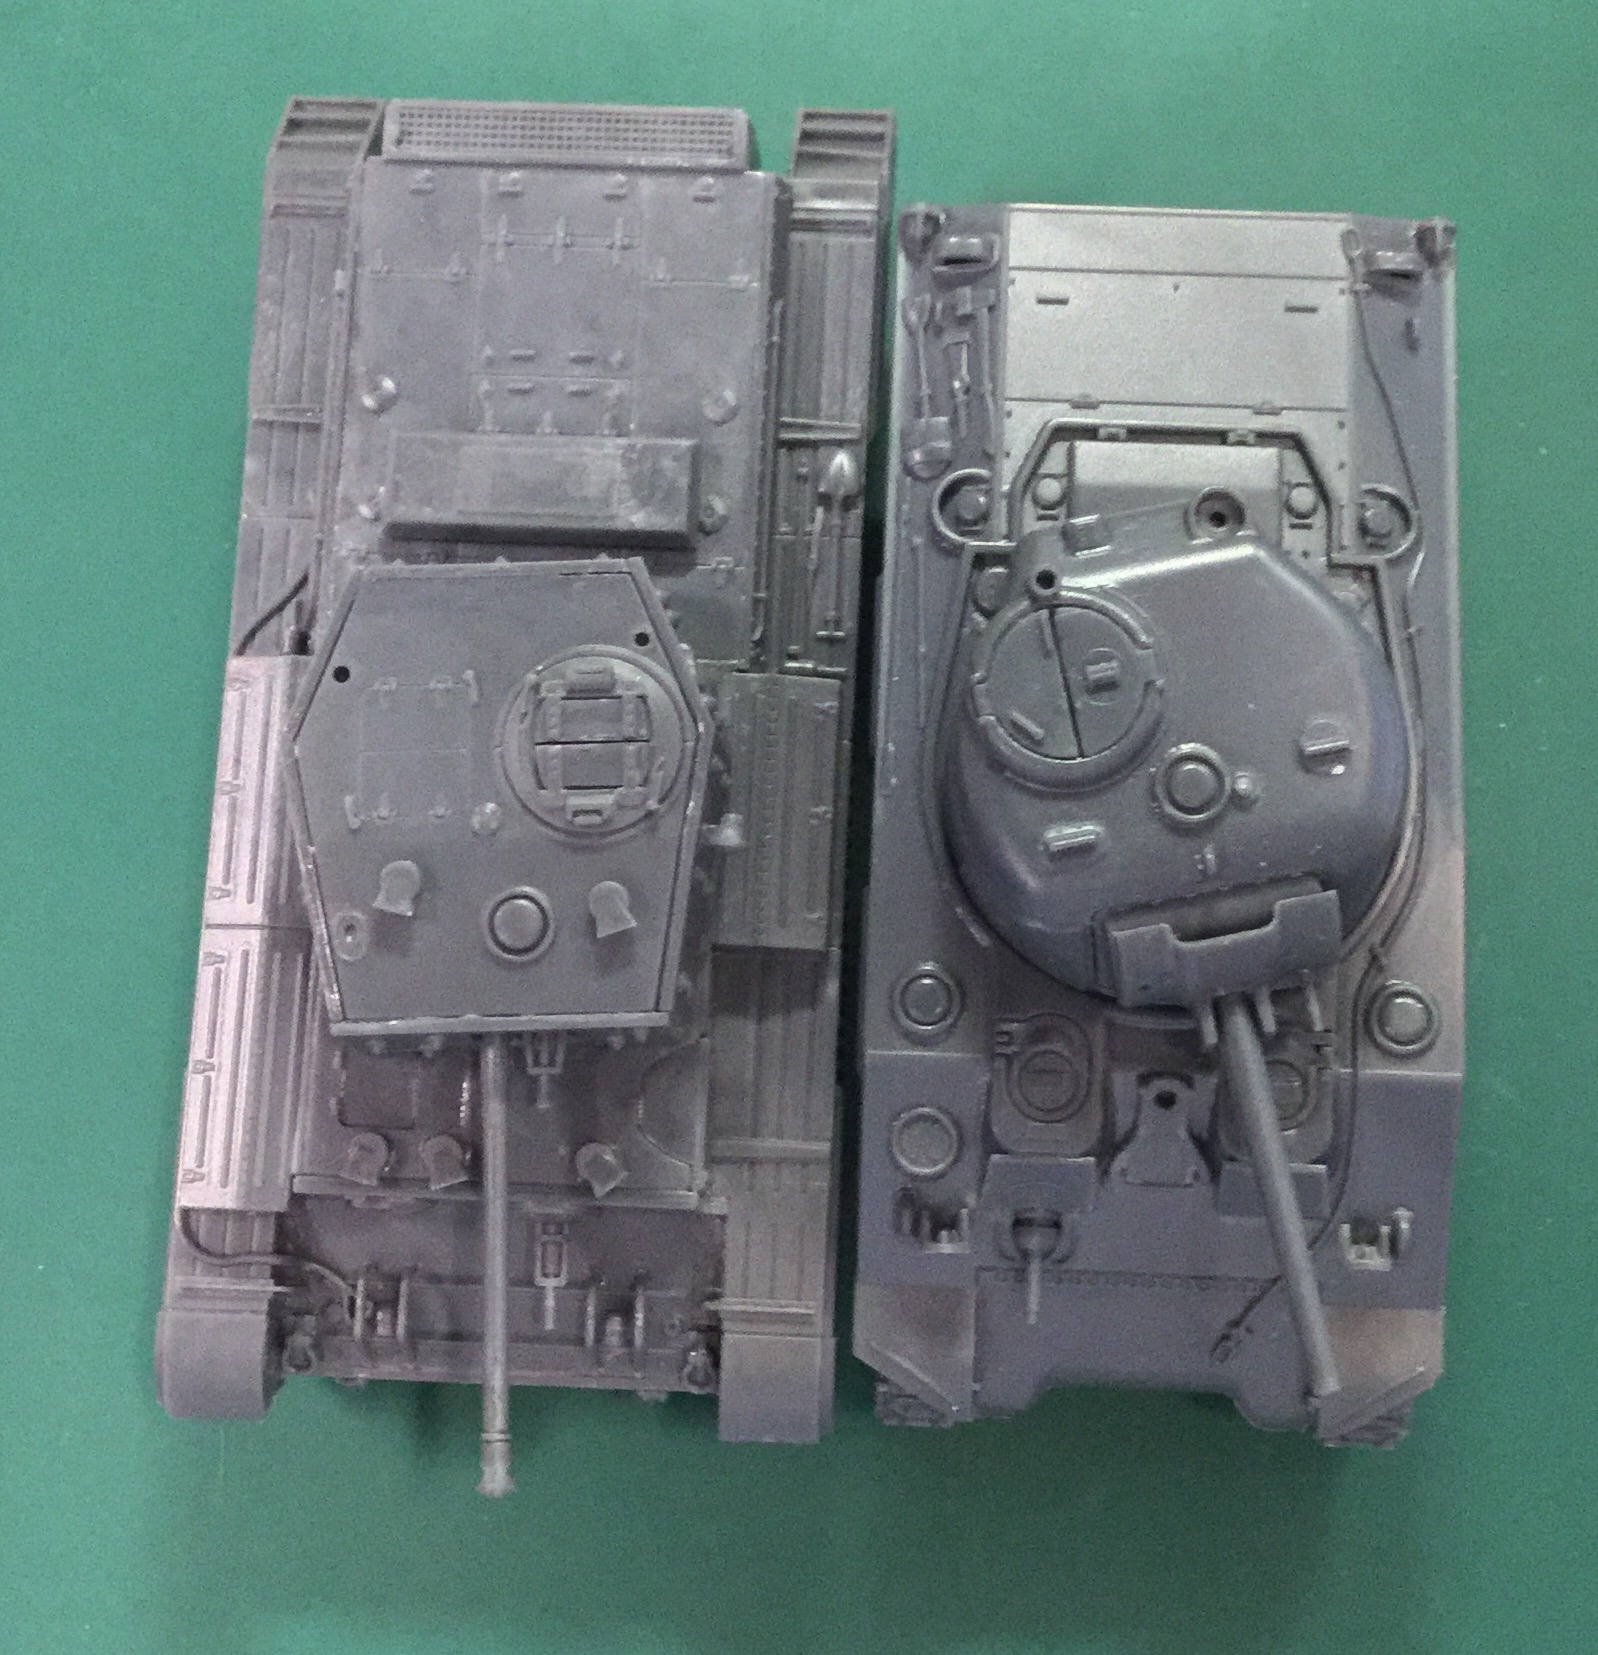
I was quite surprised to see that the Cromwell was longer and wider than the Sherman, if somewhat shorter. A quick check on Wikipedia showed that this is correct — the Cromwell was about a foot longer than the Sherman and a bit wider. Overall, it still looks more compact than the somewhat bloated balloon look of the Sherman.
Sprue layout is as follows:
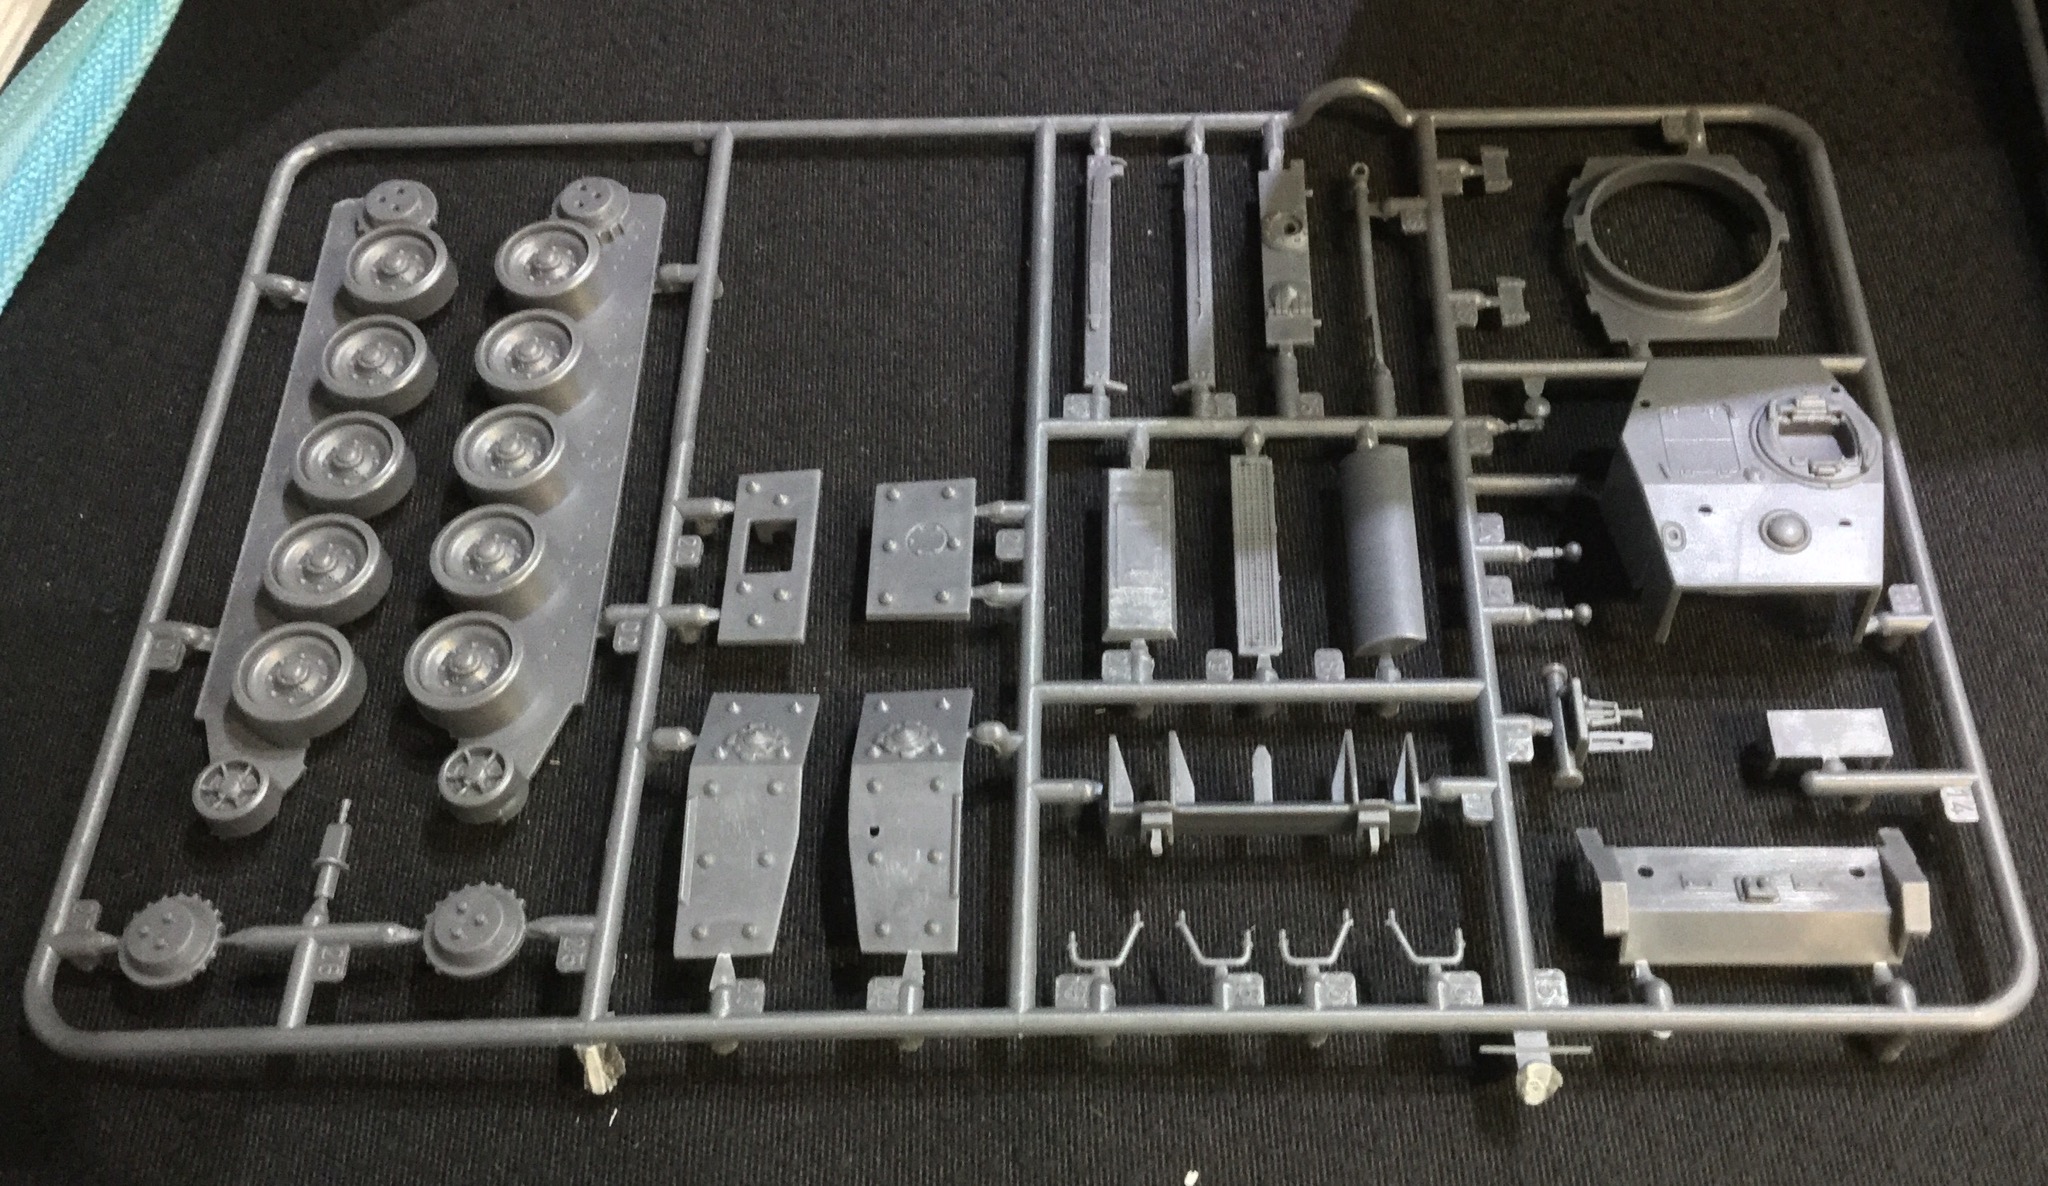
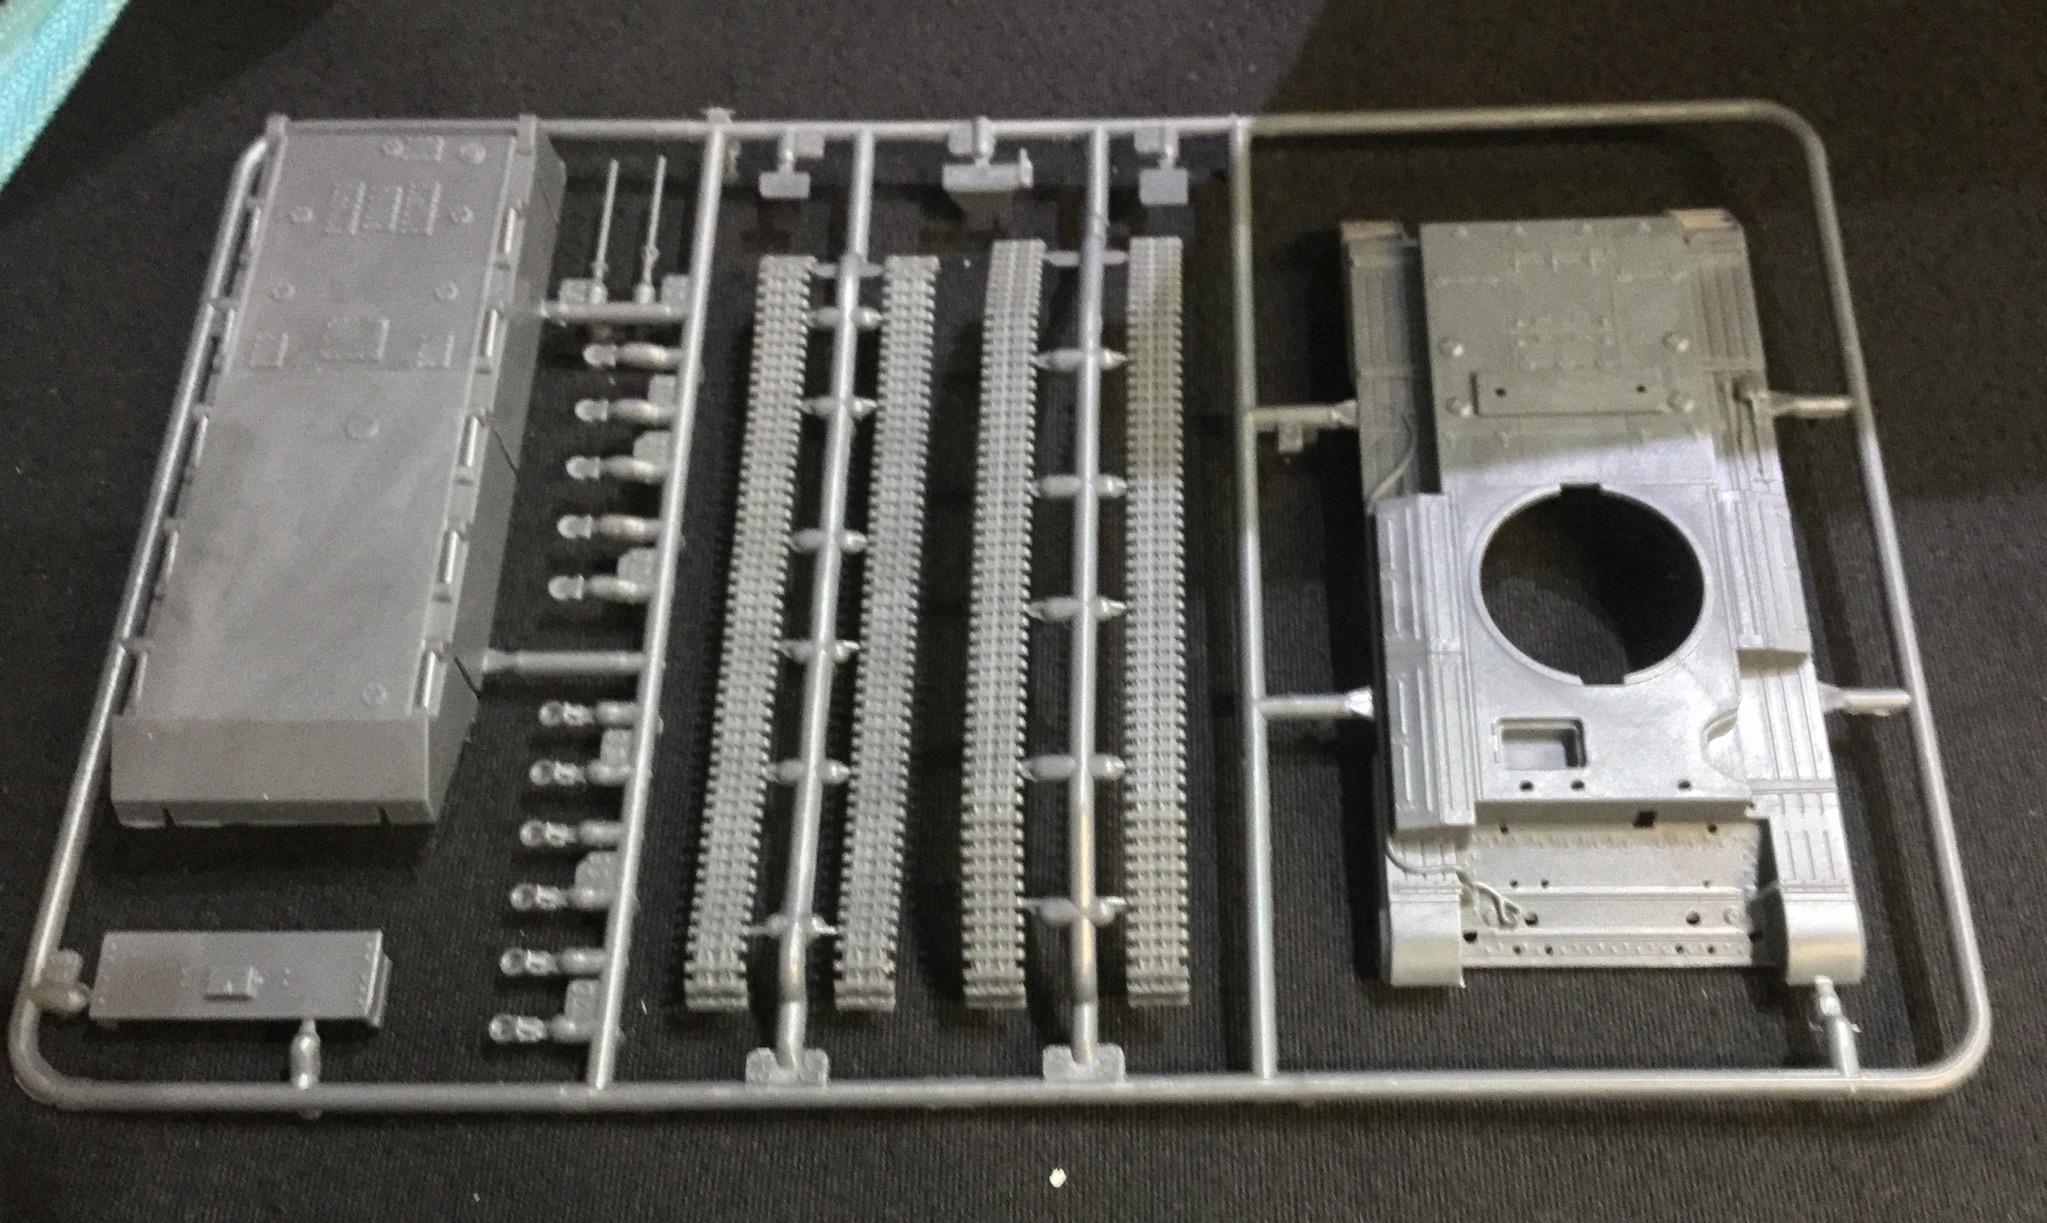
And yes, when I saw separate tow rings, guard handles for the headlights, and hatches I was swearing. And yes there is a mystery hole where they didn’t add more stuff.
So, what issues did I encounter? Well…
In the main, while the kit is nice enough, it still feels very slapped together and not enough care taken to ensure a nice building experience. The separate tow rings and handles may have been for preserving details, but the holes for mounting them were overly big and meant they were quite loose fit; however kudos to Italeri in that they designed it to be used with thin plastic cement, which flows into the holes easily.
Runner placement leaves much to be desired. The headlight guards were connected to the sprue from the thin rail top, meaning any imperfection from cutting off the sprue is immediately visible on the finished model. Similarly attachment points on the hull and other places leave the cut marks visible on the finished model — Tamiya does a good job hiding these and even Games Workshop stuff are fairly good in this aspect.
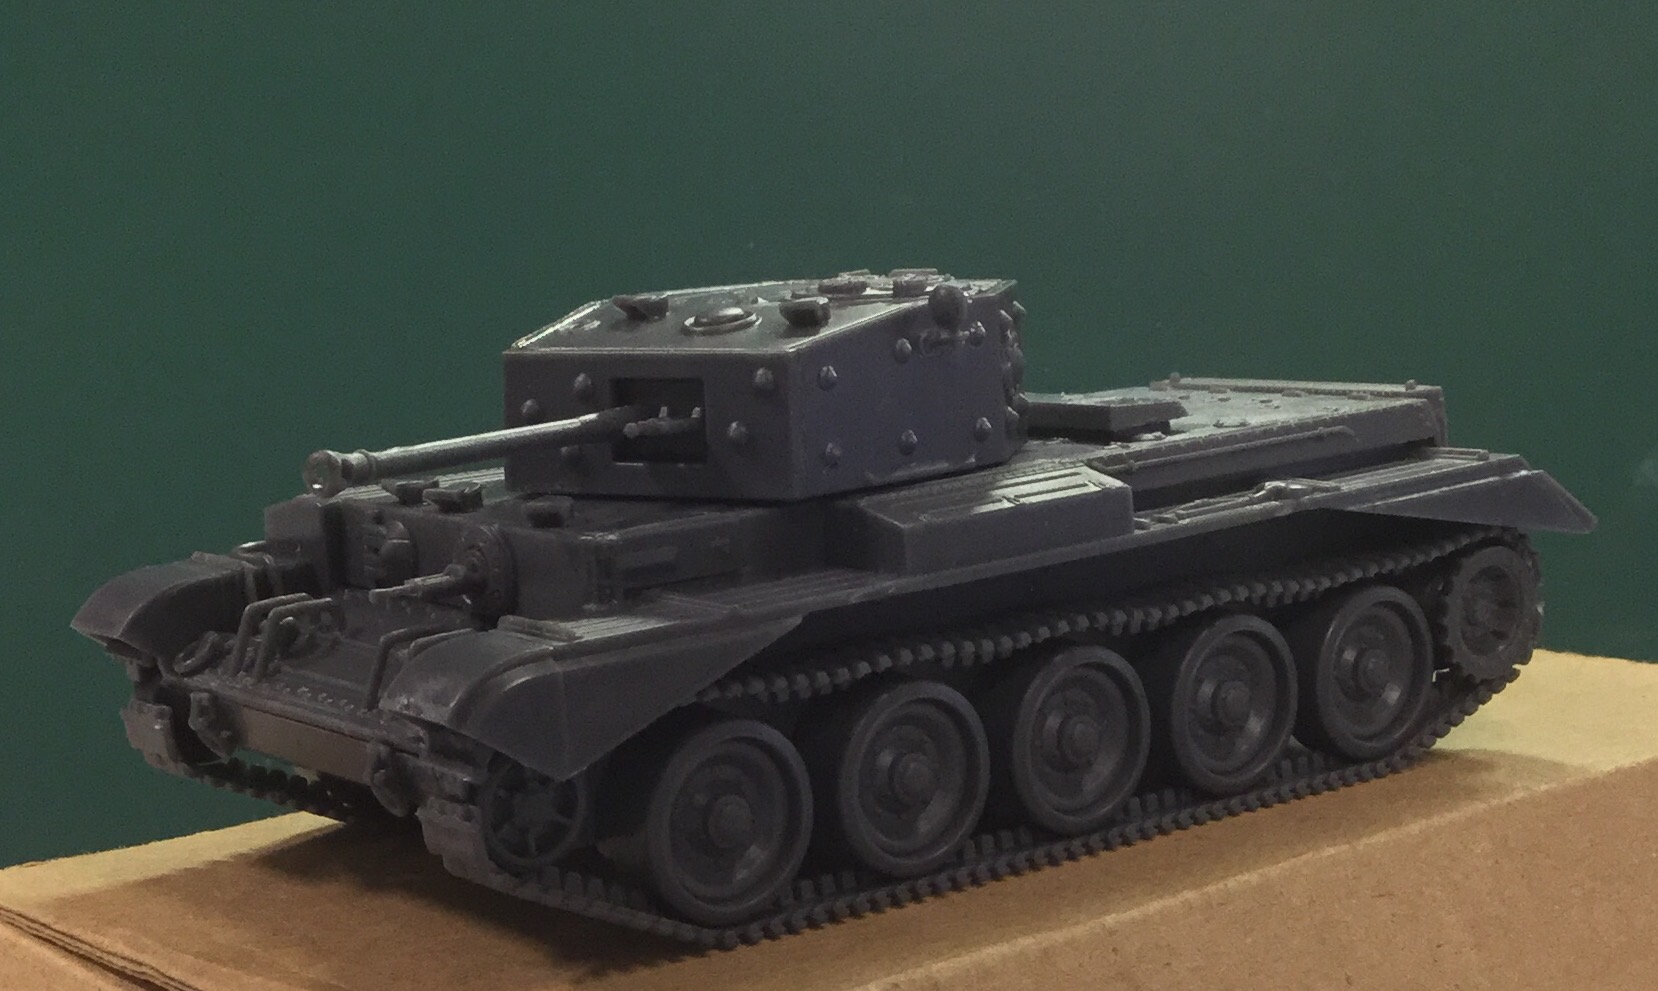
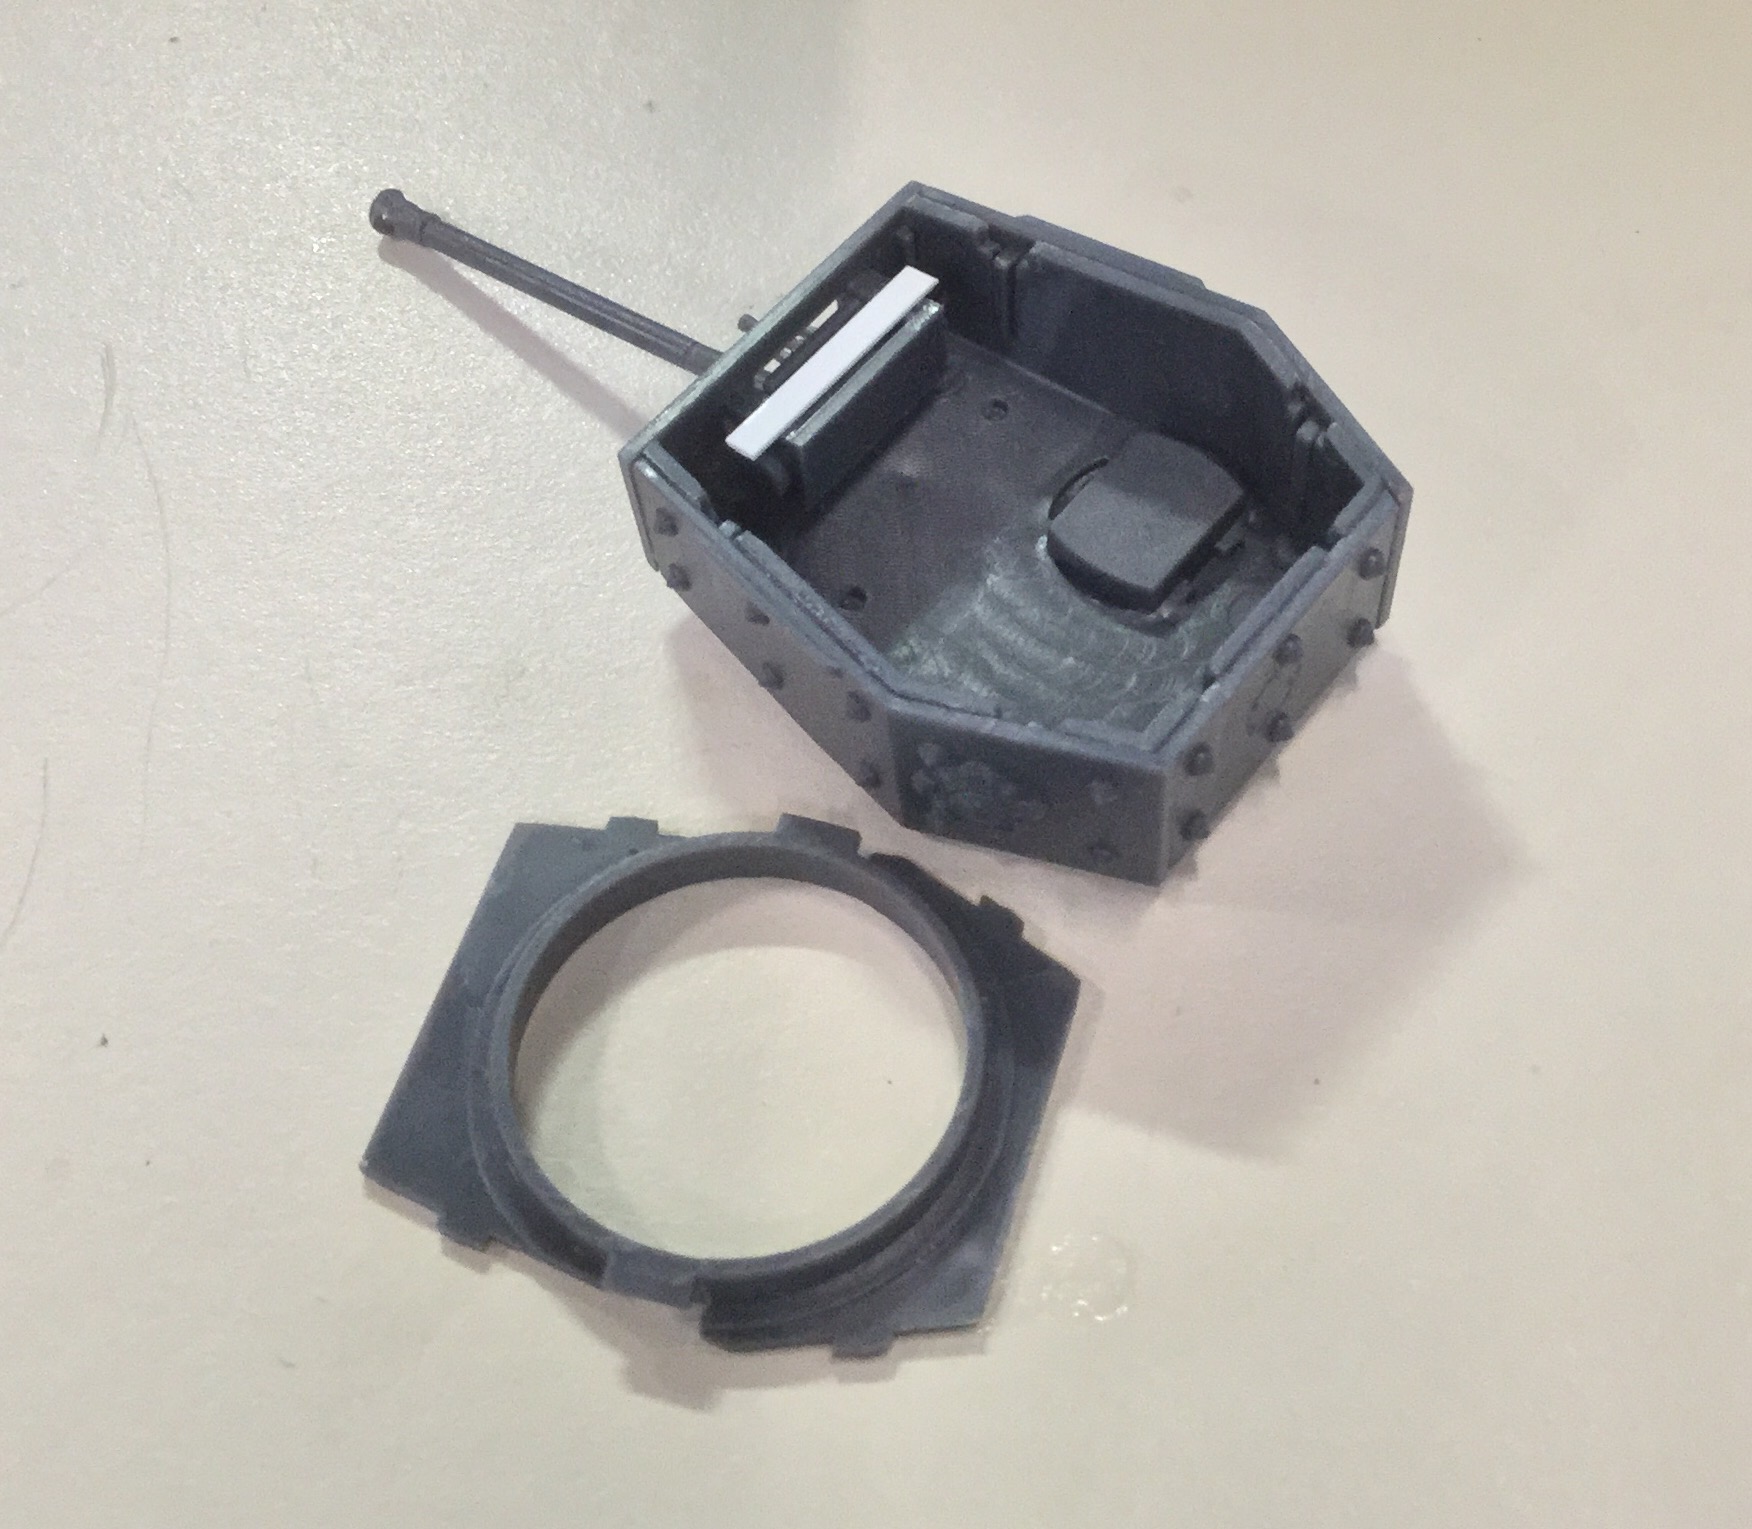
I also had issues with the hatches. Firstly, Italeri did not provide any stowage or crew, and there are no internal details, so there’s no point having open hatches unless you scratch-build your own crew and stuff. The turret hatch was particularly bad:

The hatches actually don’t met in the center and worse, there’s actually insufficient support underneath the closed hatches. So those hatches are floating in mid-air supported by plastic cemented glue on the hinges and a bit of ledge. Worse, they “thoughtfully” sealed the turret hole, meaning I couldn’t flip the turret over and reinforce the hatch from underneath; Tamiya’s 1/48 Firefly had the hatch literally a hole in the turret and let the modeler access to the underside.
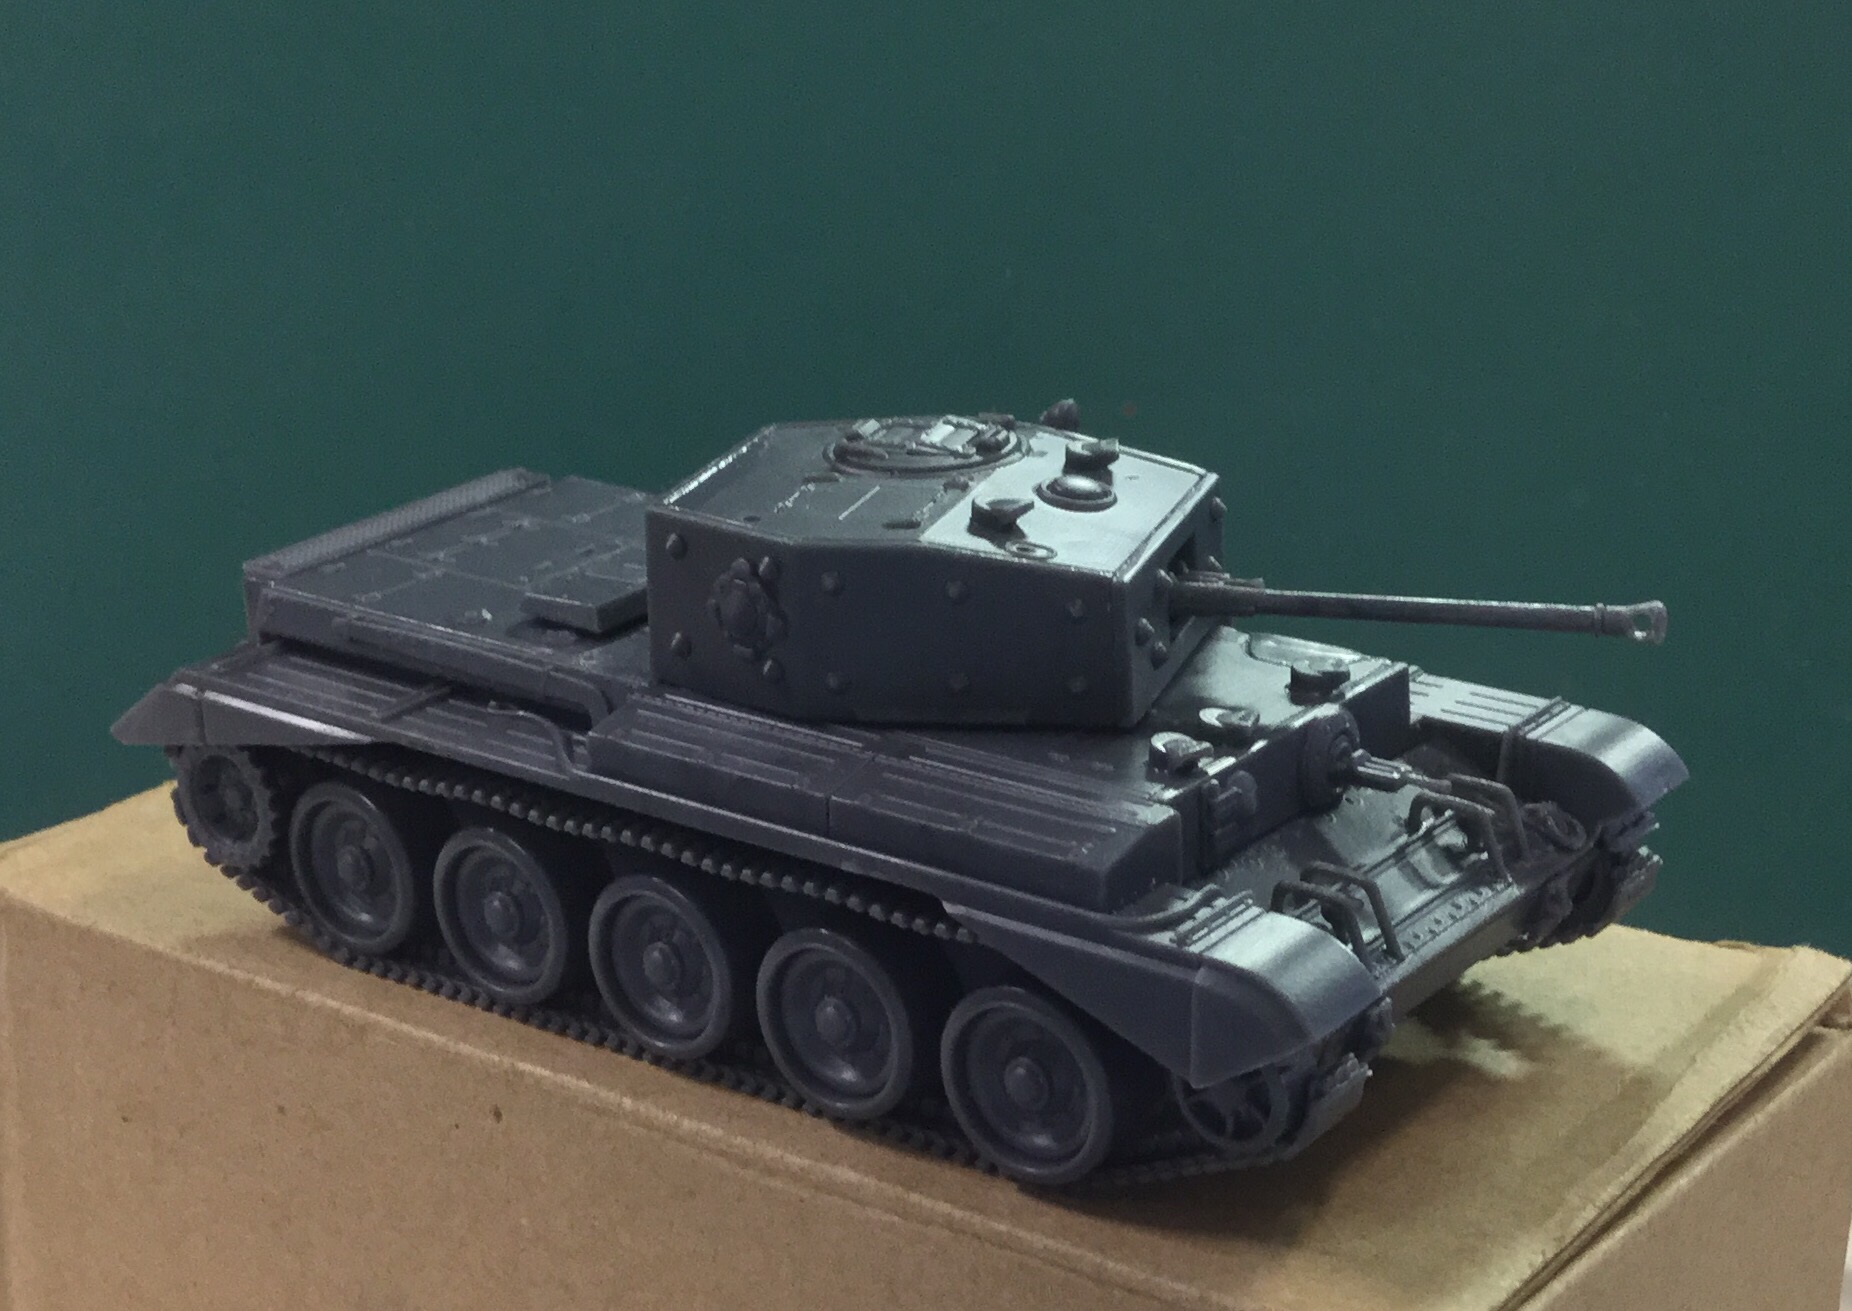
The hull hatches have different issues. First the MG gunner side door has no interior detail but came as a separate piece… ah well, wasn’t to difficult. The driver top hatches were ok and had adequate support underneath, but the Warlord Games instructions were wrong; they had the longer hatch cover on the inside of the hull. Instead the shorter hatch cover should be on the inside of the hull nearer the gun, as contemporary photos show.
The turret 75mm/ 6 pdr gun also had issues.. it could be glued fixed or left able to elevate, but unlike the Warlord Games’ Sherman, there is insufficient friction in the mount and the gun will stay down. And there are no stays to prevent the gun going below horizontal, which meant I had to do this:
That helped to keep the gun horizontal and able to elevate. You can also see how the commander’s hatch is sealed from the bottom so that I can’t get into it without doing a lot of damage.
By far the biggest problem I had with this kit was the rear hull panel issue. Basically, there is the hull, and there’s a back panel detail piece that goes on top of the structural. That piece came with overly long prongs that were supposed to go into holes in the rear hull, so you needed to cut the prongs down prior to assembly.
Except the instructions doesn’t tell you that. Or show you properly the finished model — you have to rely on the box art, which in this case is insufficient, so you need to go search the internet for Cromwell pics. So I’ll just do you guys a favour, this is how it should look:
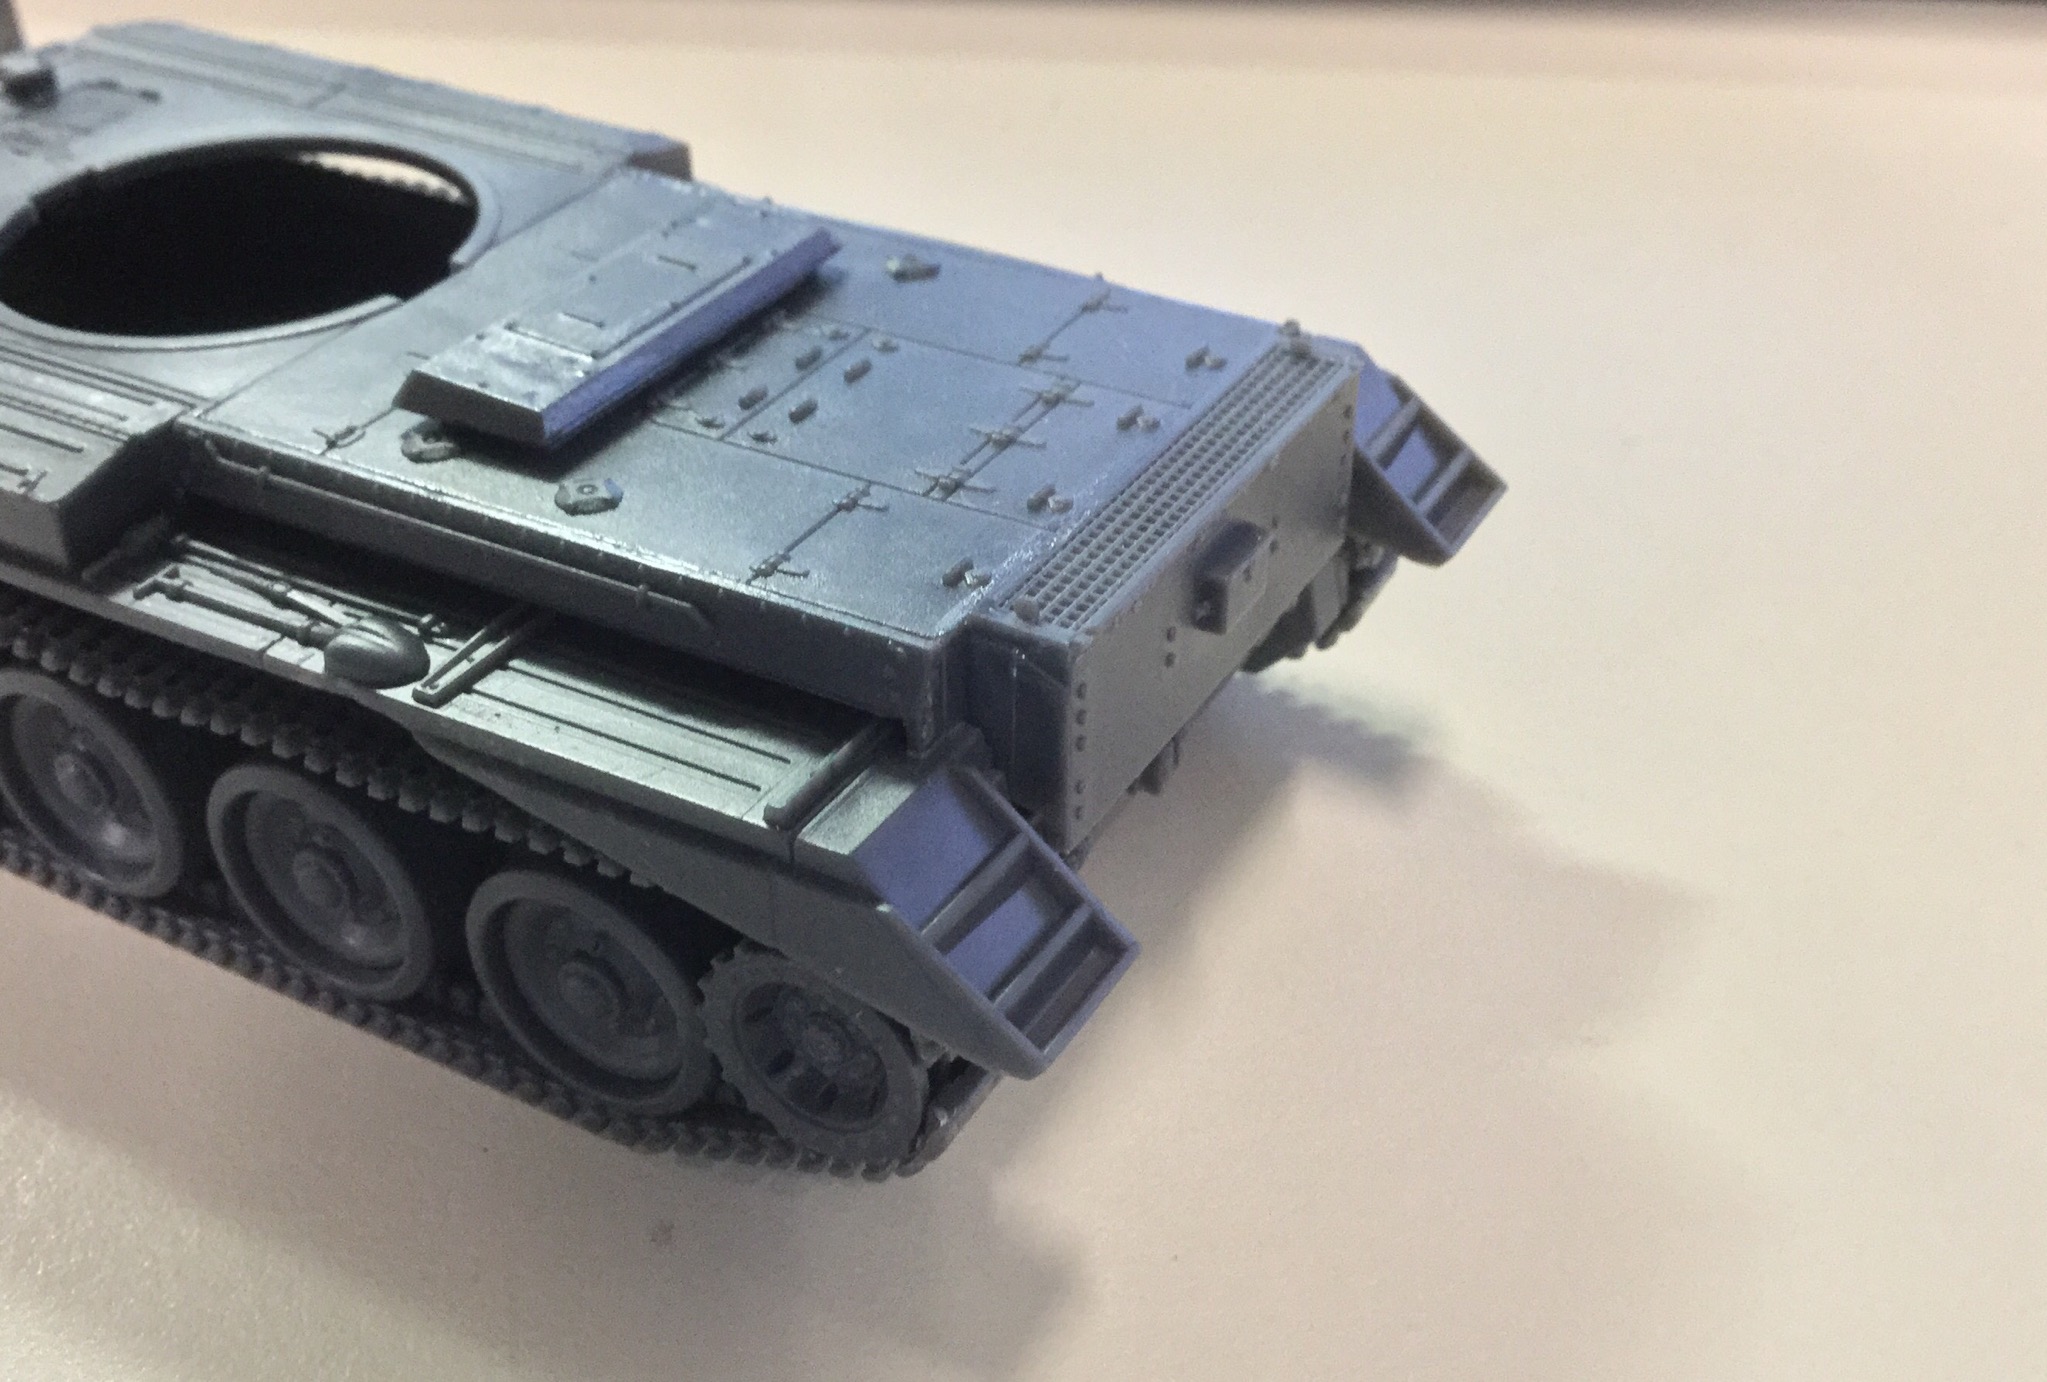
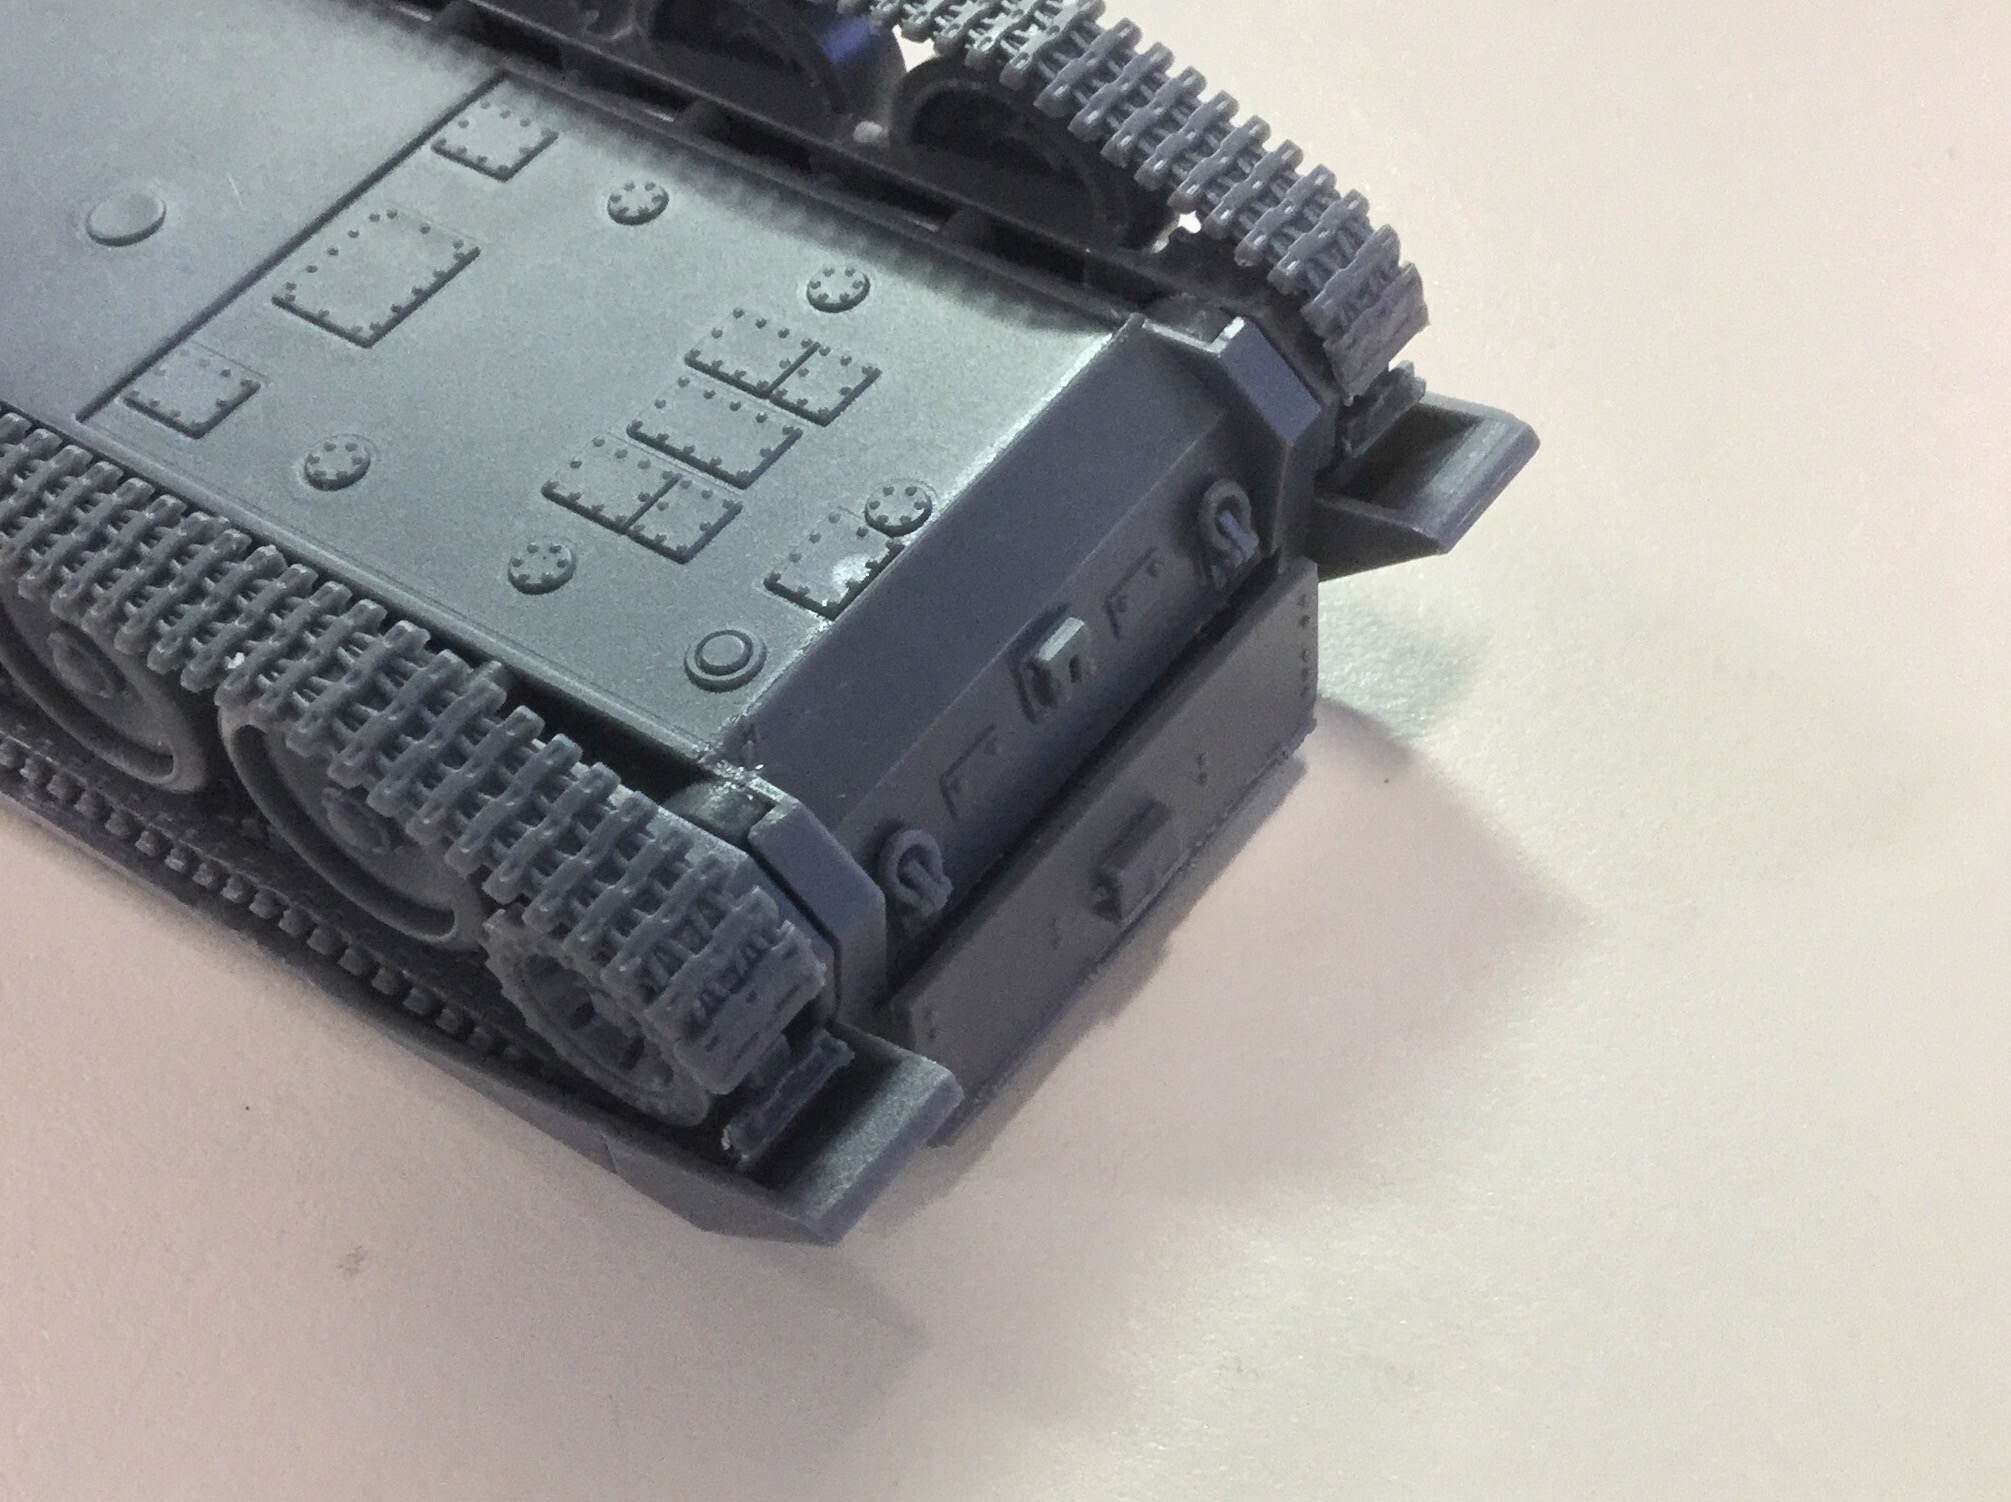
You can see in the last pic where I had to break off a corner to correct the problem. The higher box is supposed to overhand the hull panel, if you didn’t cut the prongs down it would be more flush with the panel. Also, if you didn’t remove the prongs, there will be a couple of holes on the side of the bottom hull that won’t mesh with the top… so yeah. Bad keying, bad instructions. Annoying.
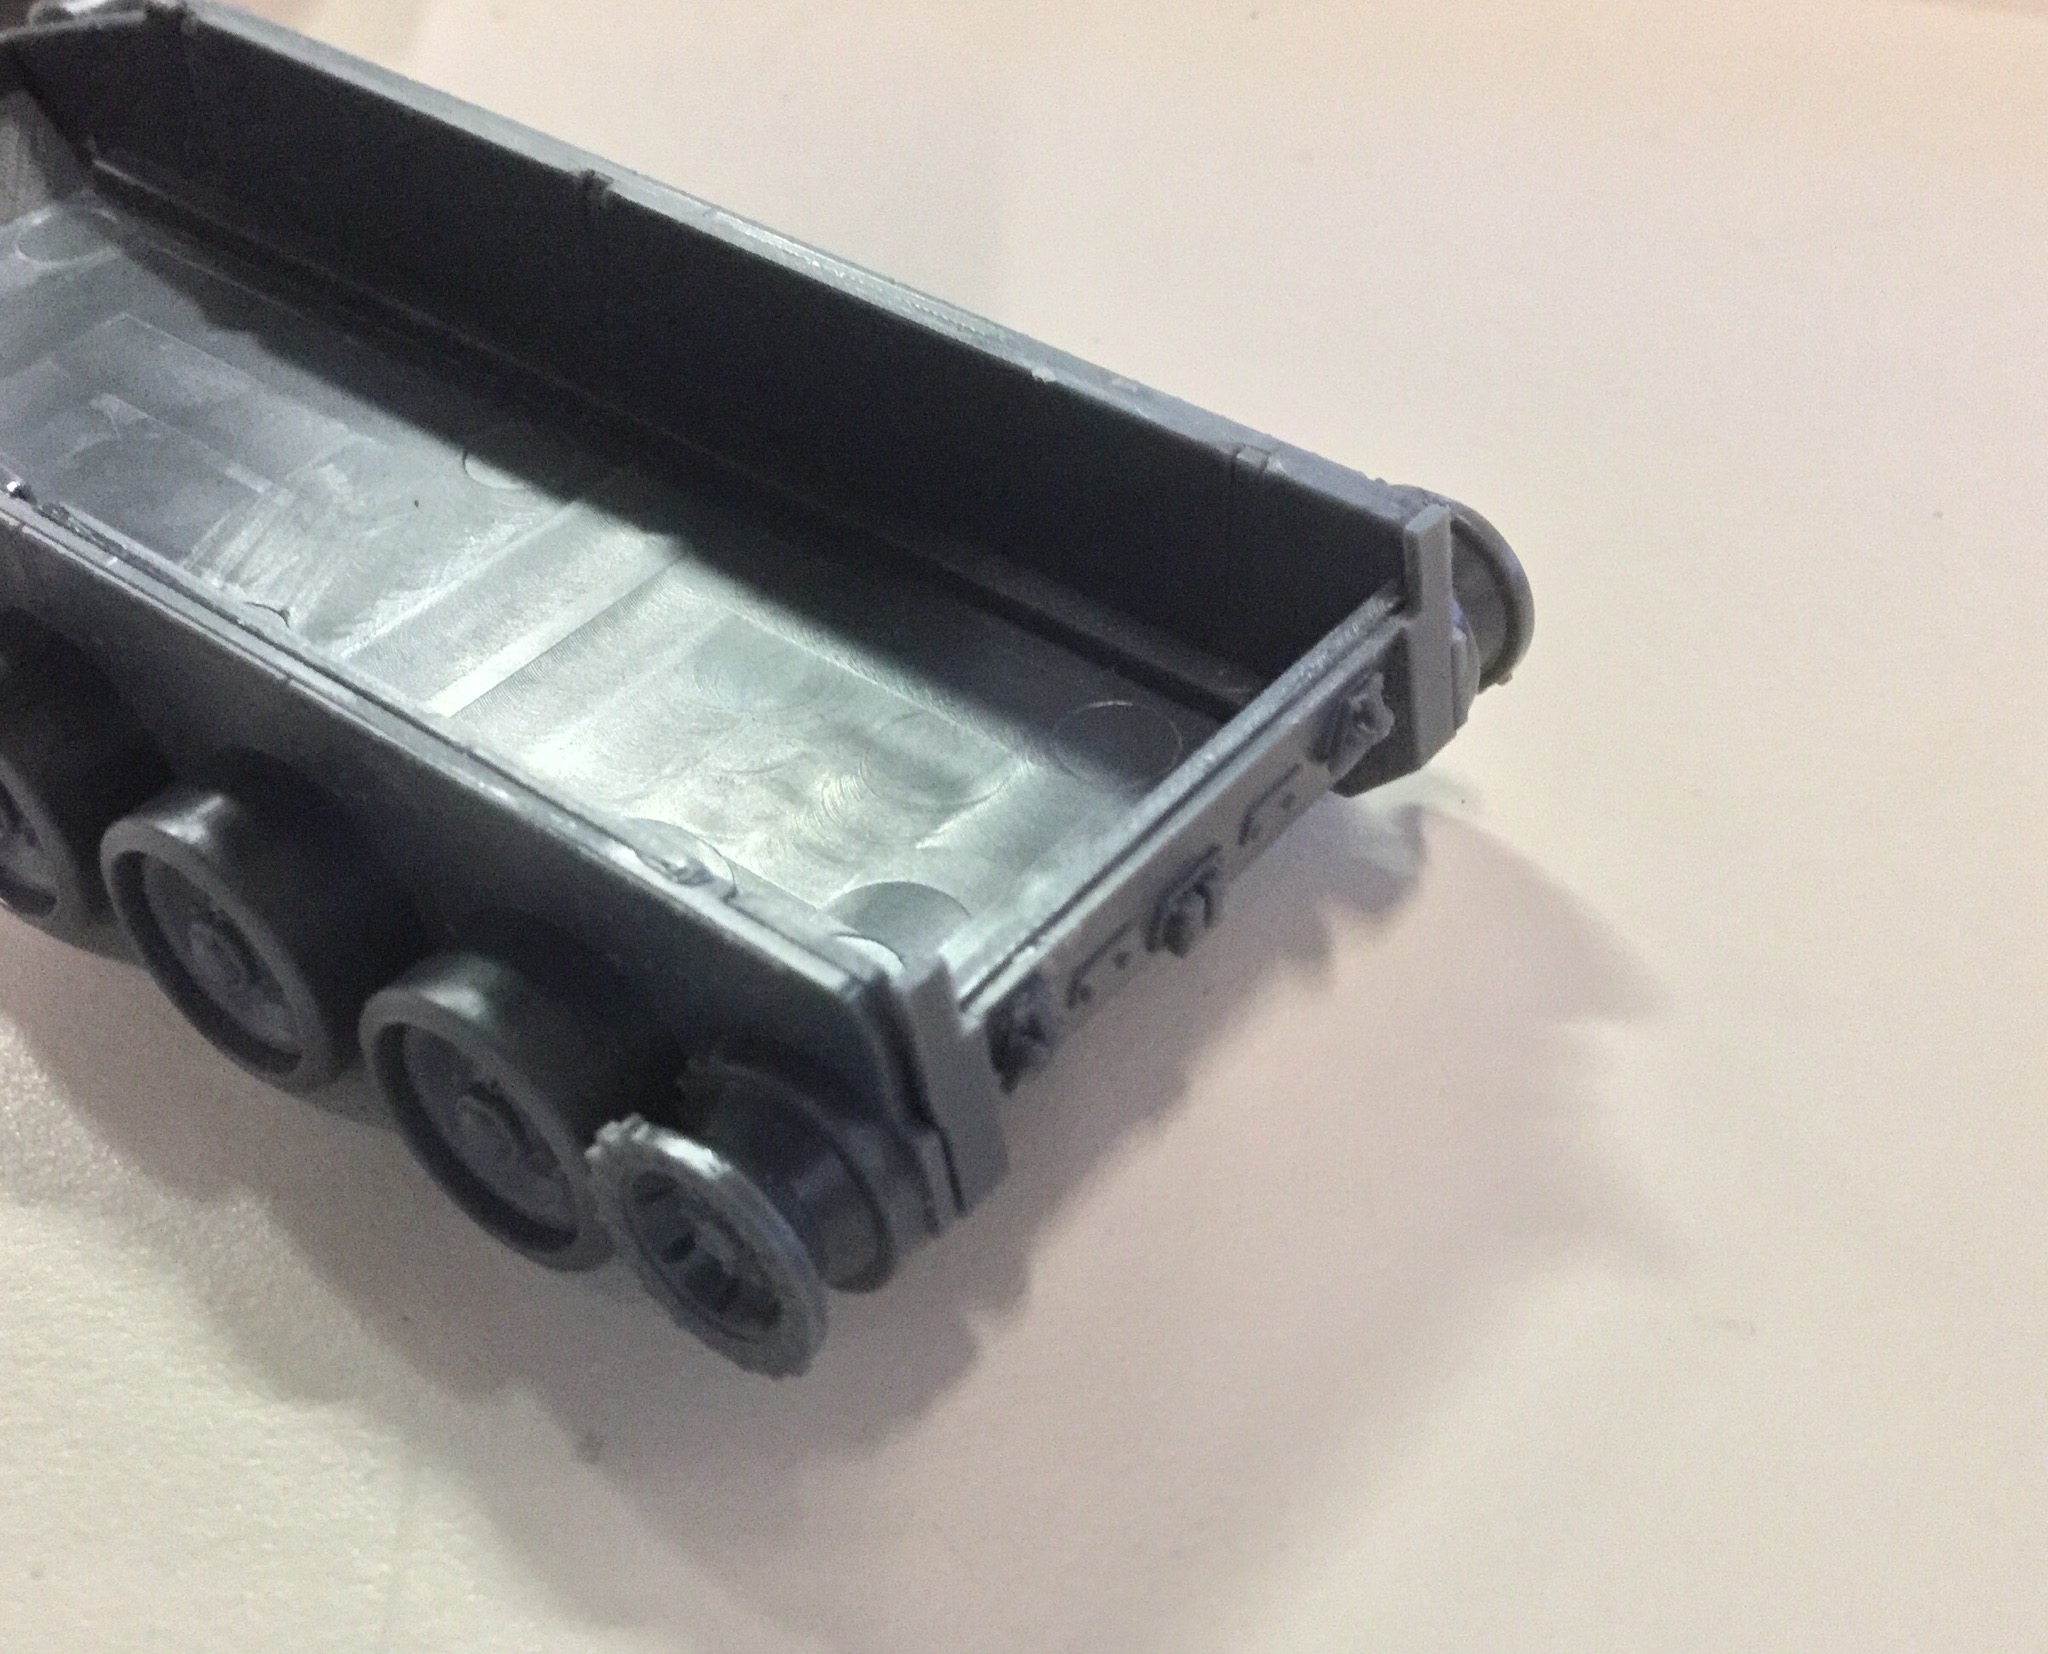
Finally a few weird implementation details.. The road wheels aren’t hollow on the inside, like the Sherman, and they actually had torsion bar suspension details molded on the lower hull, but…
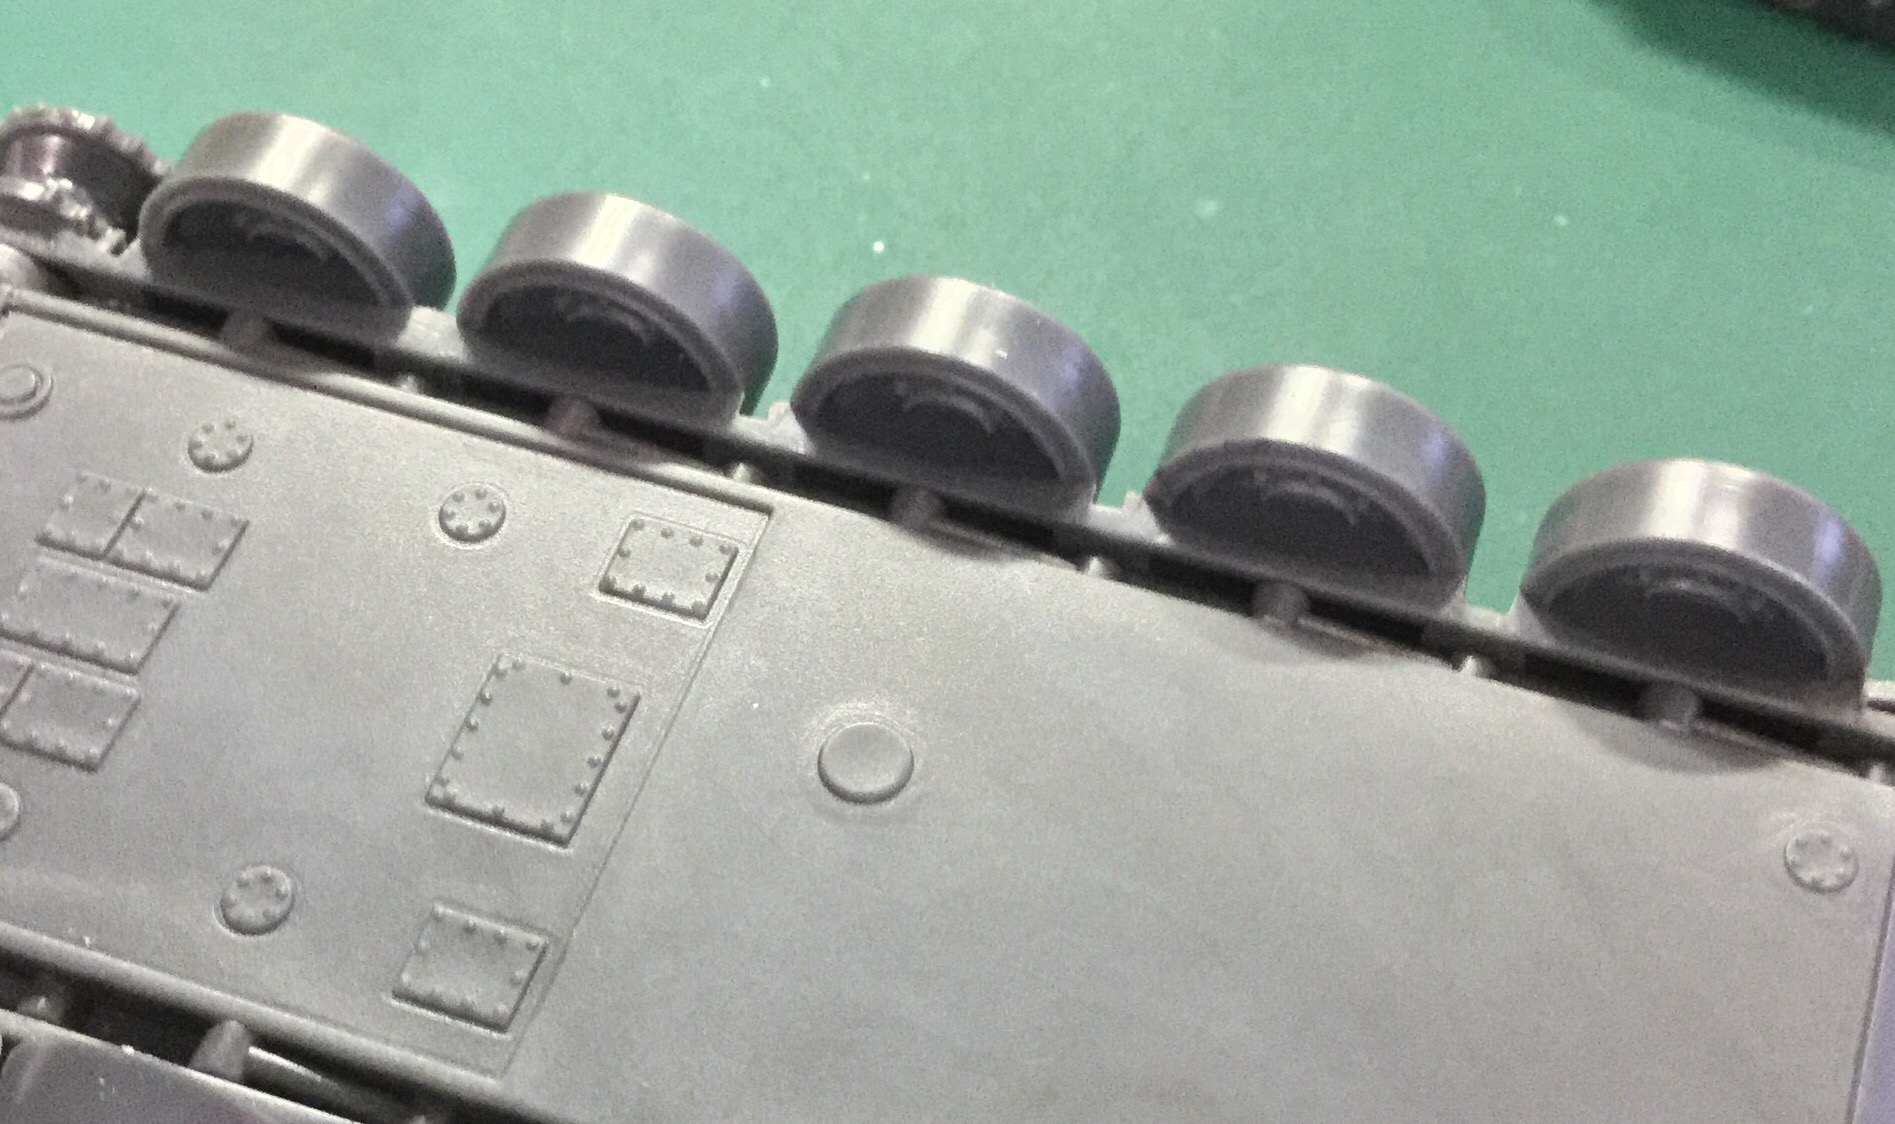
Yeah, their side panel with the road wheels didn’t follow through to take advantage of the detail. Which meant the details were a waste of somebody’s time…
On top of that, you’d note that the road wheels are not in two pieces, with a slot in between for the track’s guide teeth to go through. And the tracks had no stays, instead having blank slots on the bottom for the wheels to sit. Which meant the tracks allow the tank to slide around sideways, forcing the modeler to take extra care while gluing. And Cromwell tracks are fairly narrow…
And talking about tracks, the way the Warlord Games instructions had them assembled, you are putting the sprue connecting points on the outside, visible to everyone. But the tracks are actually interchangeable, the left track can go on the right track. So with a bit of thought, the instructions could have easily hid the connecting points on the inside of the model. Yeah. I went “huh?” too.
Oh, and the side storage boxes? Hollow underneath, and the lower hull don’t shield that. It’s like the Tamiya 1/48 Sherman Firefly and M10, but less of a problem with the Cromwell though, since it’s a low machine, so the open sponsons are not as visible as the other two kits.
Overall, I’m having a love-hate relationship with this kit. The final product is not bad per se. Not the greatest, but fairly decent. The way the manufacturer put it together is like a unfavoured step-child though, a lot of neglect in trying to hide sprue marks or better ways to assemble things, and honestly the instructions could do a lot better. Tolerances are also notably lesser than Tamiya kits — it wasn’t a fun kit to build, better than the Warlord Games M3 halftrack, and nothing aside from the rear panel that makes you want to tear your hair out, but it’s more a “let’s get this over with” kit than anything.
Pingback: 1/56 Rubicon vs. WG Sherman - sg-lynx.net