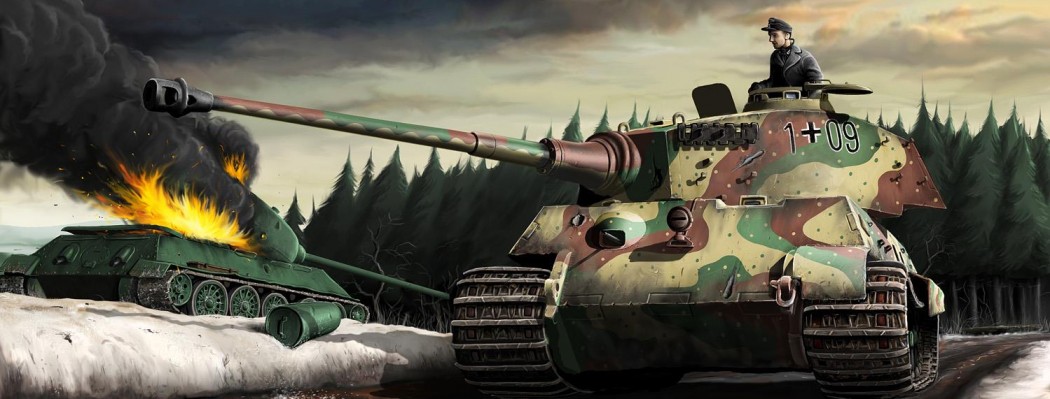

Panther Ausf. D
Manufacturer: BattleFront Miniatures
Product Code: GBX19, GBX21
Date of Article: 05 Jan 2009
Description
The Panther, as a response to the excellent Russian T-34, came into its own as a very good WWII tank. It would go on to influence tank design for generations.
This article covers the BattleFont miniature in the GBX19 Barkmann box, as well as the GBX21 Panther Ausf. D box. This is as they are essentially the same miniature sculpt, barring some stylistic differences in terms of stowage, battle damage, and wear & tear. The model however, is different from earlier Panther Ausf. A models that came in a blister (which I no longer had the product code).
Ball-mounted Hull MG
The ball-mounted hull MG is a separate piece that is relatively easy to attach. Two points to watch out for though; the first is to be careful as to the rotation of the piece as you glue it in, the second is to be careful of the MG itself, as it is a relatively fragile piece and can break off.
If you accidentally broke off the MG, you can either leave it off (to represent the crew not having the MG readied), or to drill the area and insert a paper clip/ wire as the MG. It’s not 100% accurate, but it’s close, as per below:
(Image Placeholder)
Driver and Radio Operator’s hatch
These hatches should be positioned such that the bar at the corner of the panel is at the outer front corner of hole representing the personnel’s hull position, as shown below.
(Image Placeholder)
Rear Exhaust
Early Panthers had engine overheating problems, and the exhaust was quite hot — hot enough for the Russians to use that as an aiming point (presumably at night)! The Panther Ausf. D addressed this issue by attaching extra cooling pipes to the left exhaust. Left as in from the tank’s perspective; left side when looking at the rear towards the front. right side when looking at the front towards the rear:
(Image Placeholder)
Tank Jack
The Panthers come with the following piece:
(Image Placeholder)
This is actually a jack to help with repairs/ maintenance. Typical mounting spots are (to be completed). You can also leave the jack off entirely.
Front Fenders and Side Skirts
The side skirts of the Panthers are quite easy to place. You might want to be careful with the alignment of the skirts, and it should be about like this:
(Image Placeholder)
The front fenders are a bit tricky, but not too difficult to set up. In real life, both side skirts and front fenders tend to go missing after some travel or combat, so it’s perfectly legit to leave them off or cut them up a bit.
One related part is the Notex light on the left hull of the Panther, above the fender. Although this is molded to the hull, it is a piece that sticks up quite a bit and as a result can be easily knocked off.
(As a historical note, early Panther Ausf. Ds had two Notek lights, right and left. By the time it got to Panther Ausf. As, the Germans decided the right Notek light wasn’t necessary and deleted it.)
Tracks
The tracks are a single piece cast with only one place where the cast is supposed to be a void (i.e., can see through the piece). There are often flash here and would need cleaning.
It is advised to do test fitting, as the upper portion of the track seems not to be a total fit to the hull. However, the usual problem is that one portion doesn’t conform to the hull contour:
(Image Placeholder)
A quick snip and file and the tracks would fit well enough.