
Hornisse
Manufacturer: BattleFront Miniatures
Product Code: GE107
Date of Article: 05 Nov 2008
Description
I haven’t actually completed assembly of the Hornisse(s), but here are some notes. Below is the parts breakdown:
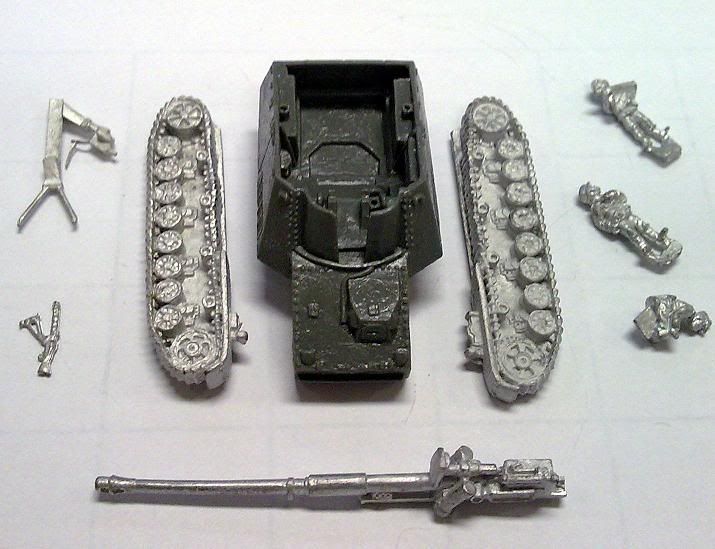
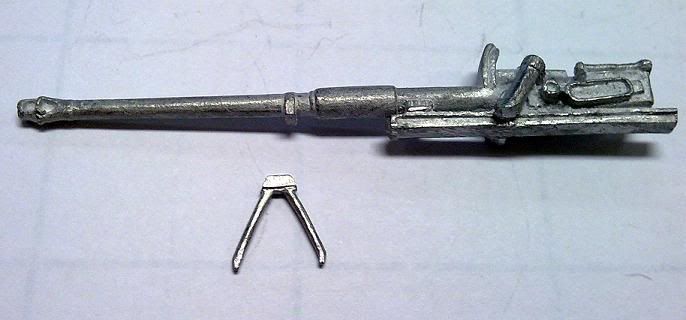
Gun Travelling Lock
The miniature comes with a gun travelling lock as a separate piece, together with the periscope (more on this later).
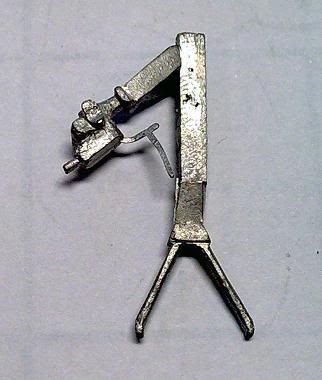
There’s a few issues with this travelling lock:
- The lock is in two parts; the lower half consisting of struts, and the actual lock molded onto the barrel. Hence, the only “correct” way to mount the travelling lock is in the travel position, with the gun in the lock; if you have the gun separate, then the actual lock should be grounded away to be accurate.
Editor’s note: I’ve since found pictures that indicates the lock is actually a two-part deal in real life. I’ll need to look for more photographic evidence, but it looks like BF actually got this correct! But it’s still fiddly to get things together, I might still leave the support off.
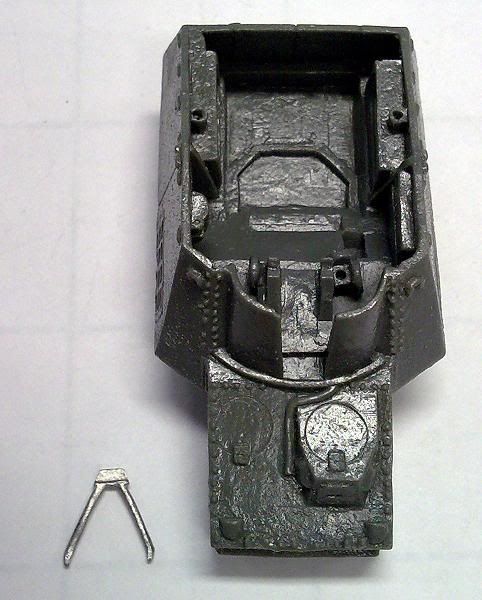
- The hull has no holes or sockets to hold the lock in place, making it difficult to actually mount the lock in the travelling position.
- BF online store actually has the lock in the combat position, with the lock on the hull — which is also problematic, because you can end up squirting glue all over the place while trying to make sure the part doesn’t slip off. Not to mention the barrel still has the upper portions of the lock.
- To add insult to the injury, trying to mount the gun in the travelling position is made more difficult by the lack of interlocking parts on the lock and the struts. This makes it hard to hold the three parts (gun, hull, struts) steady while the glue cures.
All in all, it’s an annoying piece that I’ll probably end up not having the lock at all.
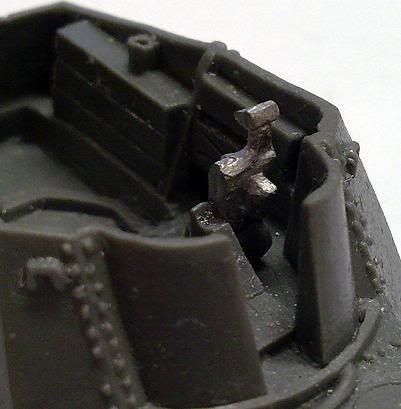
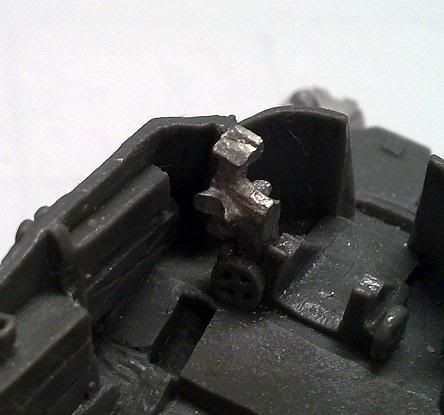
Periscope
The other part that comes with the gun travelling lock is the periscope. There’s a small hole where you are supposed to plug the part in, but no clear instructions as to how to plug the part in.
The way to plug it is to have the curved portion facing the gunner; this is the headrest as the gunner peers into the periscope.
Crew
The crew are separate minis and are not molded into the fighting compartment. Because of space constraints, it’s generally better to paint them separately before final assembly.
Gun
Take note that the long 88mm gun is actually a bit front heavy, and you might need to shim to get a nice elevation to the gun.