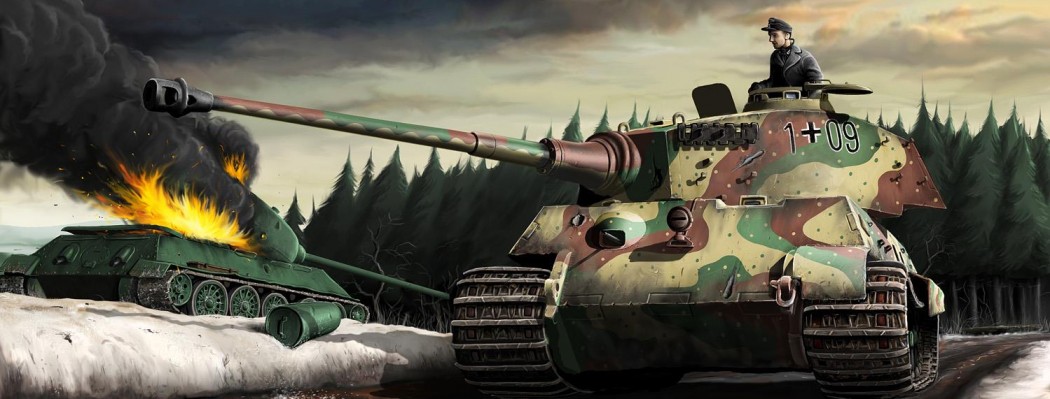

Tiger II
Manufacturer: BattleFront Miniatures
Product Code: GE????
Date of Article: 19 Aug 2008
Description
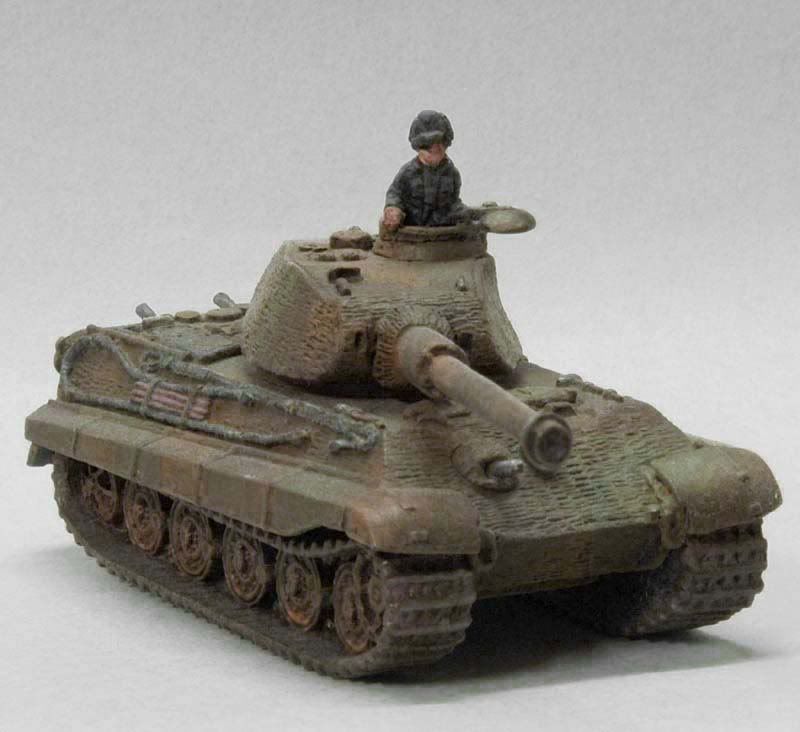
The BattleFront Tiger II is a relatively easy miniature to put together. However, there are a few key points to note in the assembly stage.
Turret
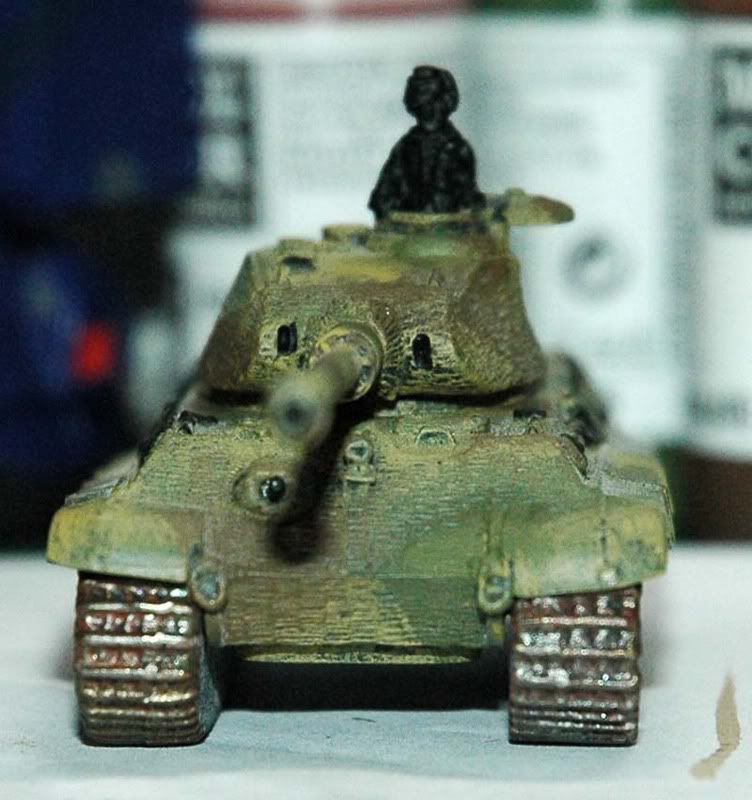
The commander’s cupola is notched and… you can’t get it wrong, basically. The turret loader’s hatch is hinged towards the front of the turret; it would open with the cover upright at the front of the opening.
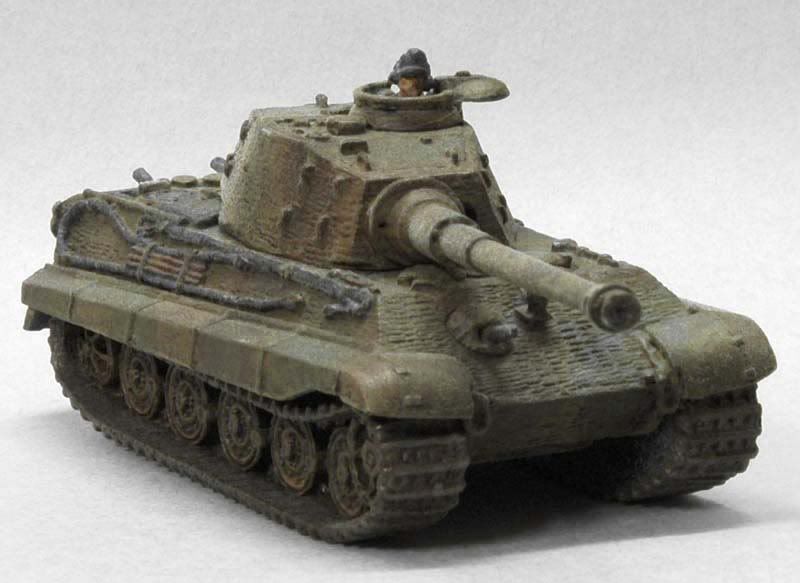
The gun itself wasn’t too bad on my copy, but can be an issue with bended barrels. The Porsche turret, having a curved mantle, has a bit of issue waiting for the glue to cure, but so does the Henschel turret, with a notable gap between turret face and gun mantle. You might not want to “flush glue” the gun to the Henschel turret, as this elevates the gun considerably.
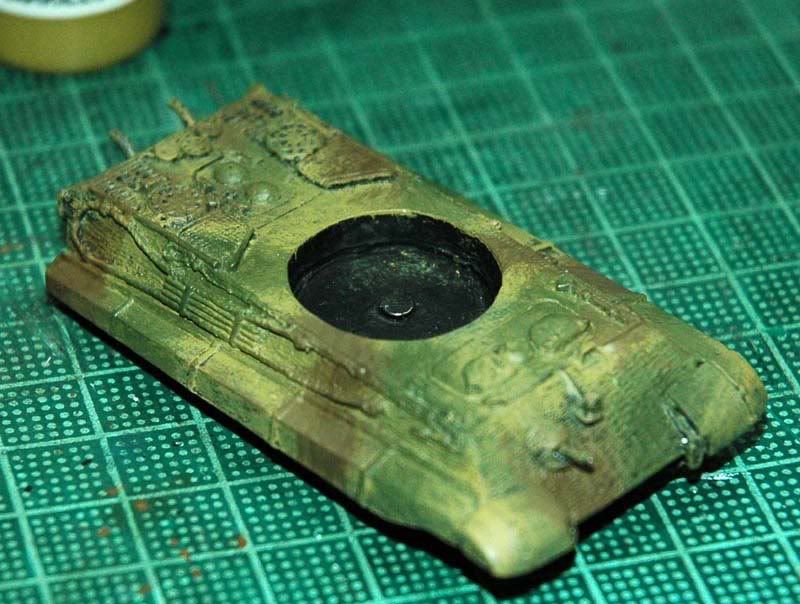
Hull Hatches
The driver and bow gunner’s hatches open by rising vertically, then pivoting around the column. As such, their placement on the hull will always be anchored by the round pivot, and left either in the open or closed position as you like.
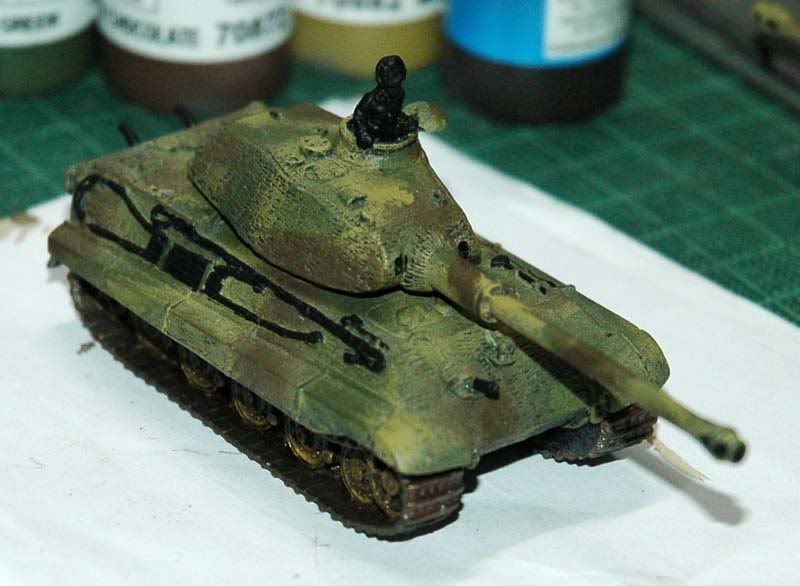
Tracks
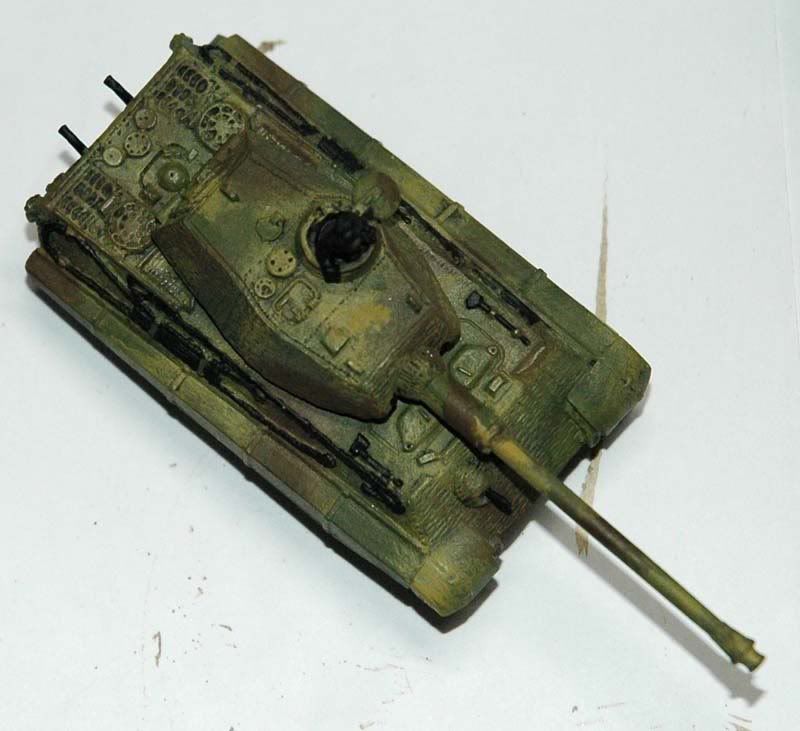
The metal tracks and resin hull suffers from the usual alignment problem, so you do need to dry-fit before gluing to ensure the tracks lay flat on the ground and not “tiptoe”. You might need to shim a bit to get the right fit.
Hull and Side Skirts
Personal preference here, but I glued the sideskirts on before I glued the tracks, and painted them as such; this is as the sideskirts are metal and can take the abuse, plus with the big tracks on the Tiger II, I would want to get into the underside of the skirts to make sure they are painted properly.
Also note the Notek light in the middle of the hull. This is a separate metal piece that needs to be cut out (carefully) and positioned (carefully). You should take time and care as this is a small part. As usual, I glued it into place before painting.
Lastly, note the exhaust stacks; these are also small items. To avoid problems with loss etc, I glued them in before painting too.