
So anyhow, I finally met up with a friend to sort out stuff we bought for each other. In the exchange, I ended up with 5 boxes and he ended up with 10… not as bad a trade as you might think as both of us are trying very hard to reduce our inventory count. Heh. As a result of the trading, I’m able to do a review of Rubicon’s new Sherman, as well as a comparison of 1/56 Rubicon vs. WG Sherman.
Rubicon’s a fairly new company, based out of Hong Kong to my knowledge, and has came into the 28mm wargaming market with a line of 1/56 scale WWII vehicles that are compatible with Warlord Games‘ Bolt Action line. Their M4A3 Sherman actually came out some time prior, it’s just that I couldn’t settle up with my friend and get my box in for this review.
And oh, fair warning — it’s a long post.
Parts Layout
Rubicon has parts pic on their site, but for completeness I’d just lay them out here:
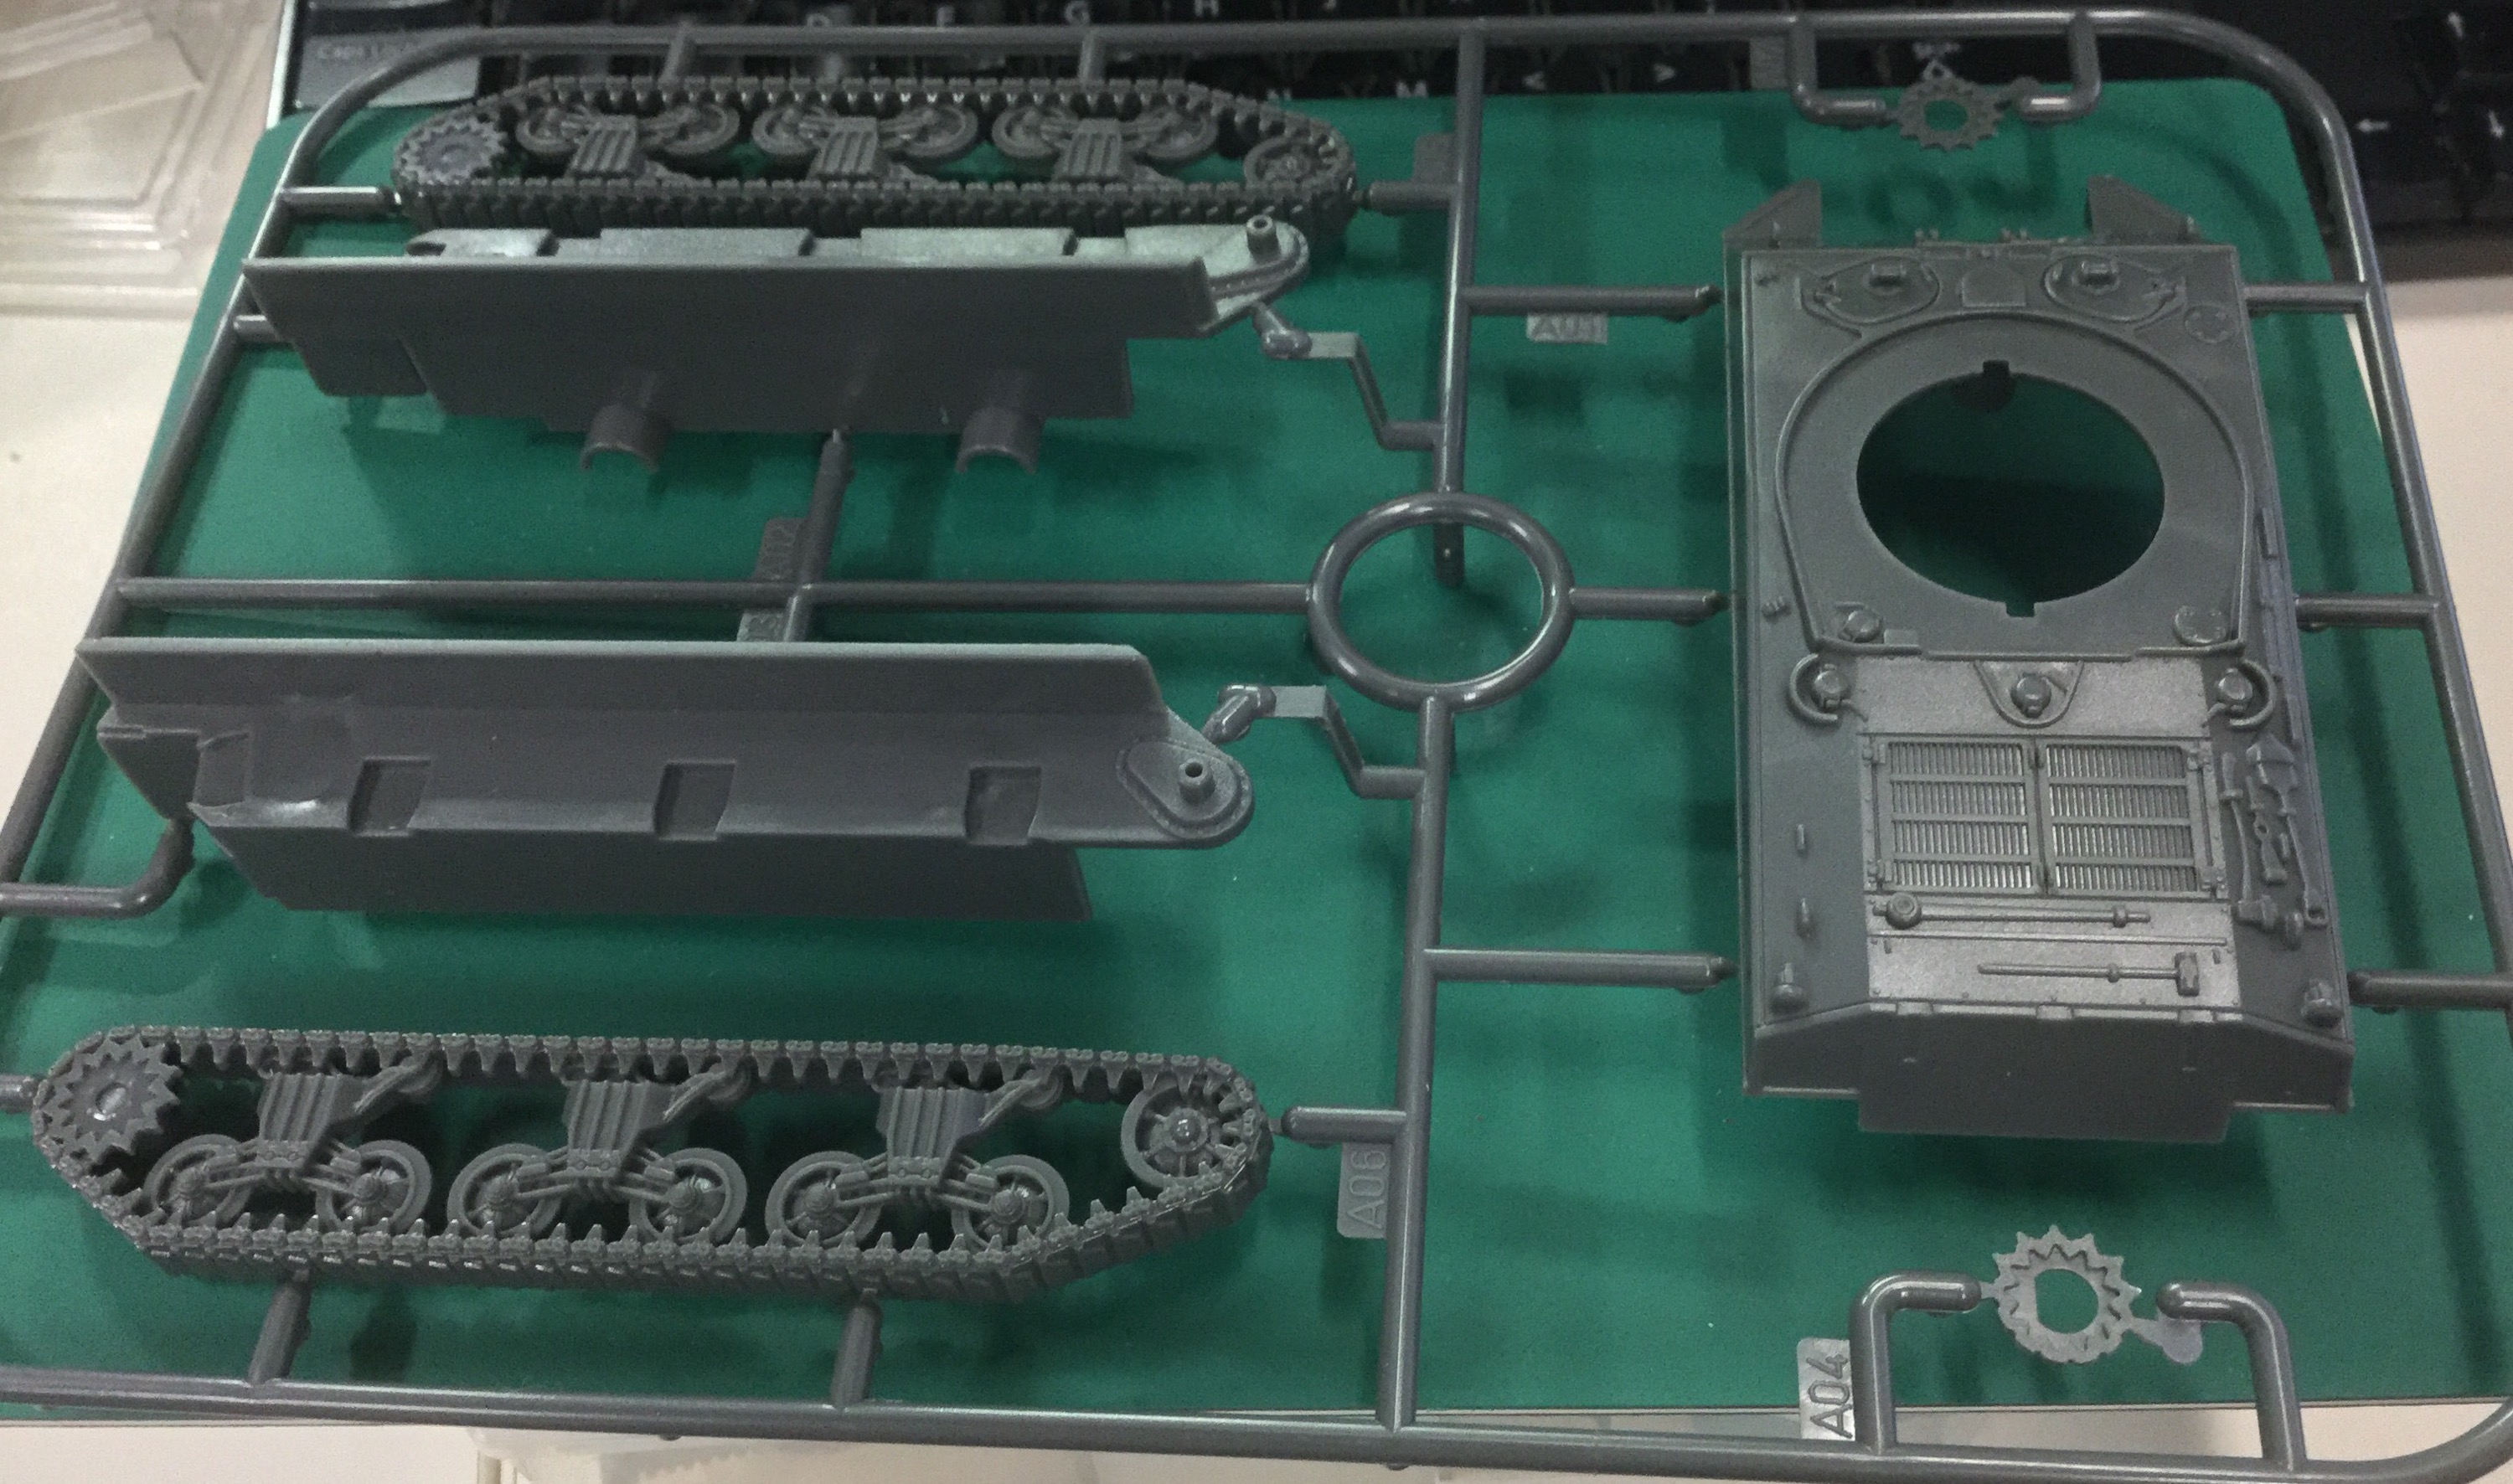
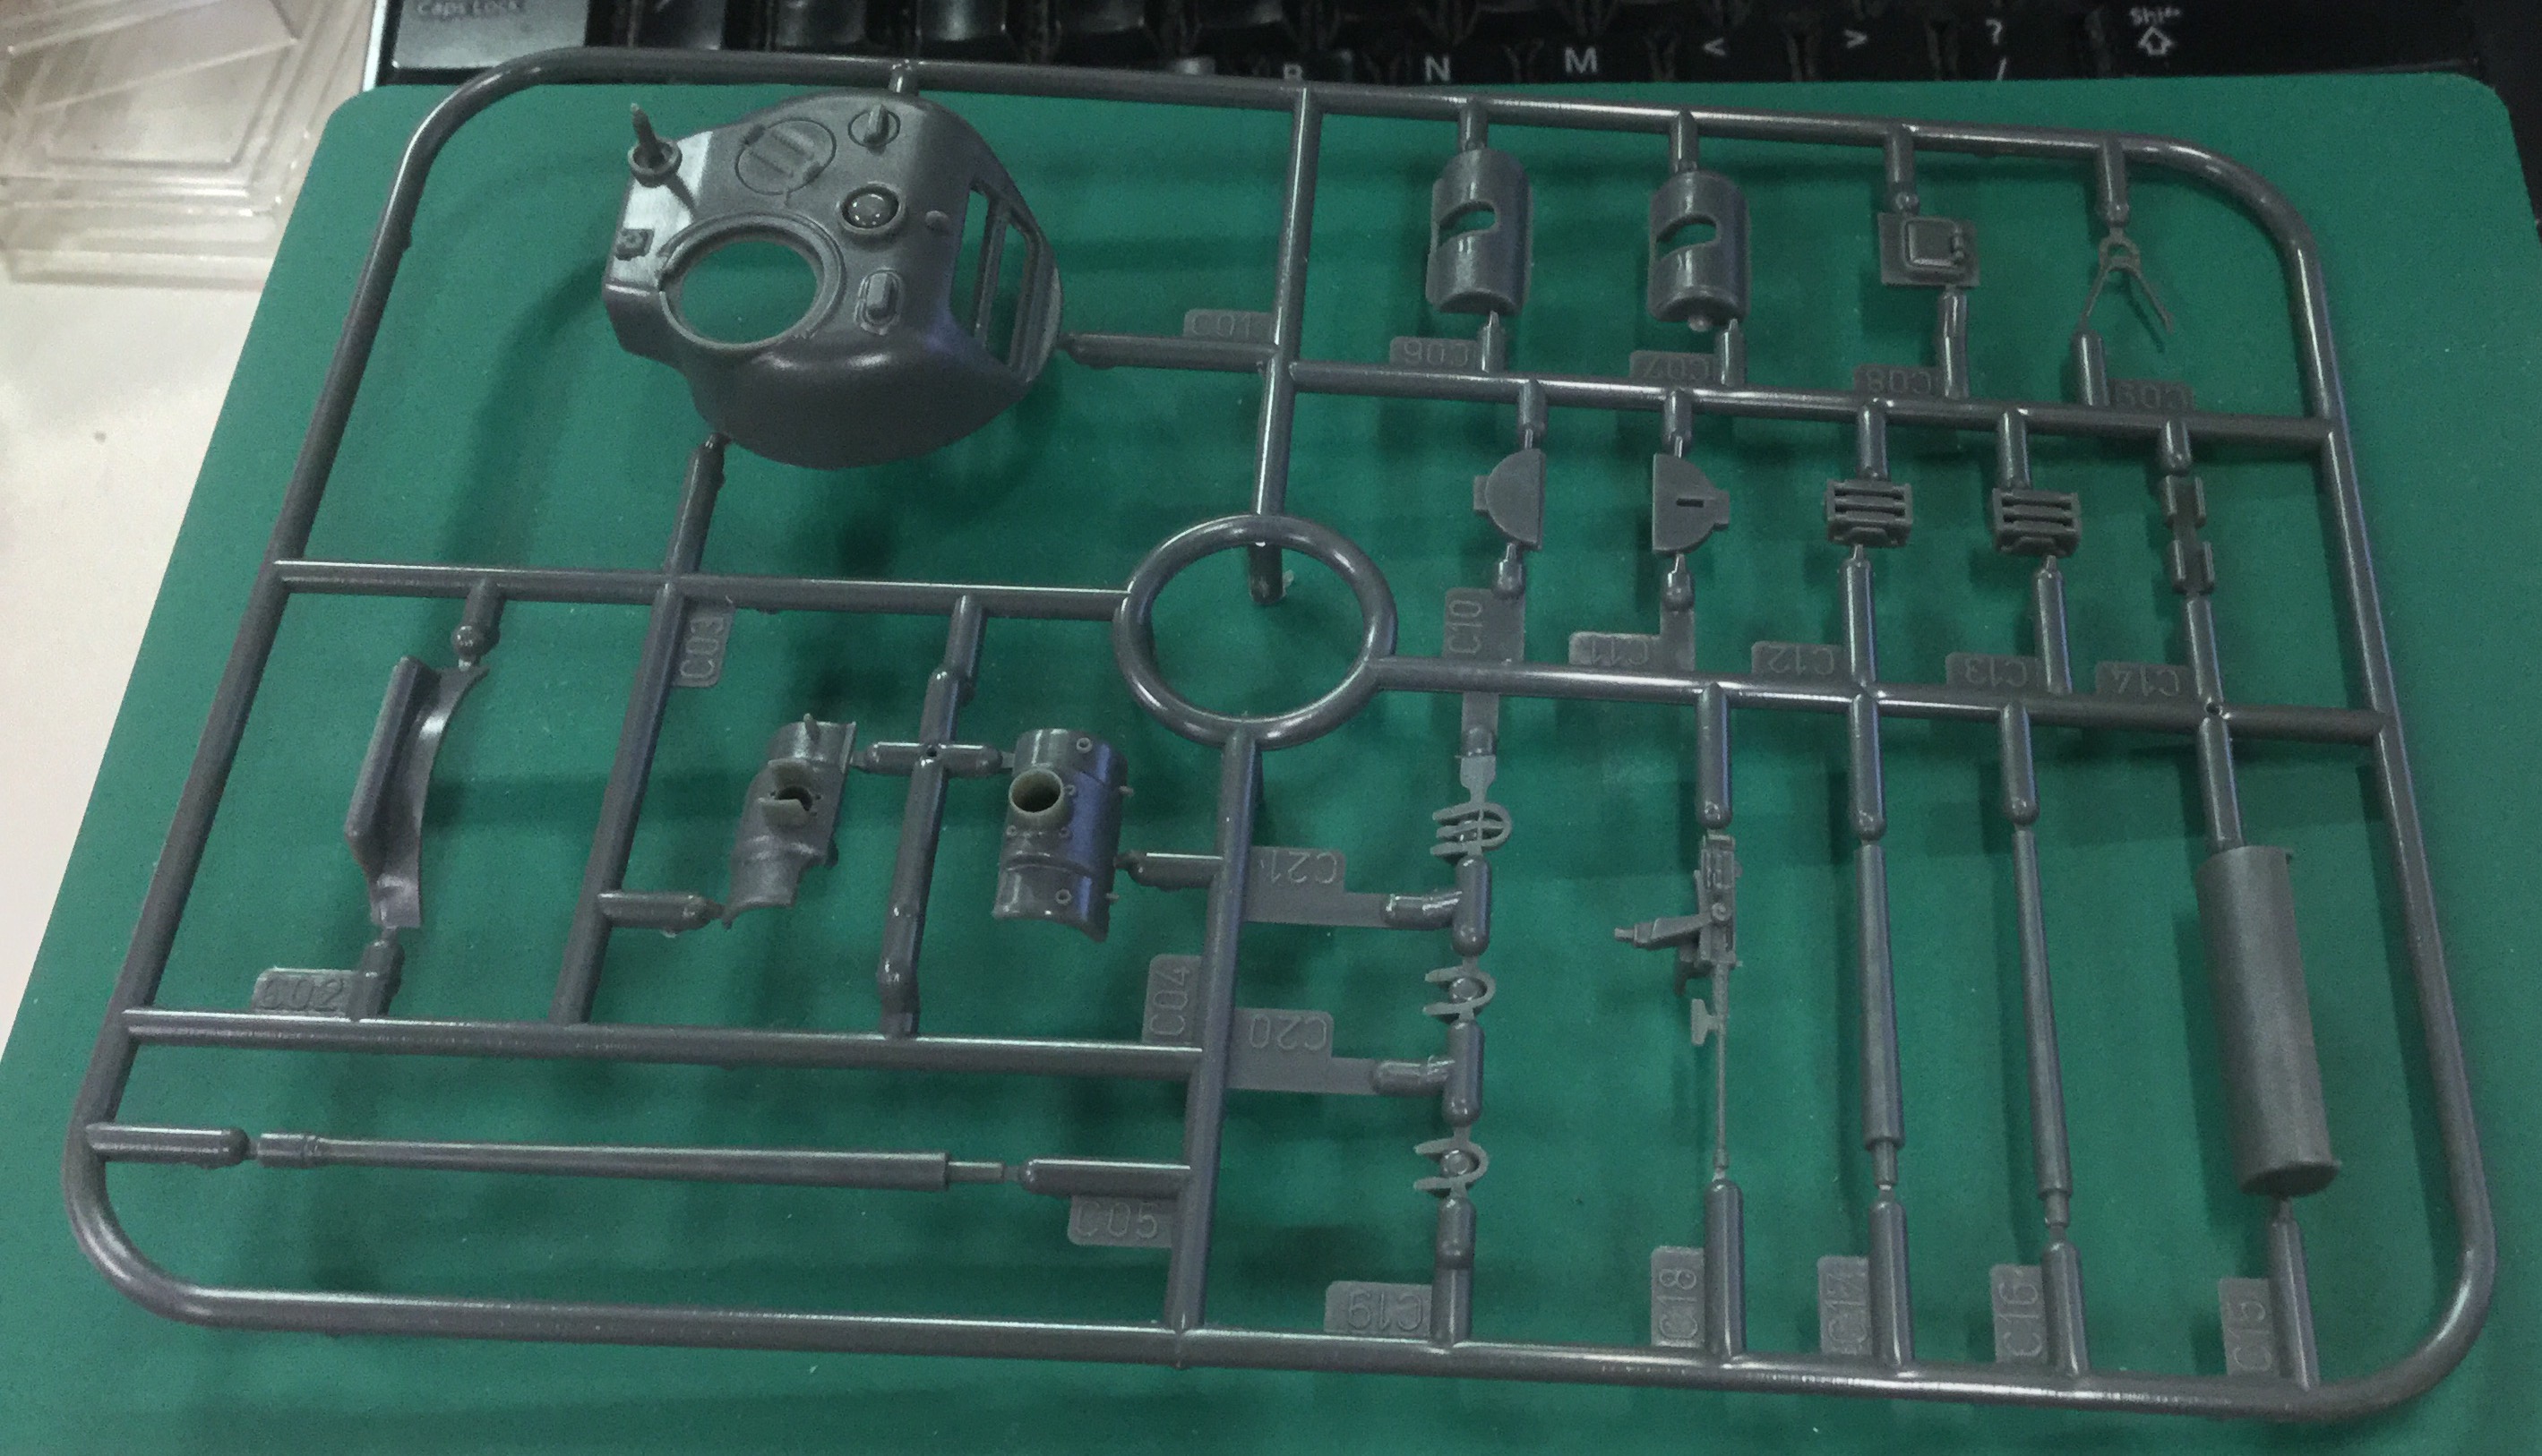

Three sprues, part count isn’t very high which is good for the wargaming crowd. Layout is logical, though I feel they could have squeeze a bit more in (more on that later). Molding is crisp and clear, with good details, though this is undoubtedly one of the earlier production boxes. It remains to be seen how the later production runs would fare.
Plastic quality is good, though I thought it filed a bit powdery — just a personal dislike. Perfectly serviceable, the mold lines are generally in the right places to be taken care of though.
Instructions are well illustrated and generally no issue, though I was thinking whether there was a need to specifically number certain parts. Some parts look to be identical for both sides of the hull, but had different part numbers; I wasn’t sure if there was some differences that escaped me. The instructions could have just used the same part numbers if they were interchangeable.
Hull Build
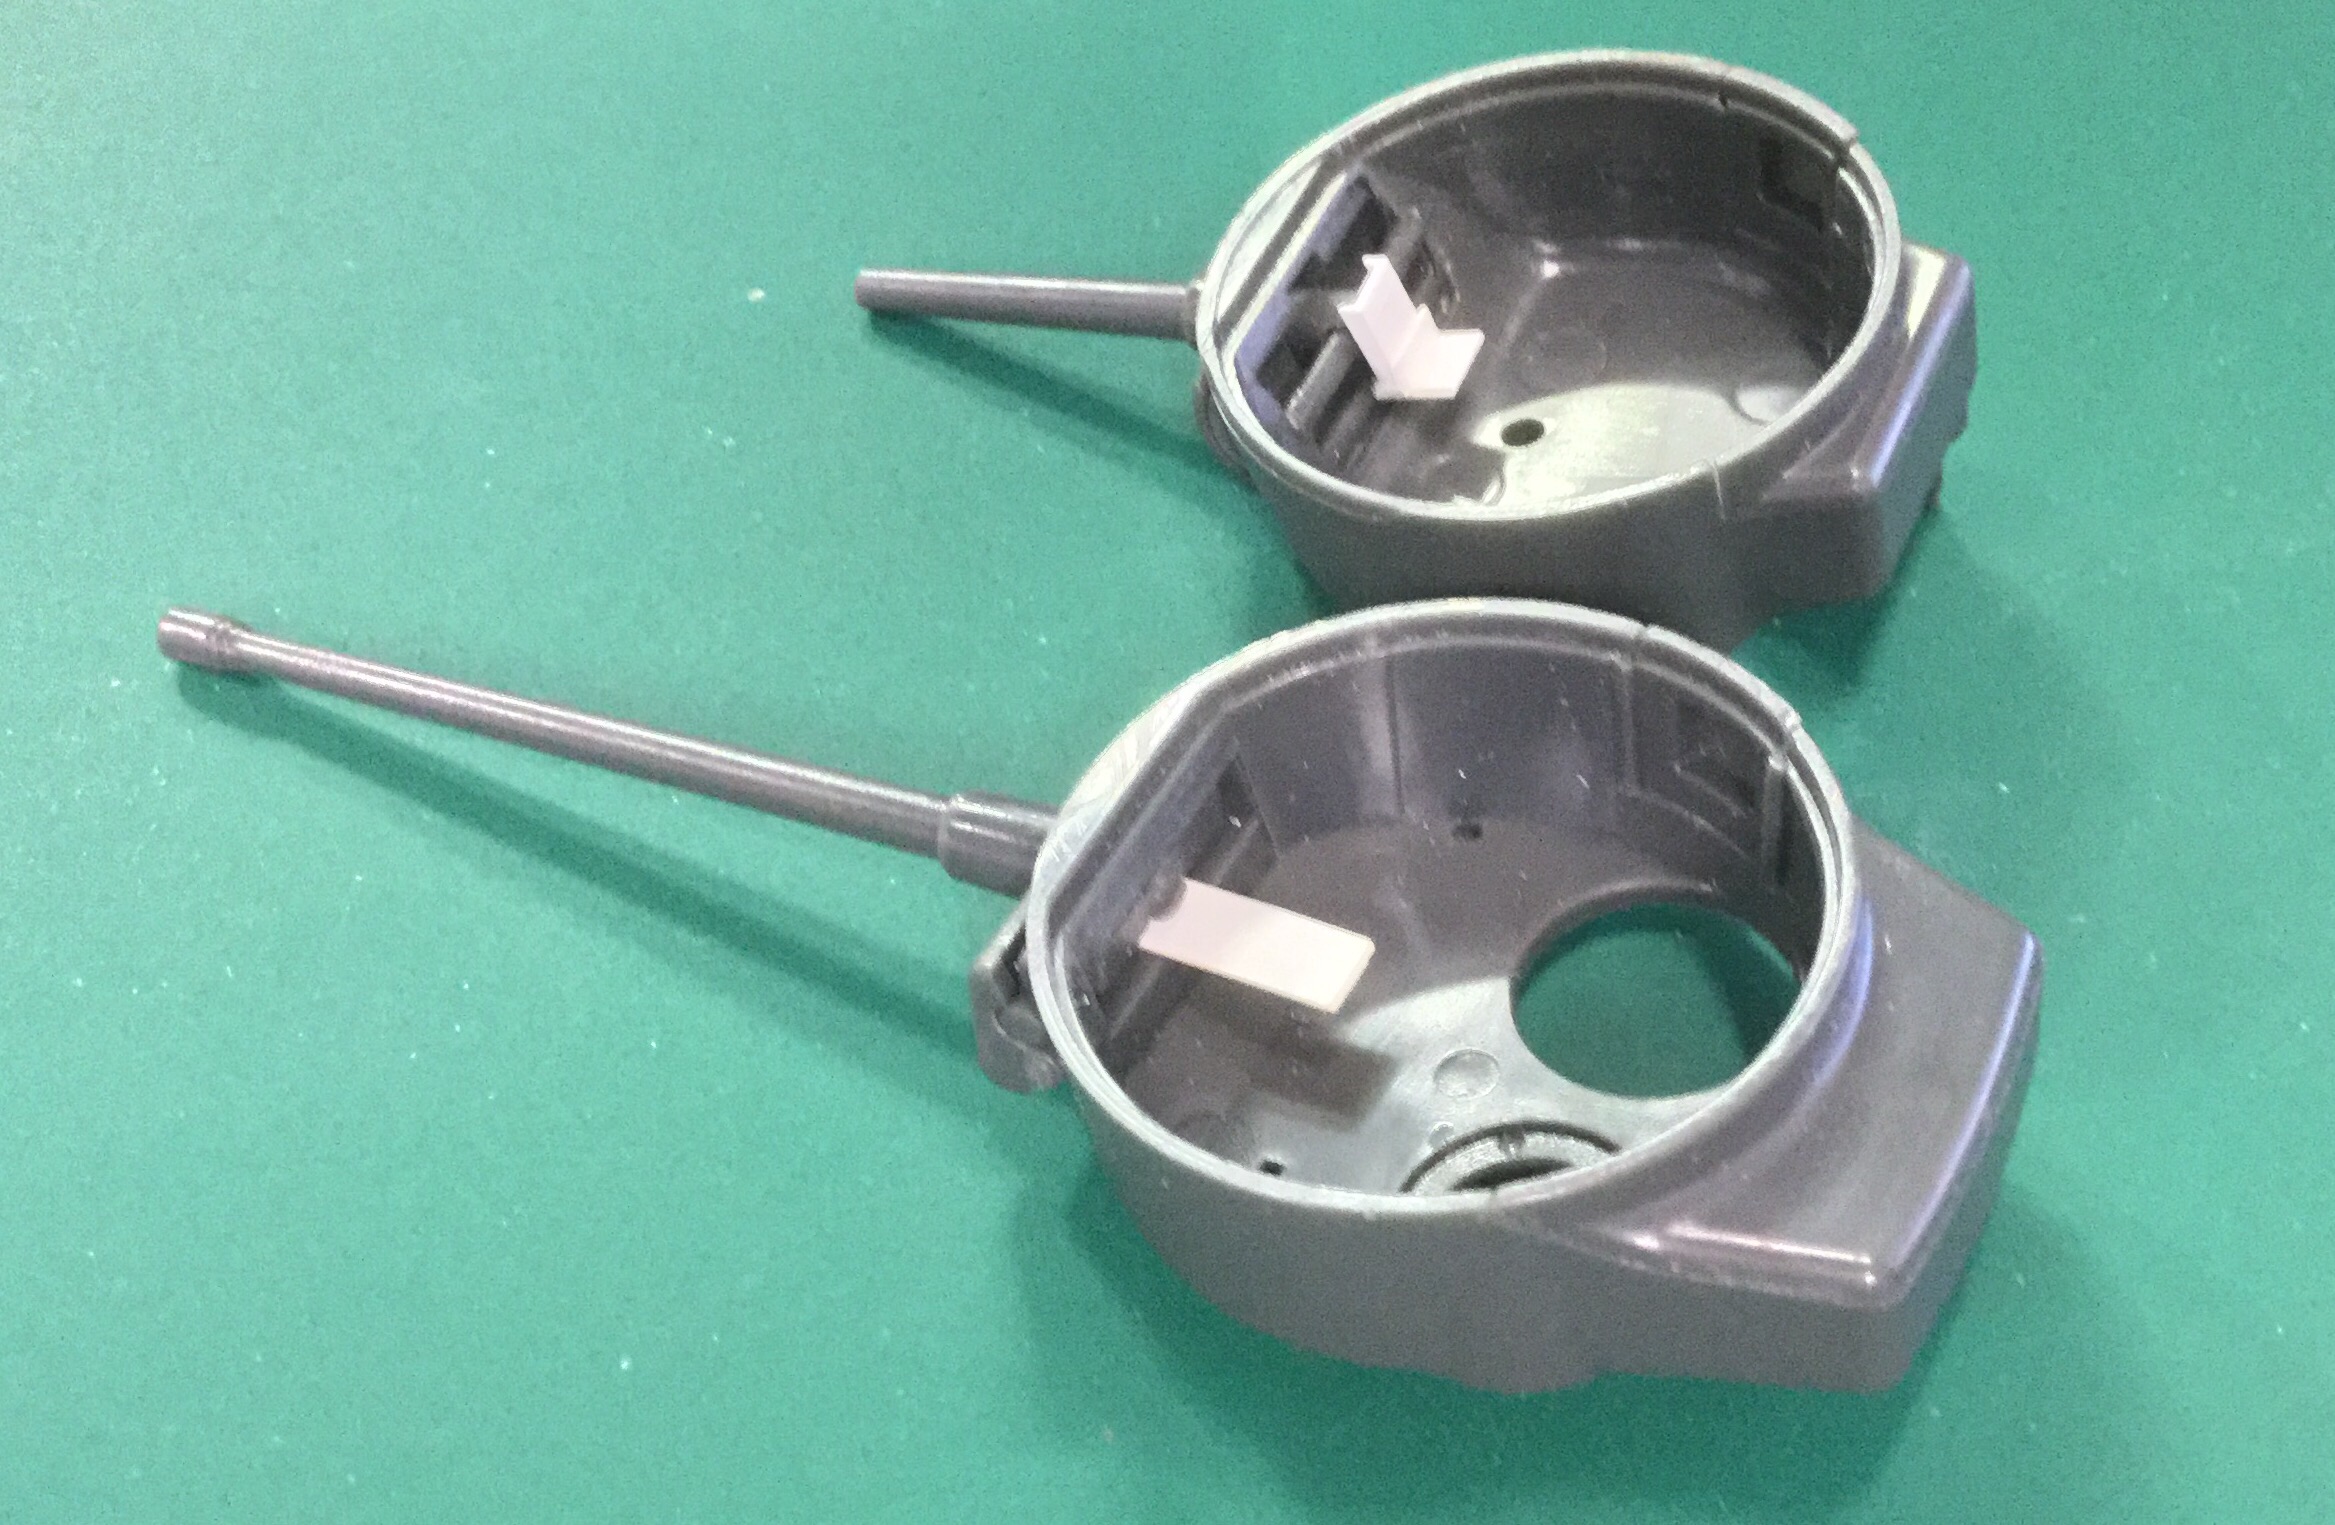
You’d notice that Rubicon didn’t go with the standard open-topped box for the hull, opting to go with two halves that join to form a closed box. This gives us a bit of an odd duck:
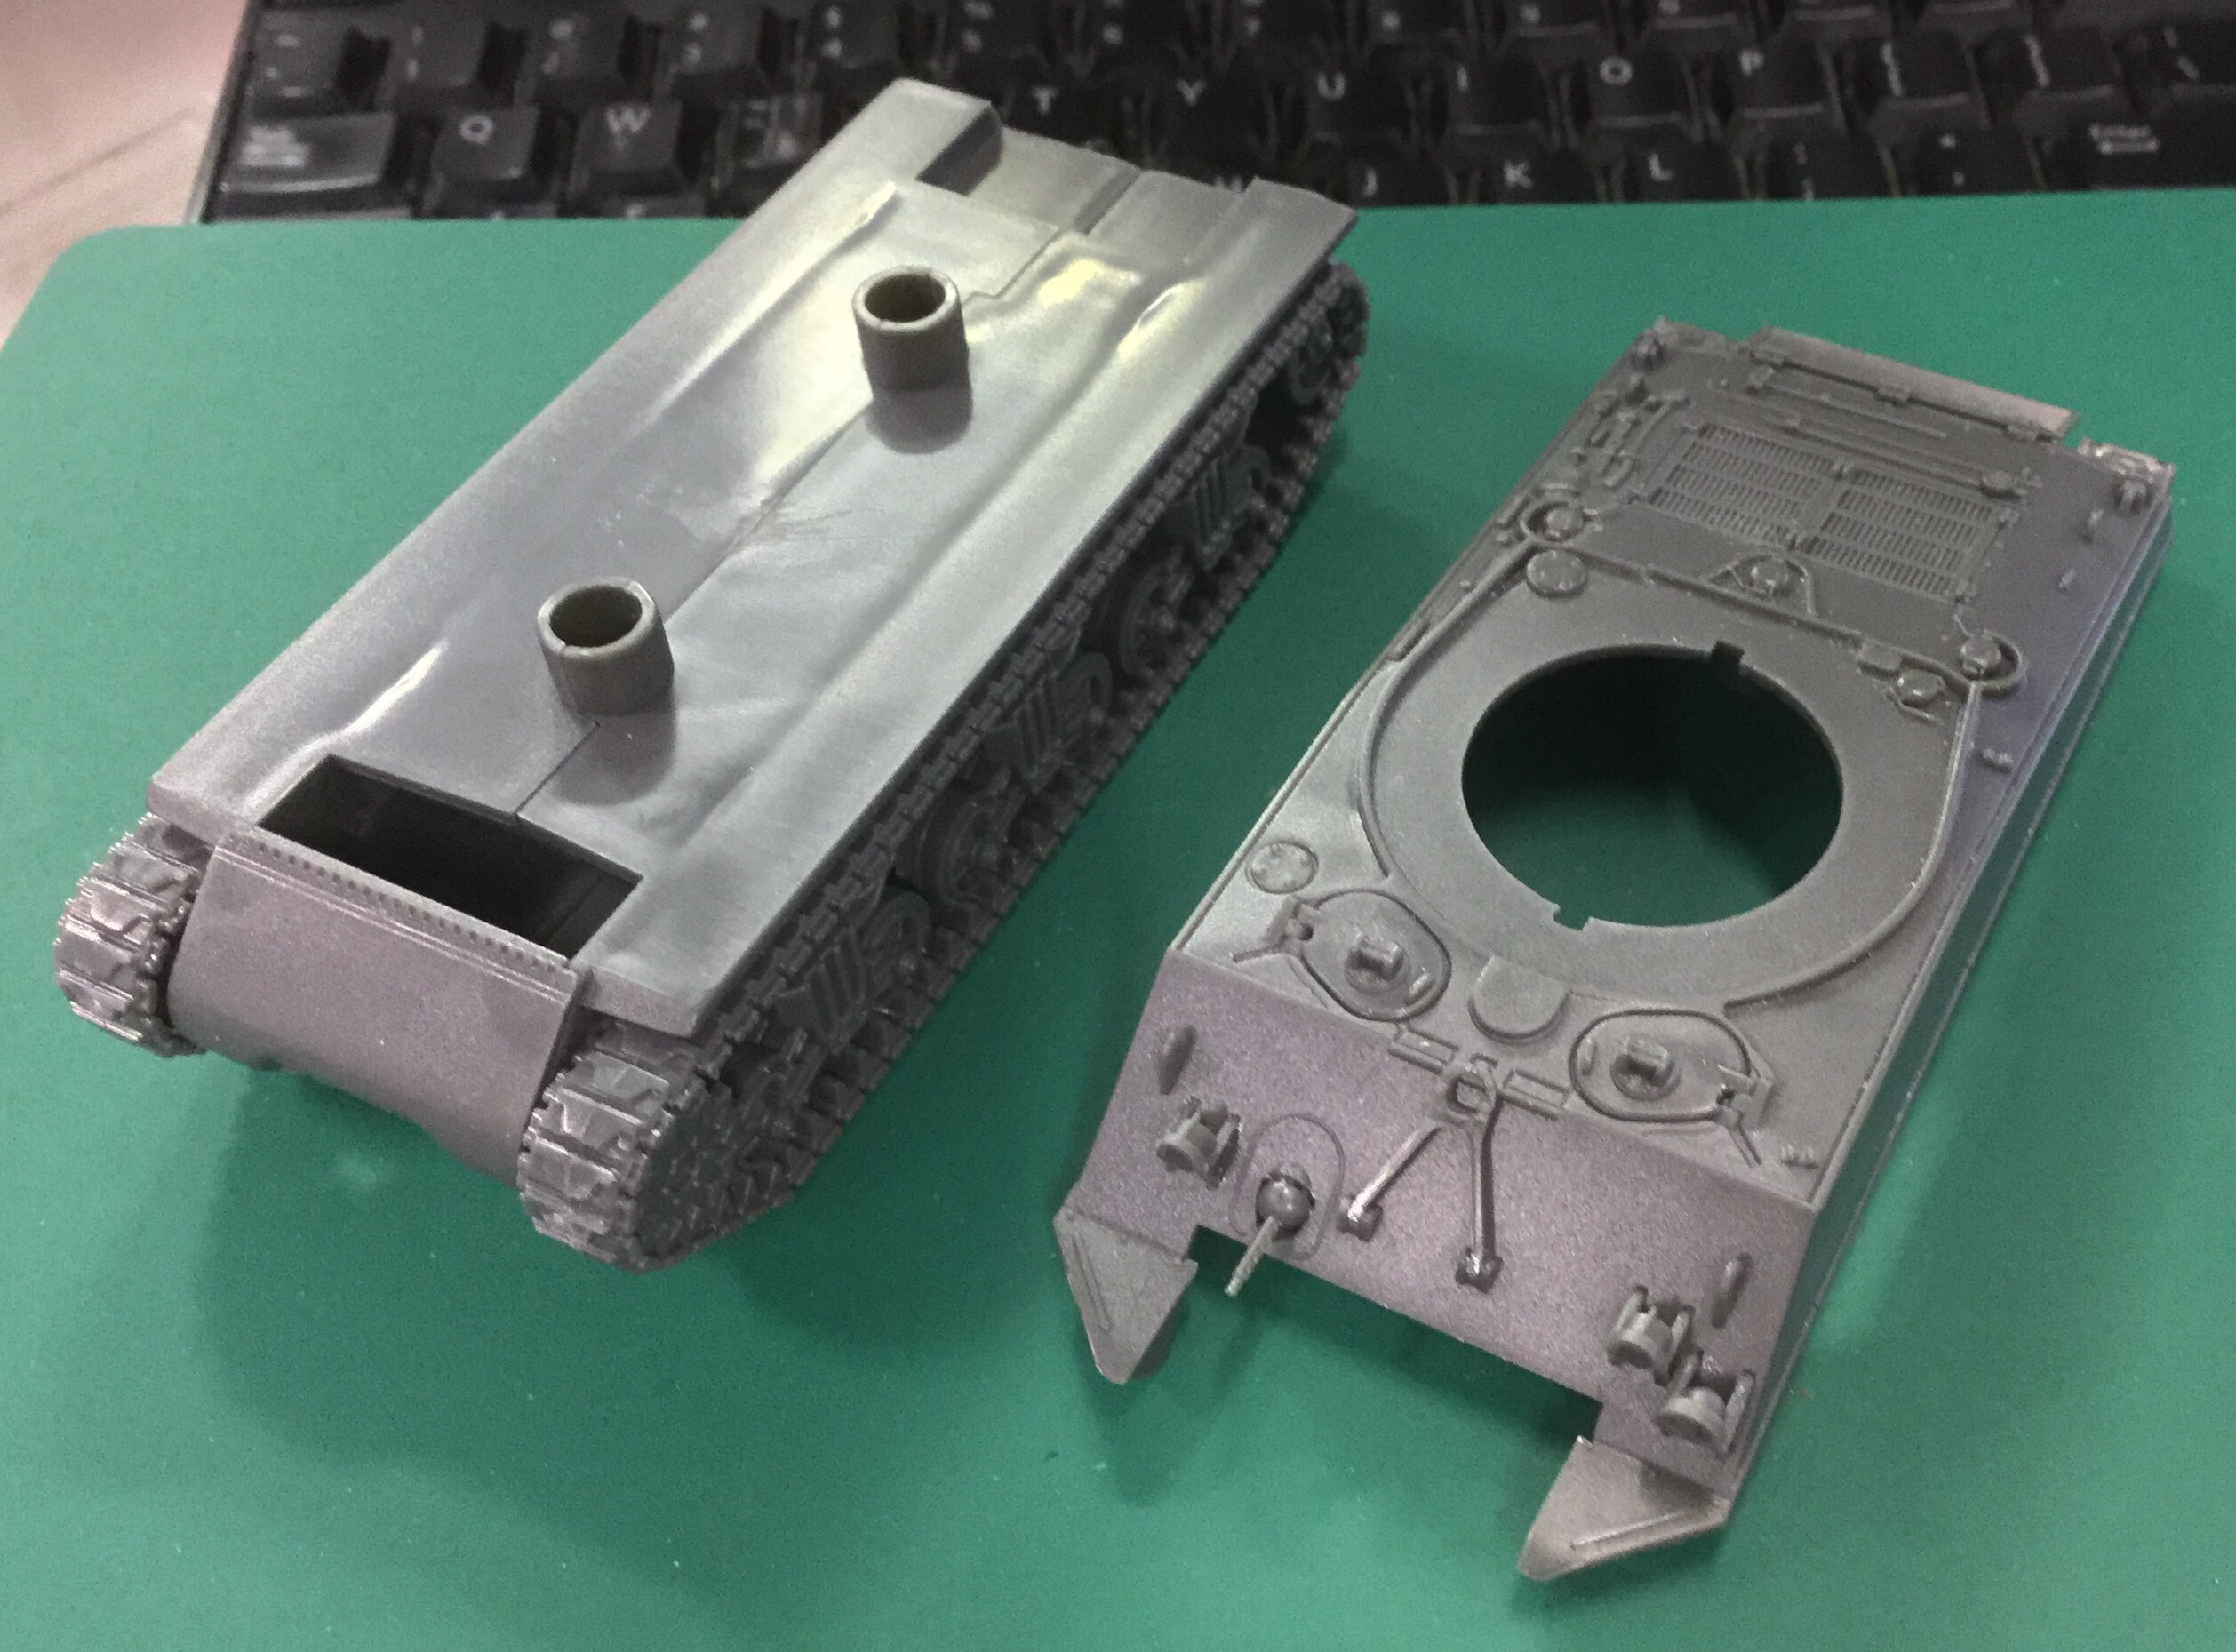
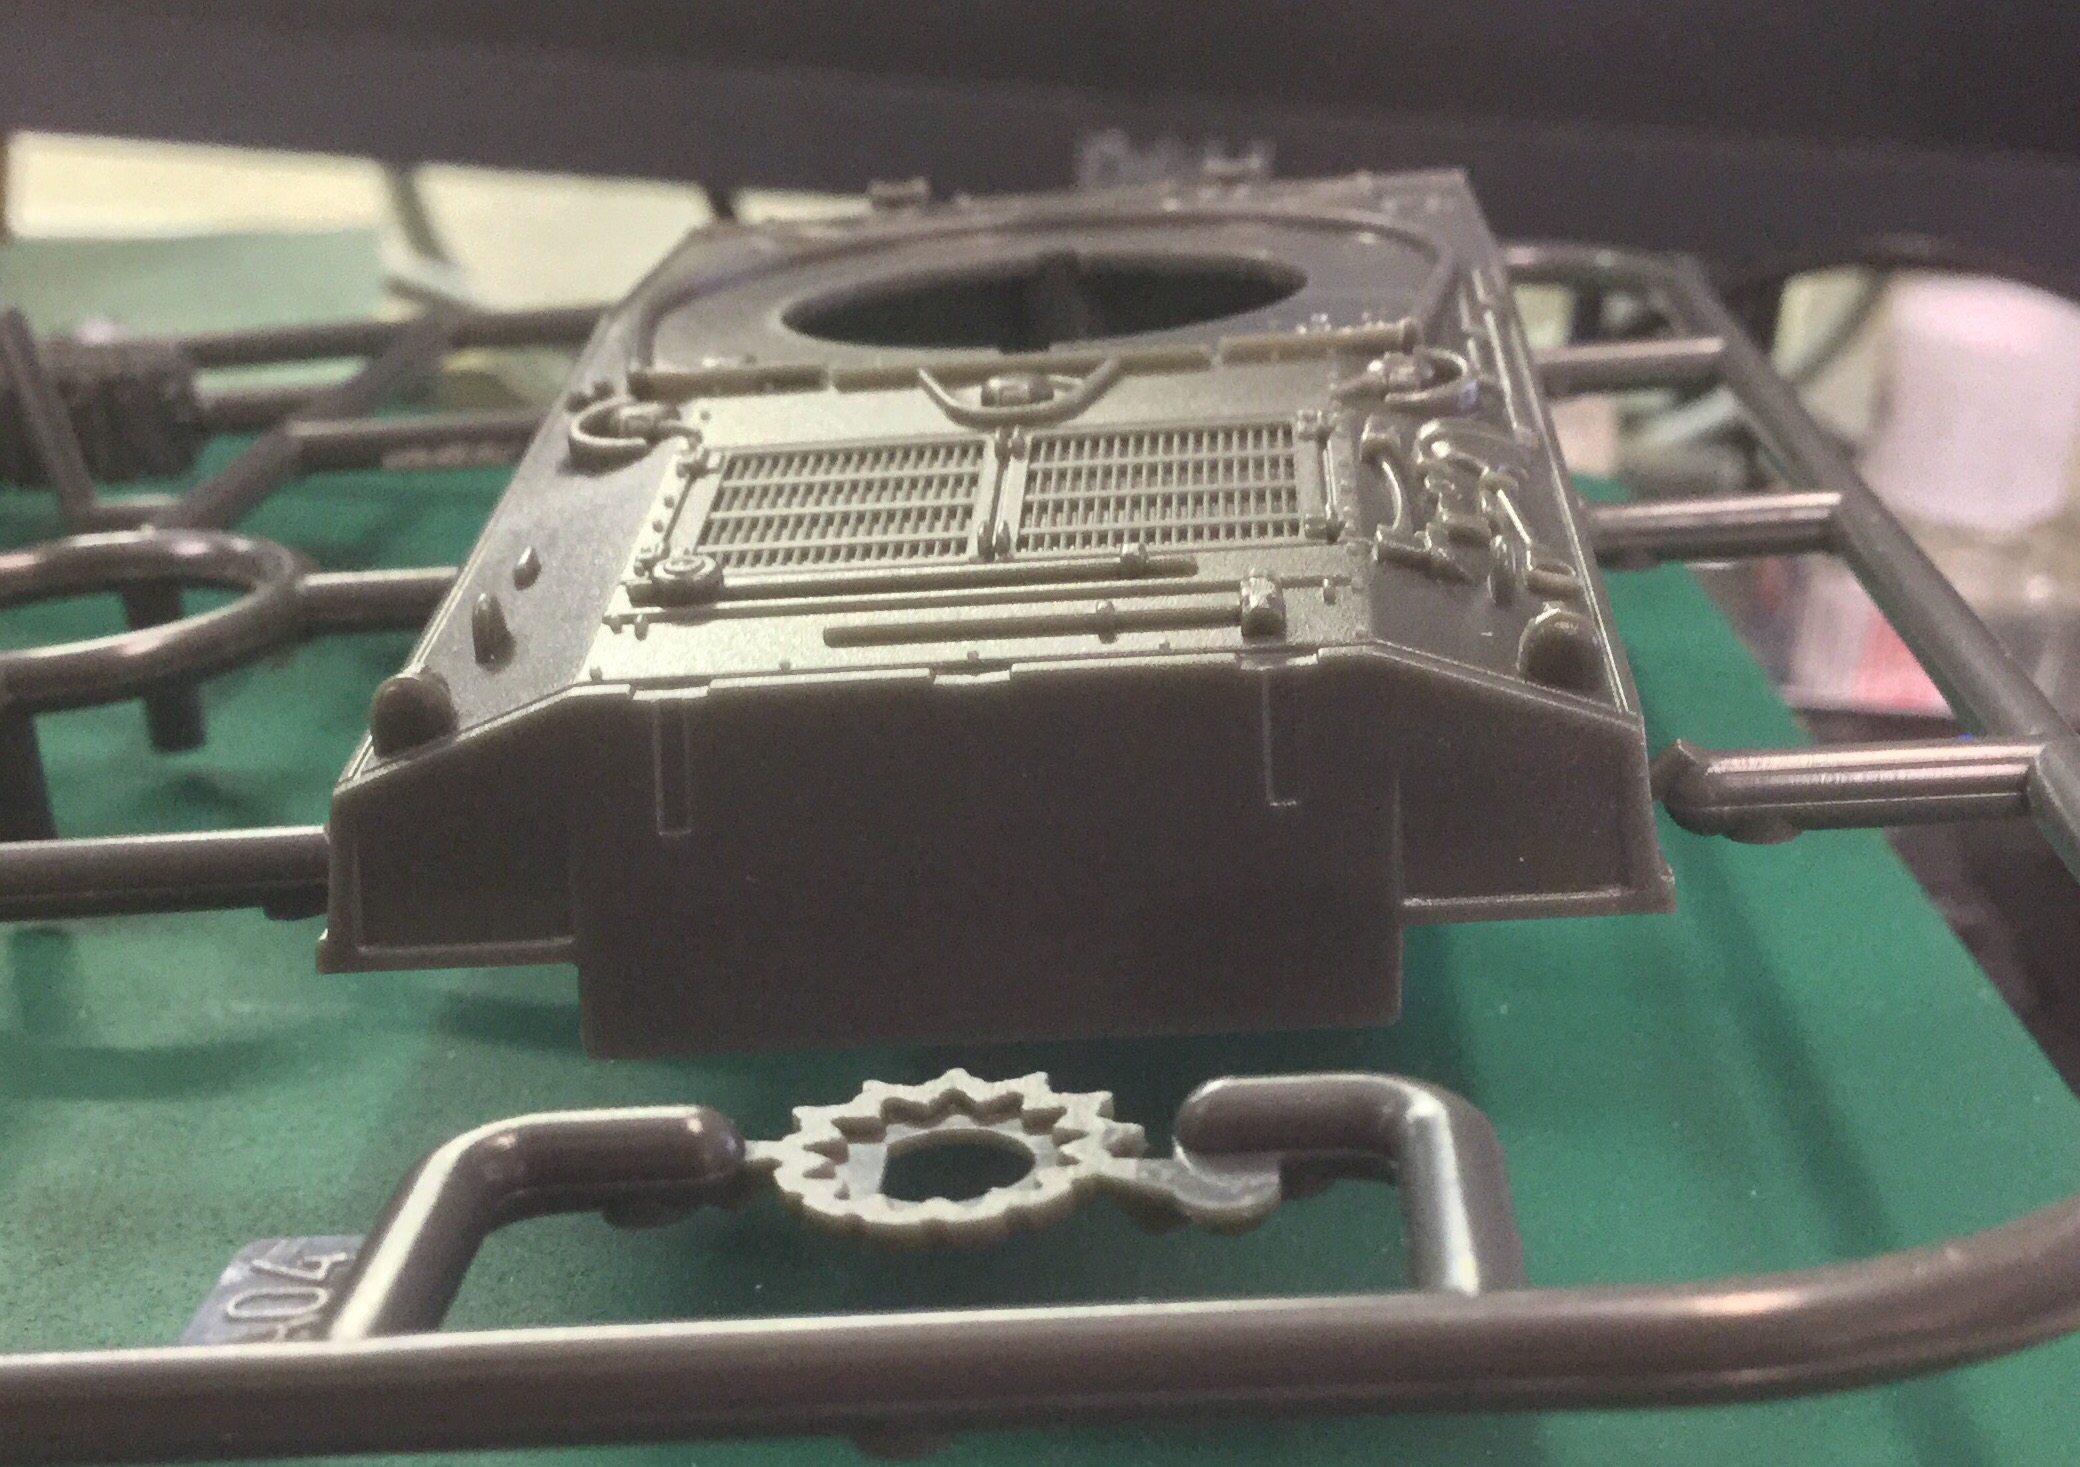
But thinking about it, it actually makes quite a bit of sense, since that allows variant hull tops to be rapidly customized on top, and allow for handling of the hull top separately during painting. The transmission cover is also a separate piece, though I had some issues with it due to some warpage — it didn’t conform to the hull contour and needed to be “encouraged” a bit.
The tracks are separate units, and attaches to the hull like so:
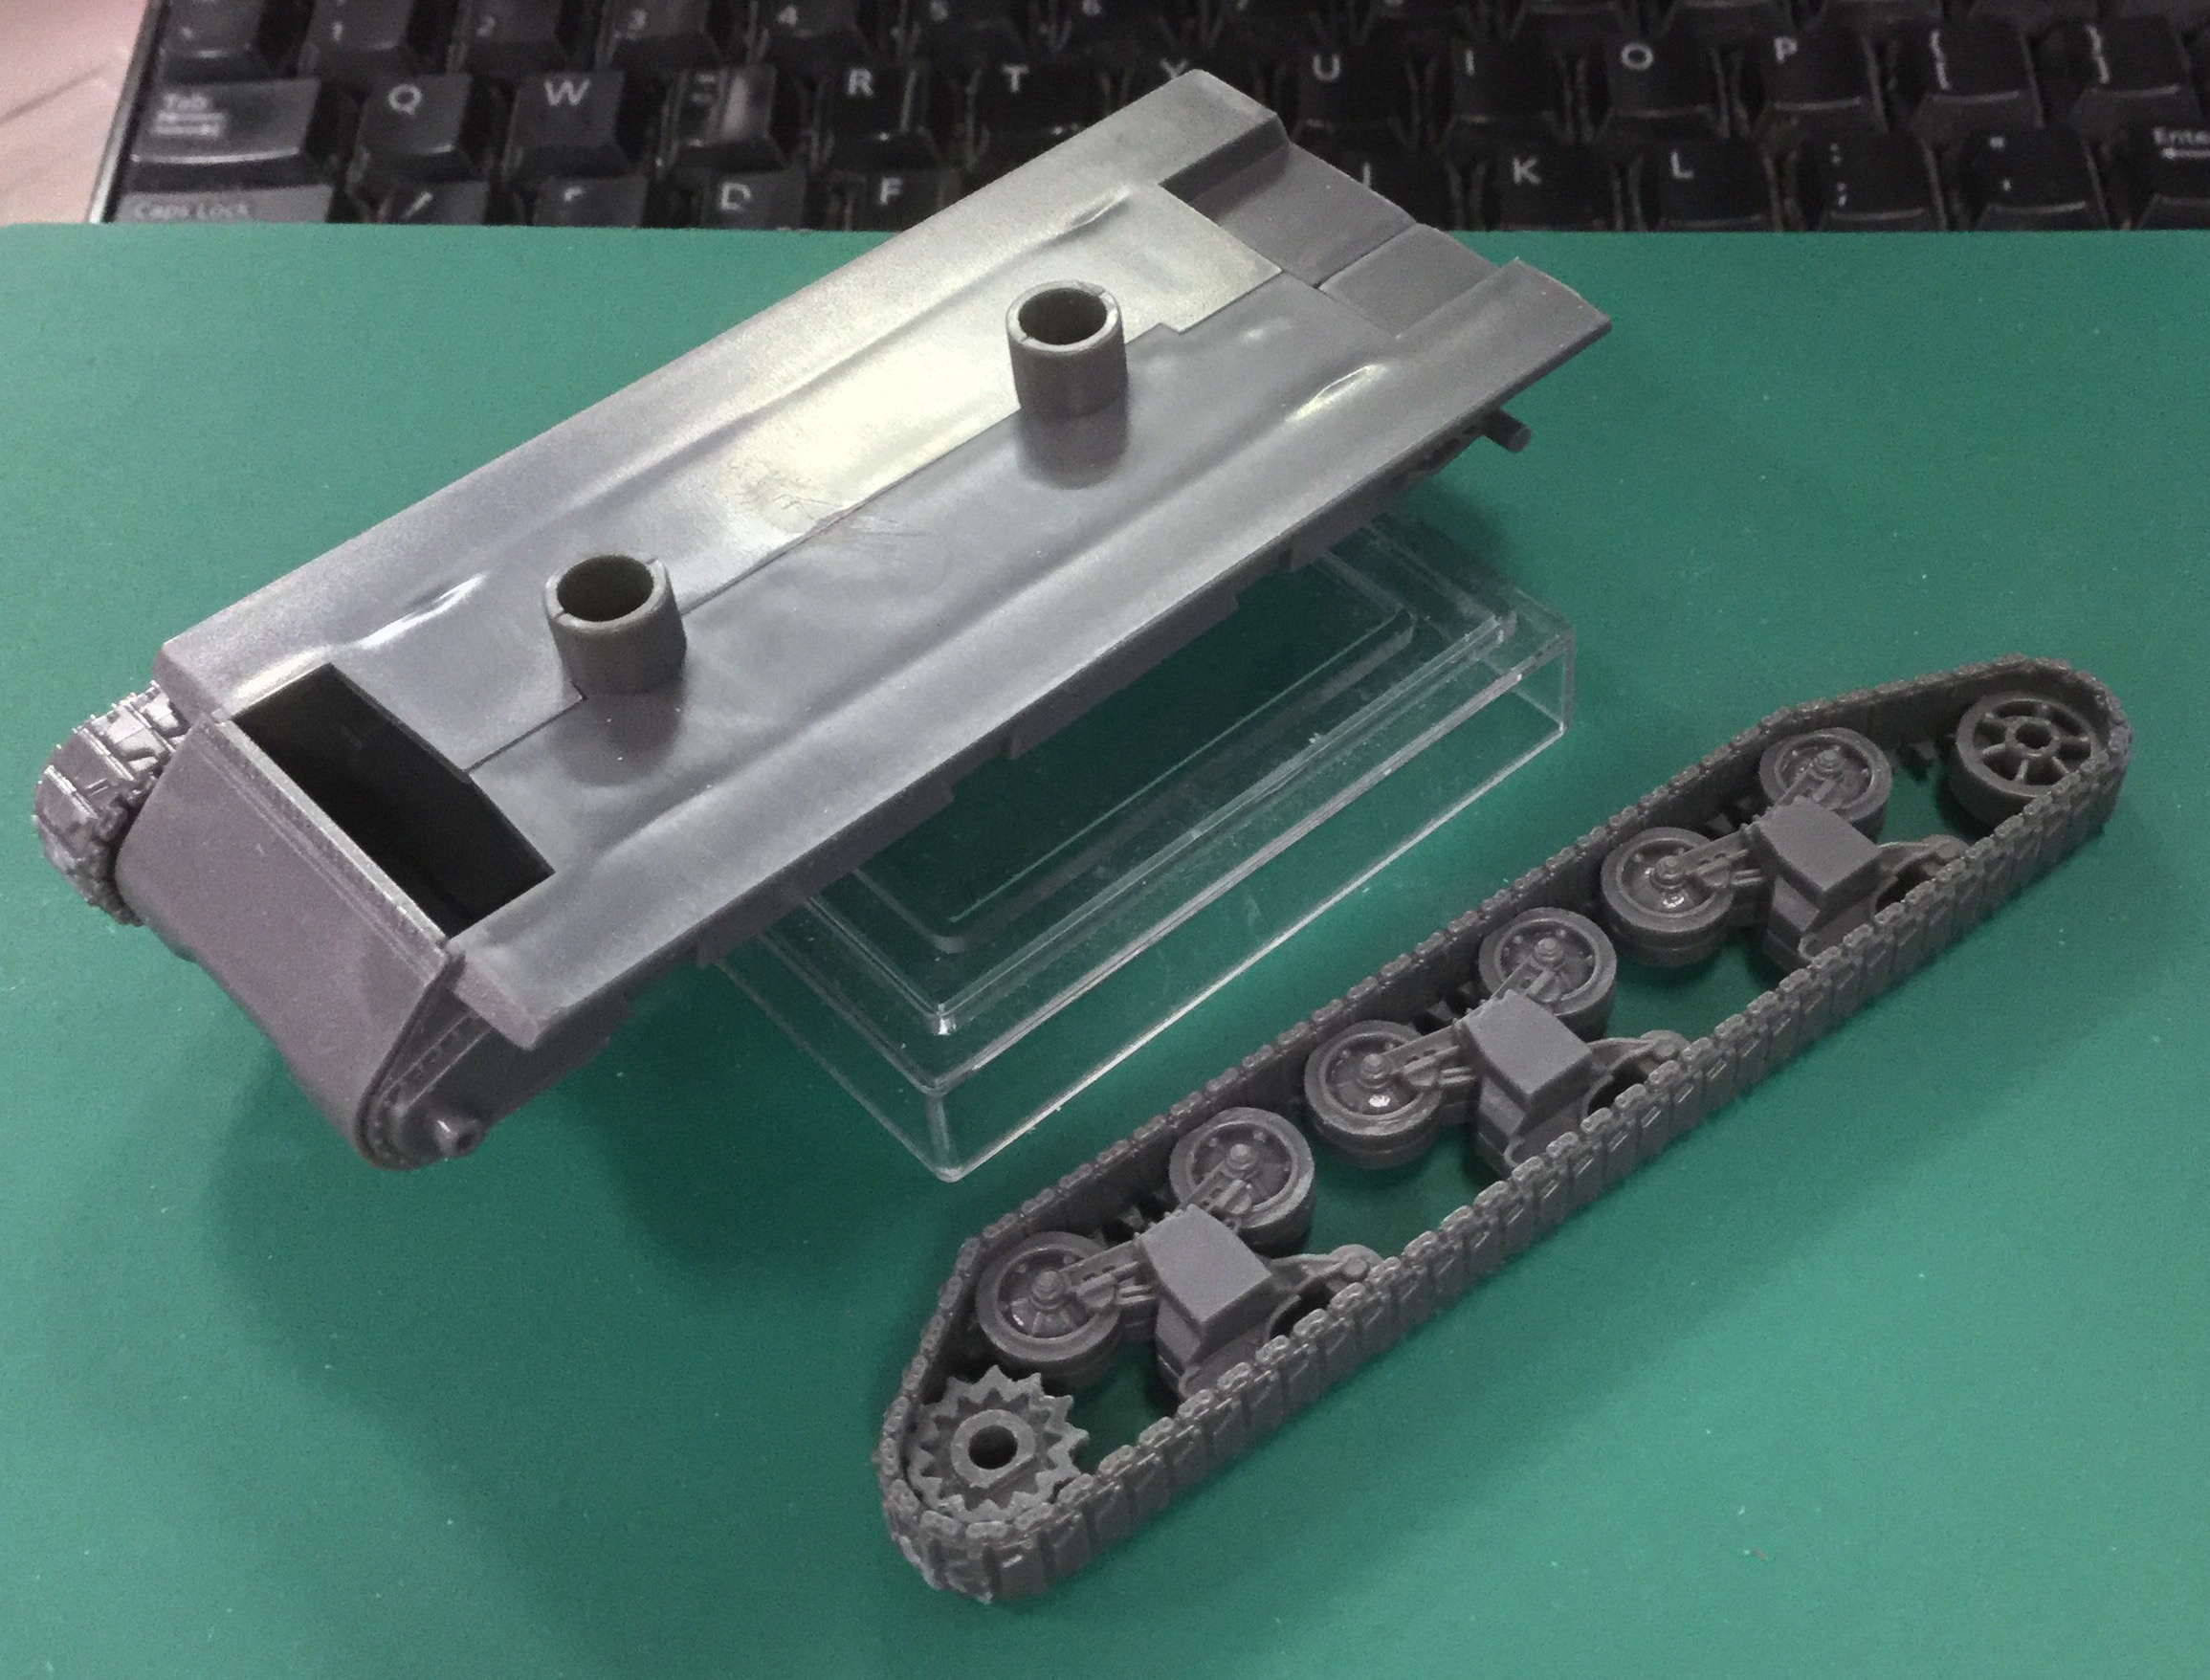
The bogies are actually two halves, Rubicon actually has quite an interesting take on setting up the running gear on their tanks in that they split the roadwheels up into easy to assemble portions. In this case they split the bogies into two, and you just simply slip them into place. The unassembled track unit look like this:
I’m actually thinking that you don’t even need to do the inner parts if you are particularly lazy. The Warlord Games’ plastic Sherman don’t even give you the options for that — that Sherman skimped on the detailing there. Here, even though the inner facing of the bogies are attachment points, I think you can actually forego them and just attach by the front and idler wheel. Not that I recommend it, but it is possible..
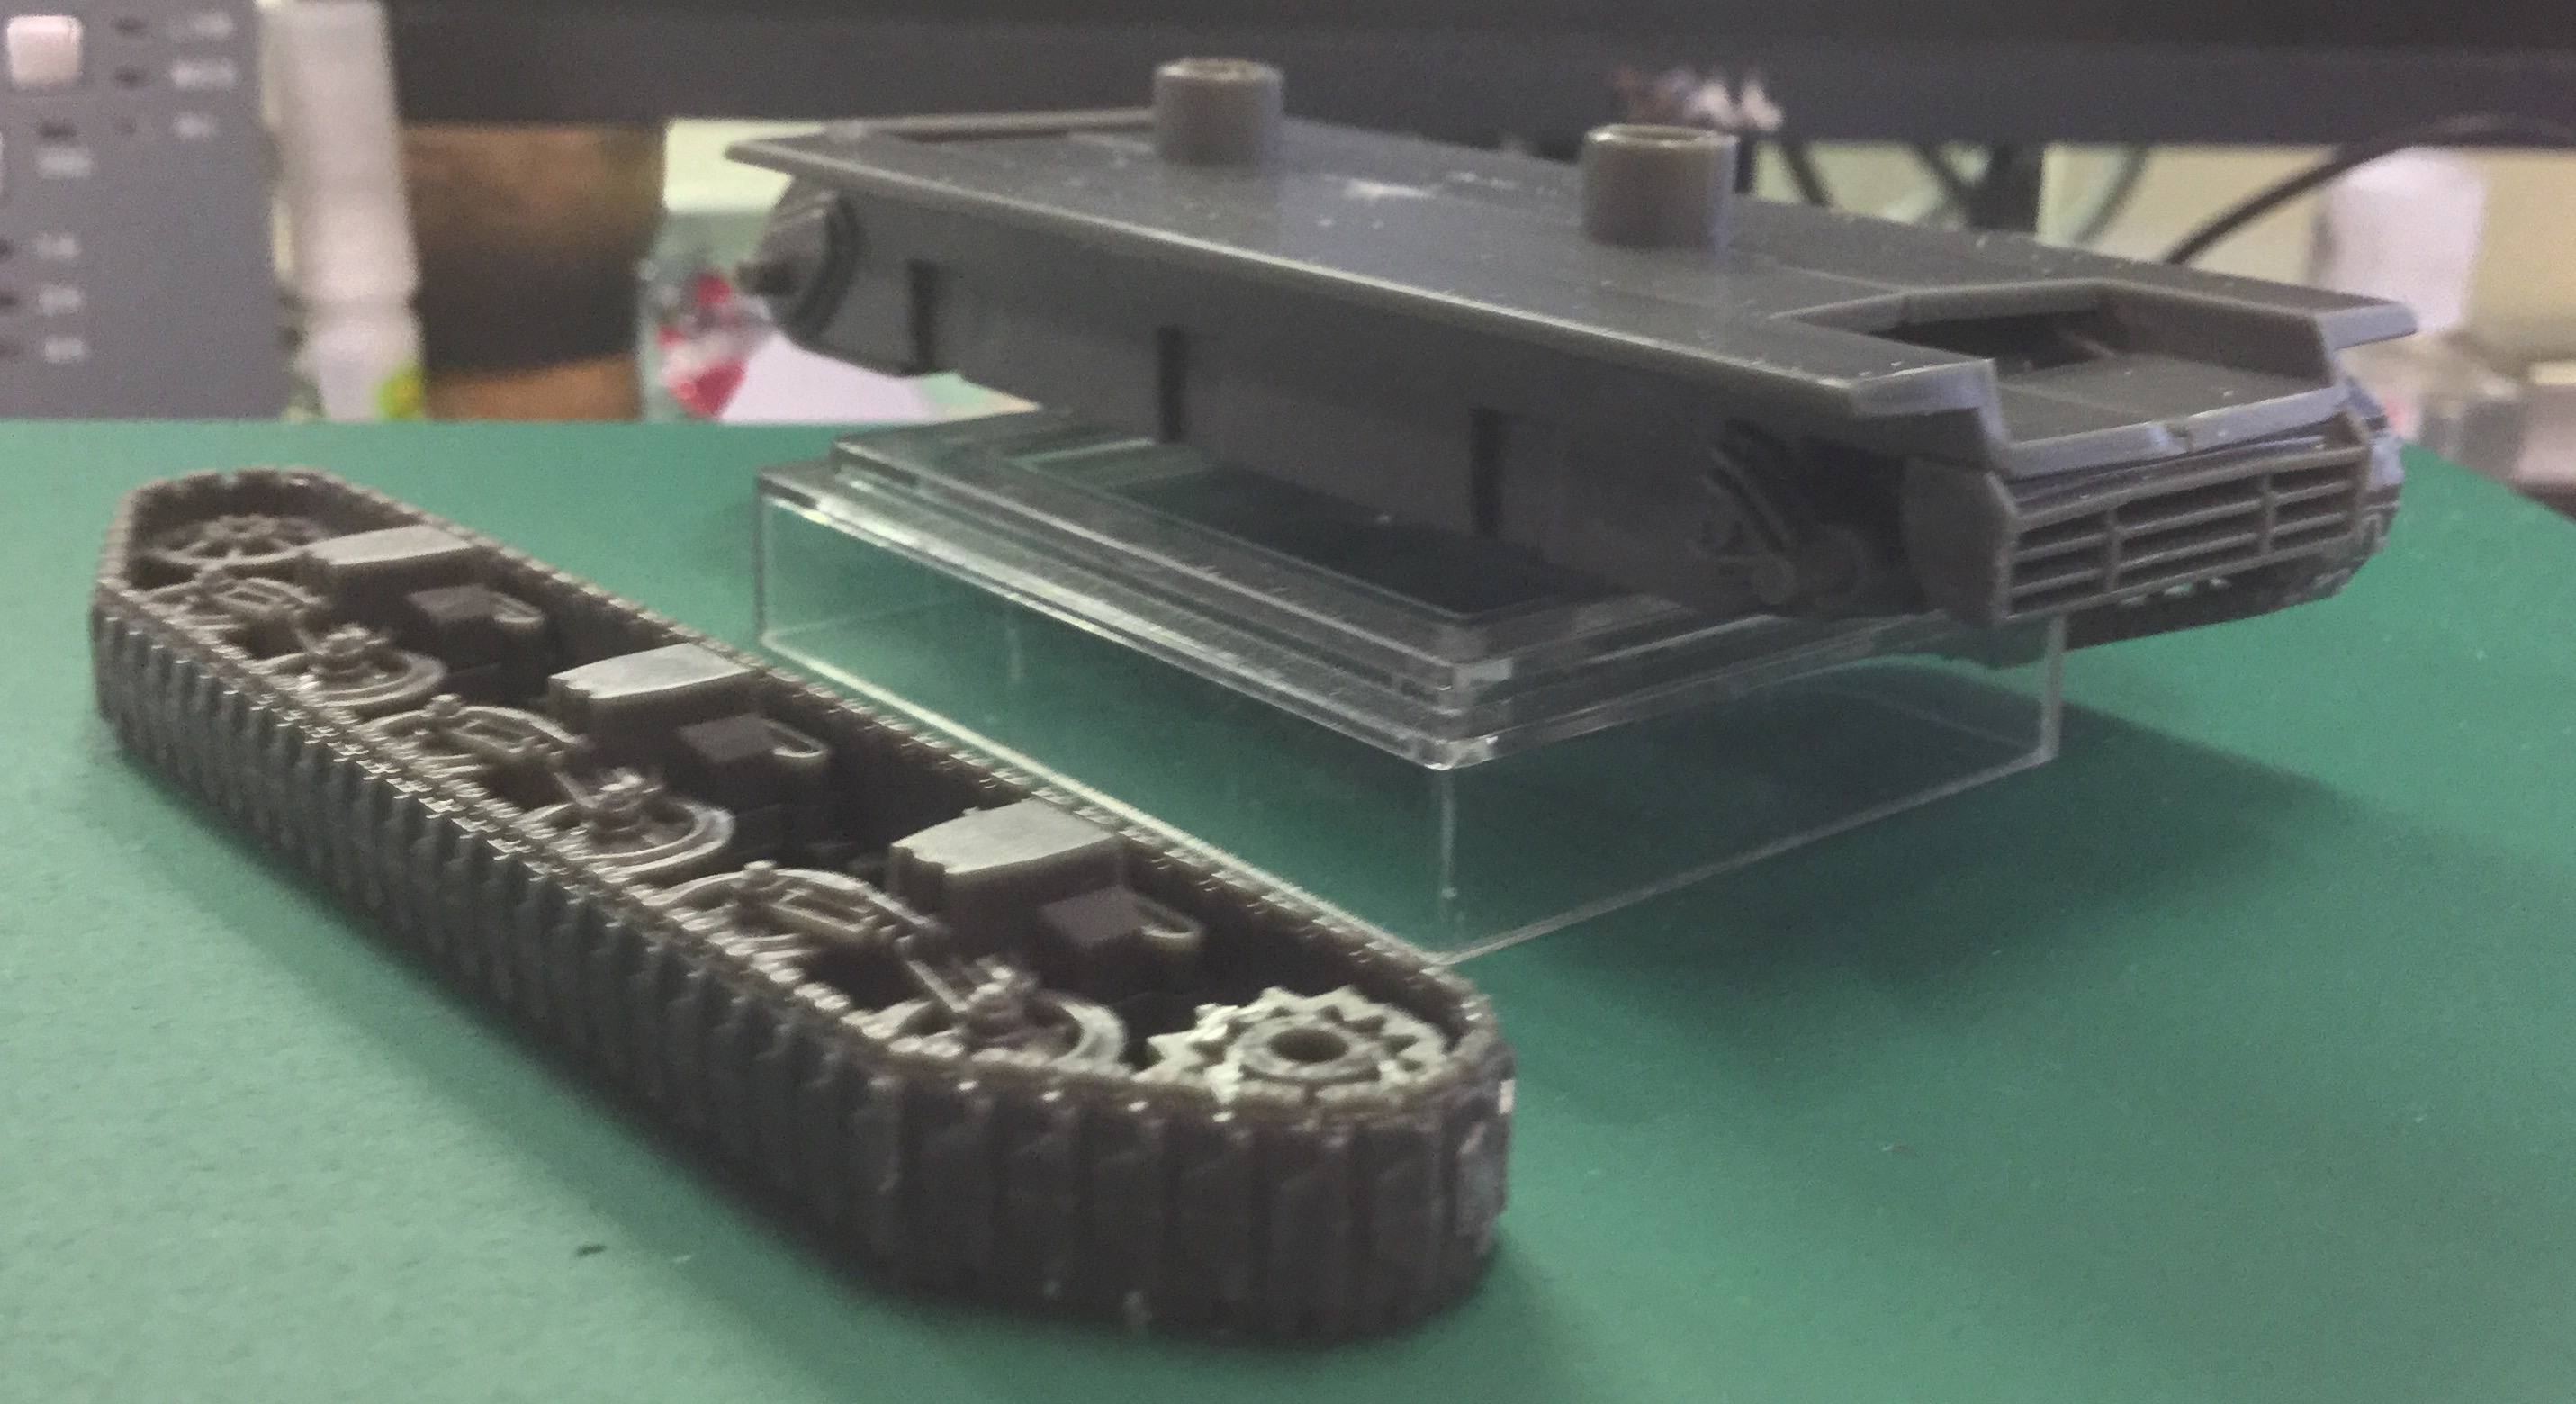
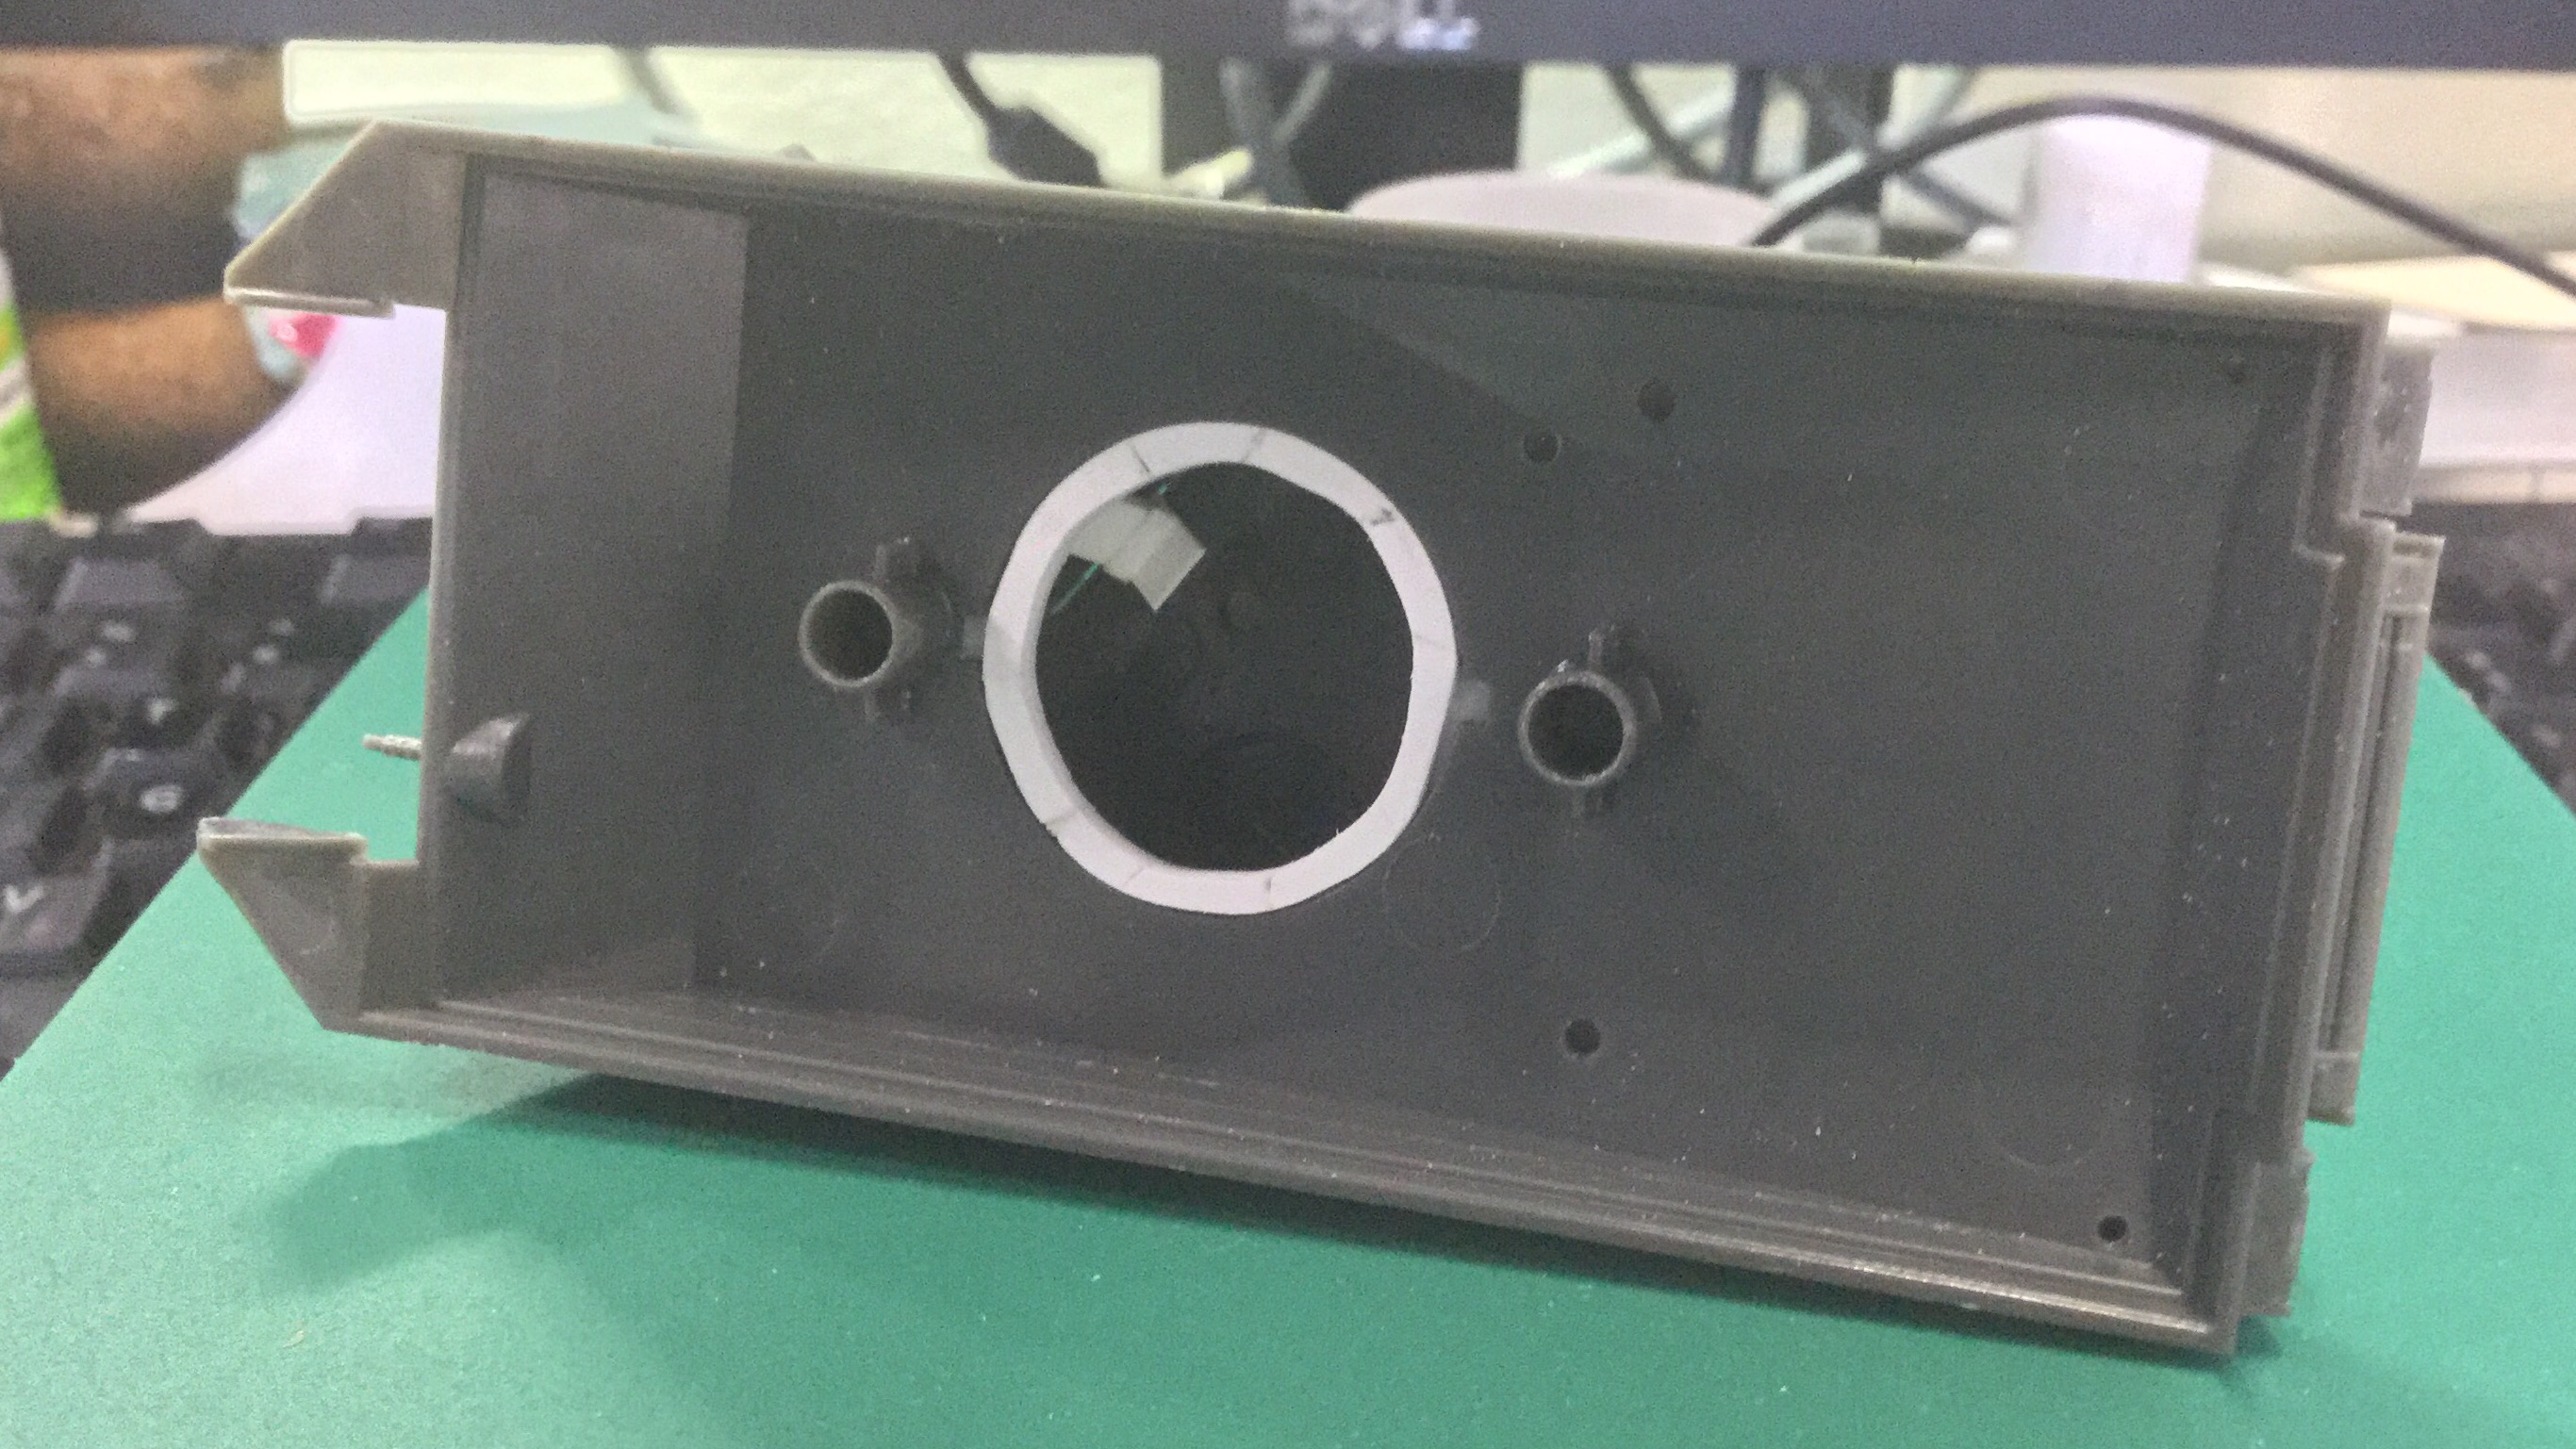
Underside looks like this:
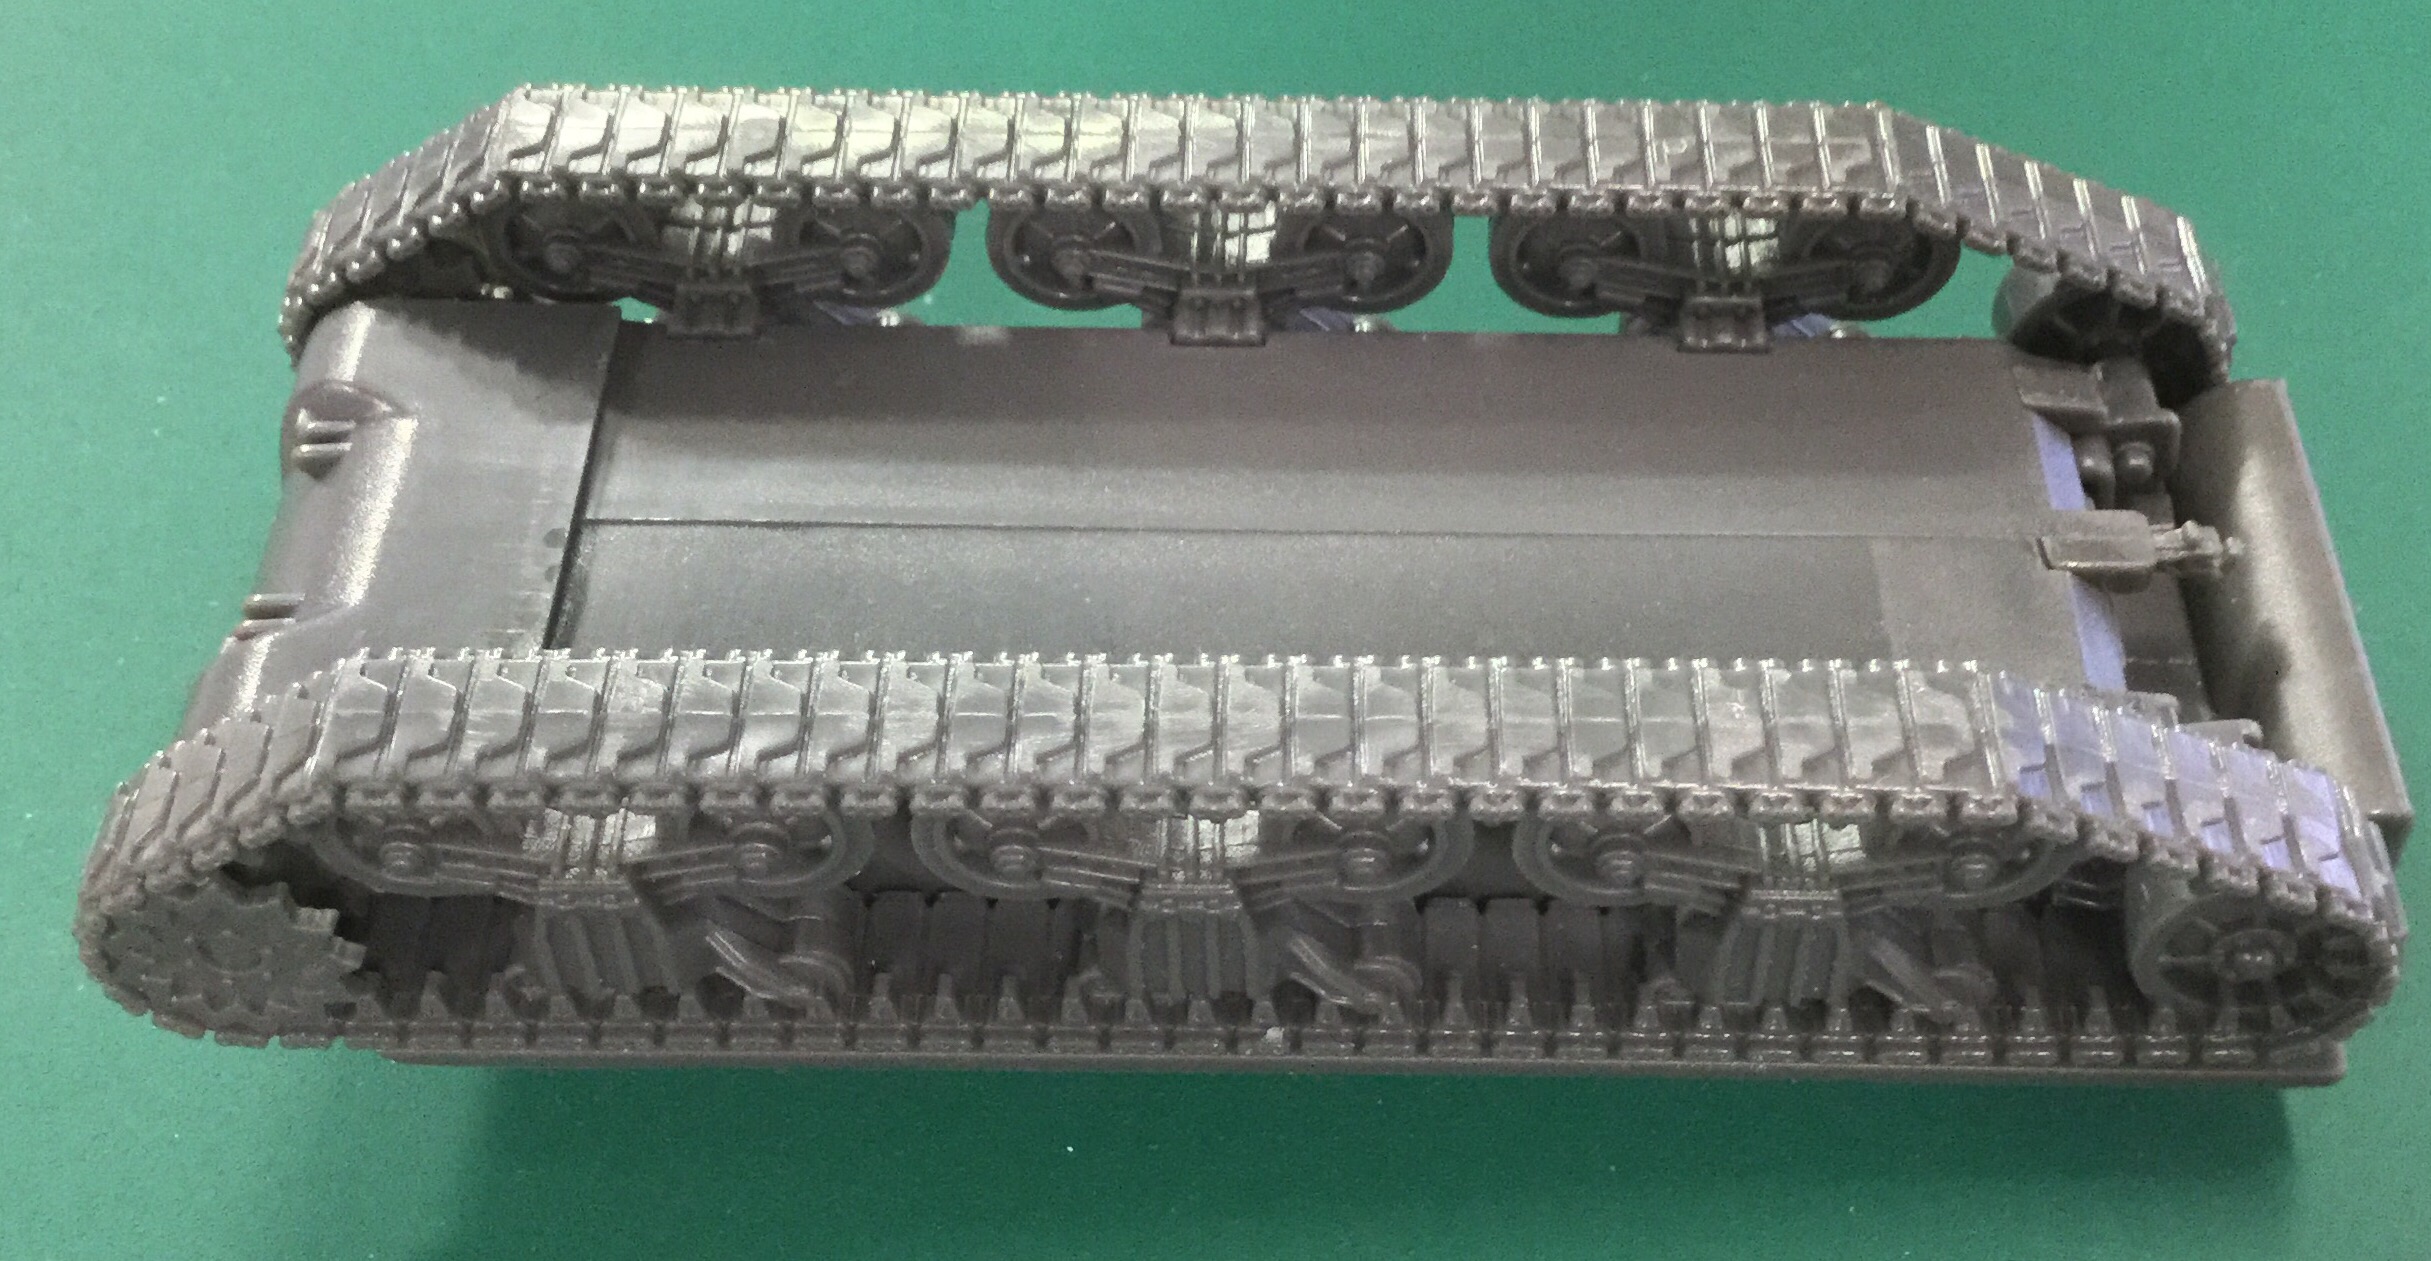
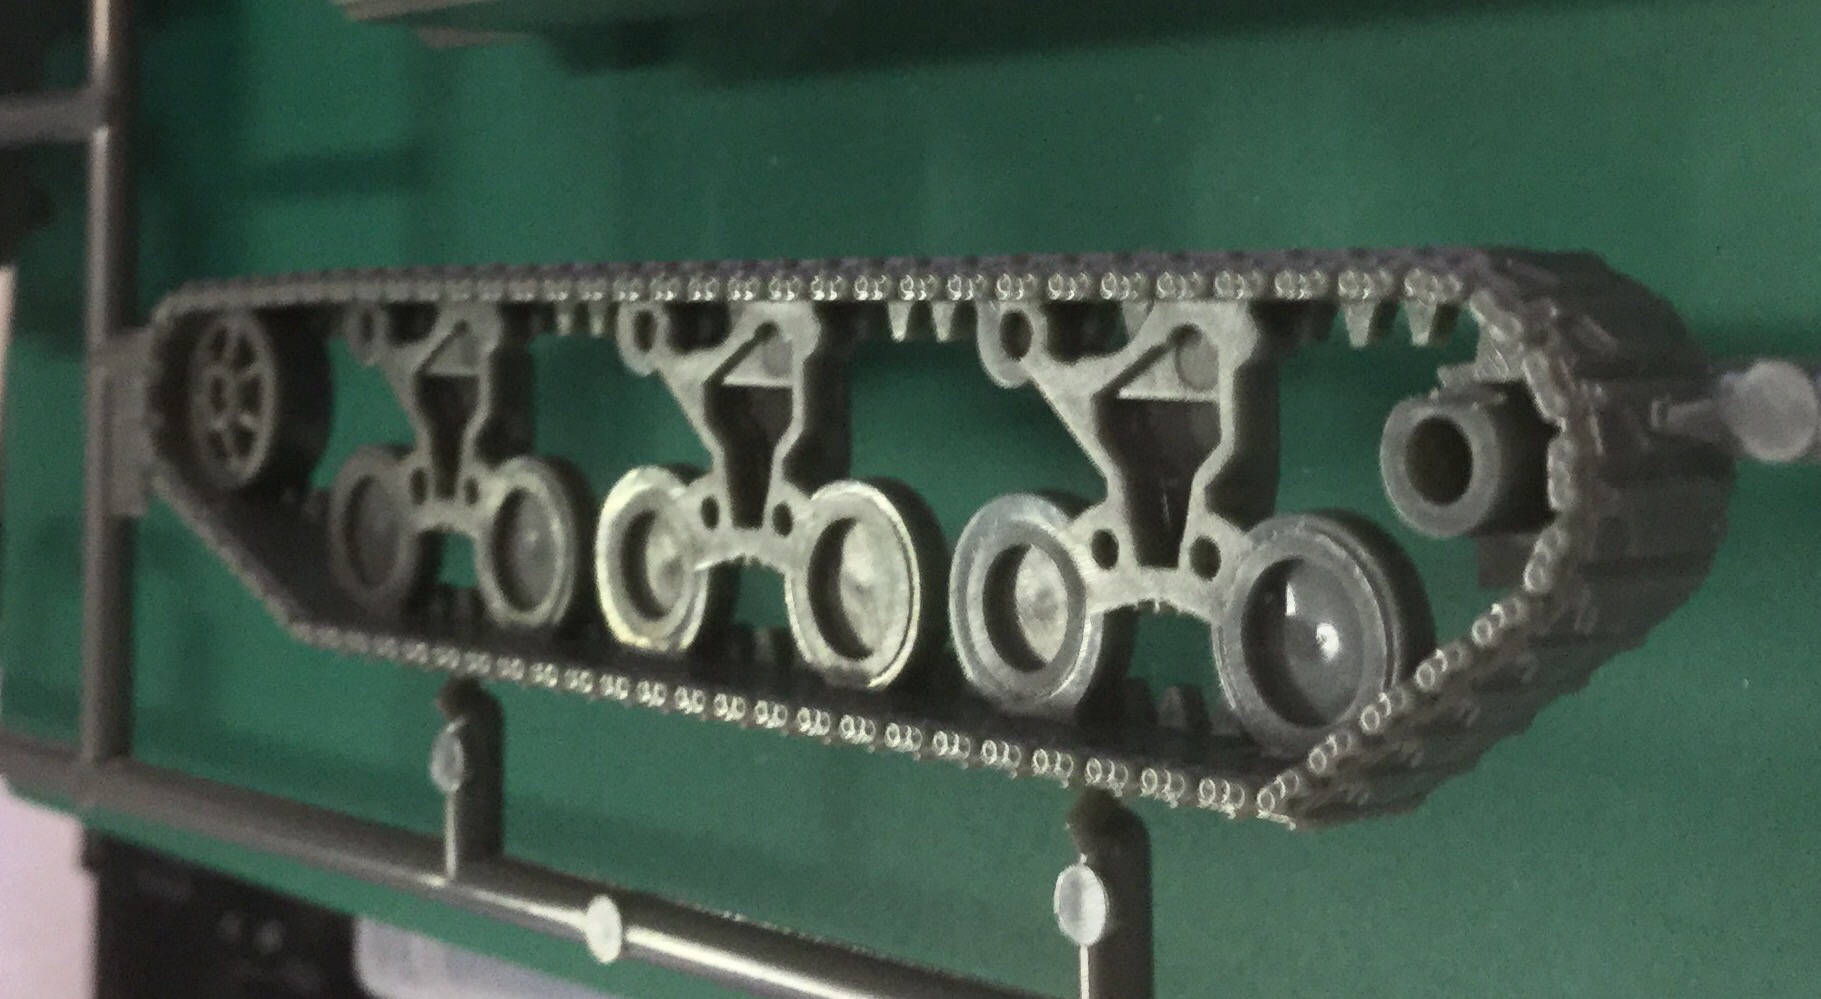
No real detail on the underside, where IIRC there are escape hatches and drainage. That’s ok with me, really, as I’m not going to be looking there very hard. The tracks though had a nasty mold line running through the center, nothing too bad to rectified. However, I’m not actually sure what track type Rubicon was going for.. it’s a very generic, bland track pattern. Warlord Games’ version is actually more detailed in this area.
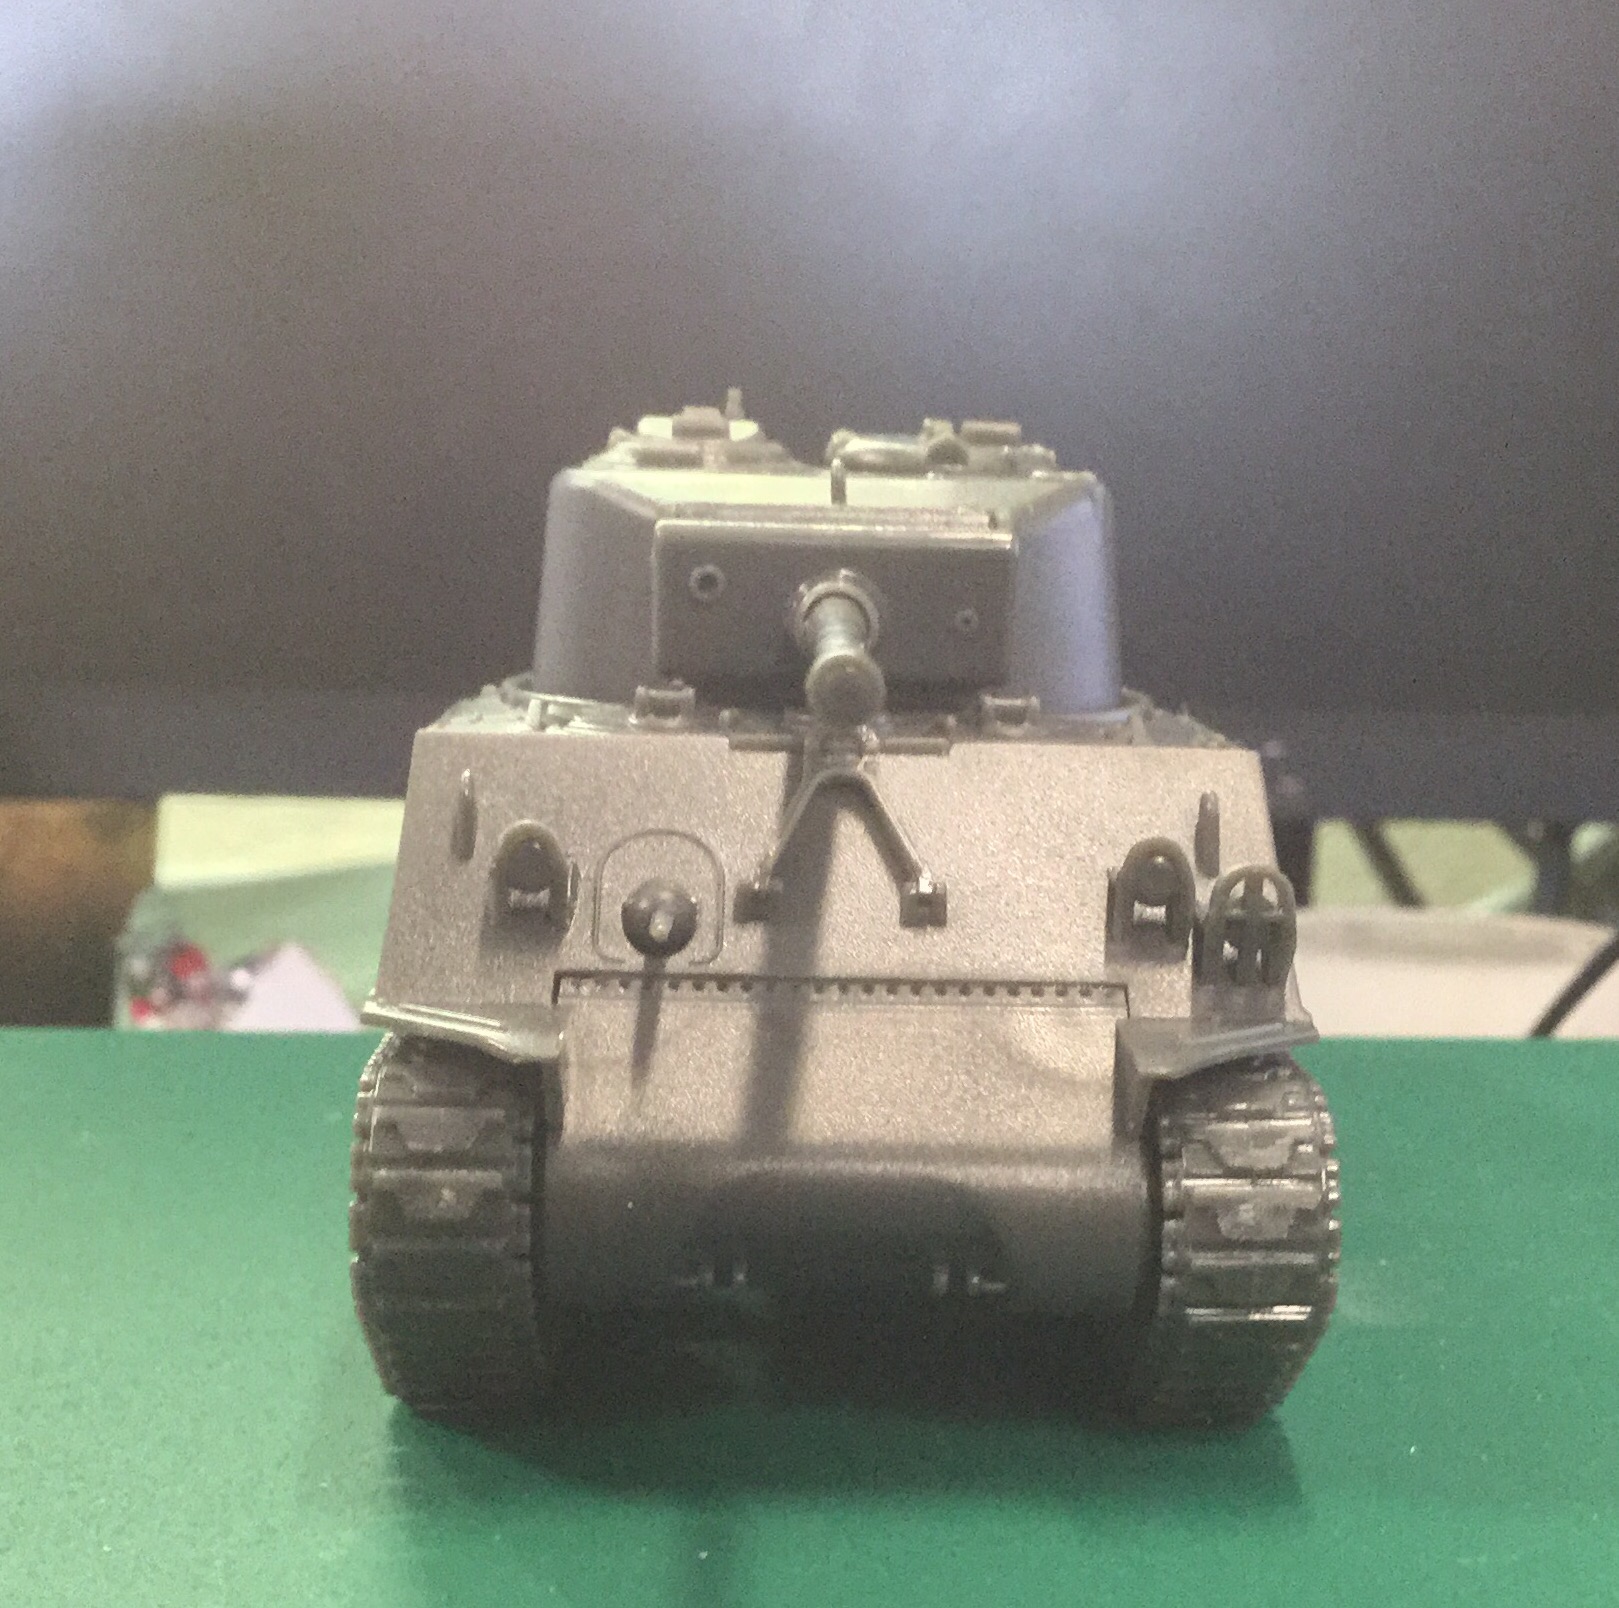
One irritation I had was that Rubicon directly incorporated stowage mounting into the back of the hull, as above. This meant I can’t have a clean backside, and if I was going for multiple Shermans, they could end up looking very similar. Yes, I could easily do a bit of work to rectify this — I’m just lazy. 🙂
Turret
The turret is where Rubicon’s Sherman is strong… and yet sort of fall flat on its face. It comes with the following:
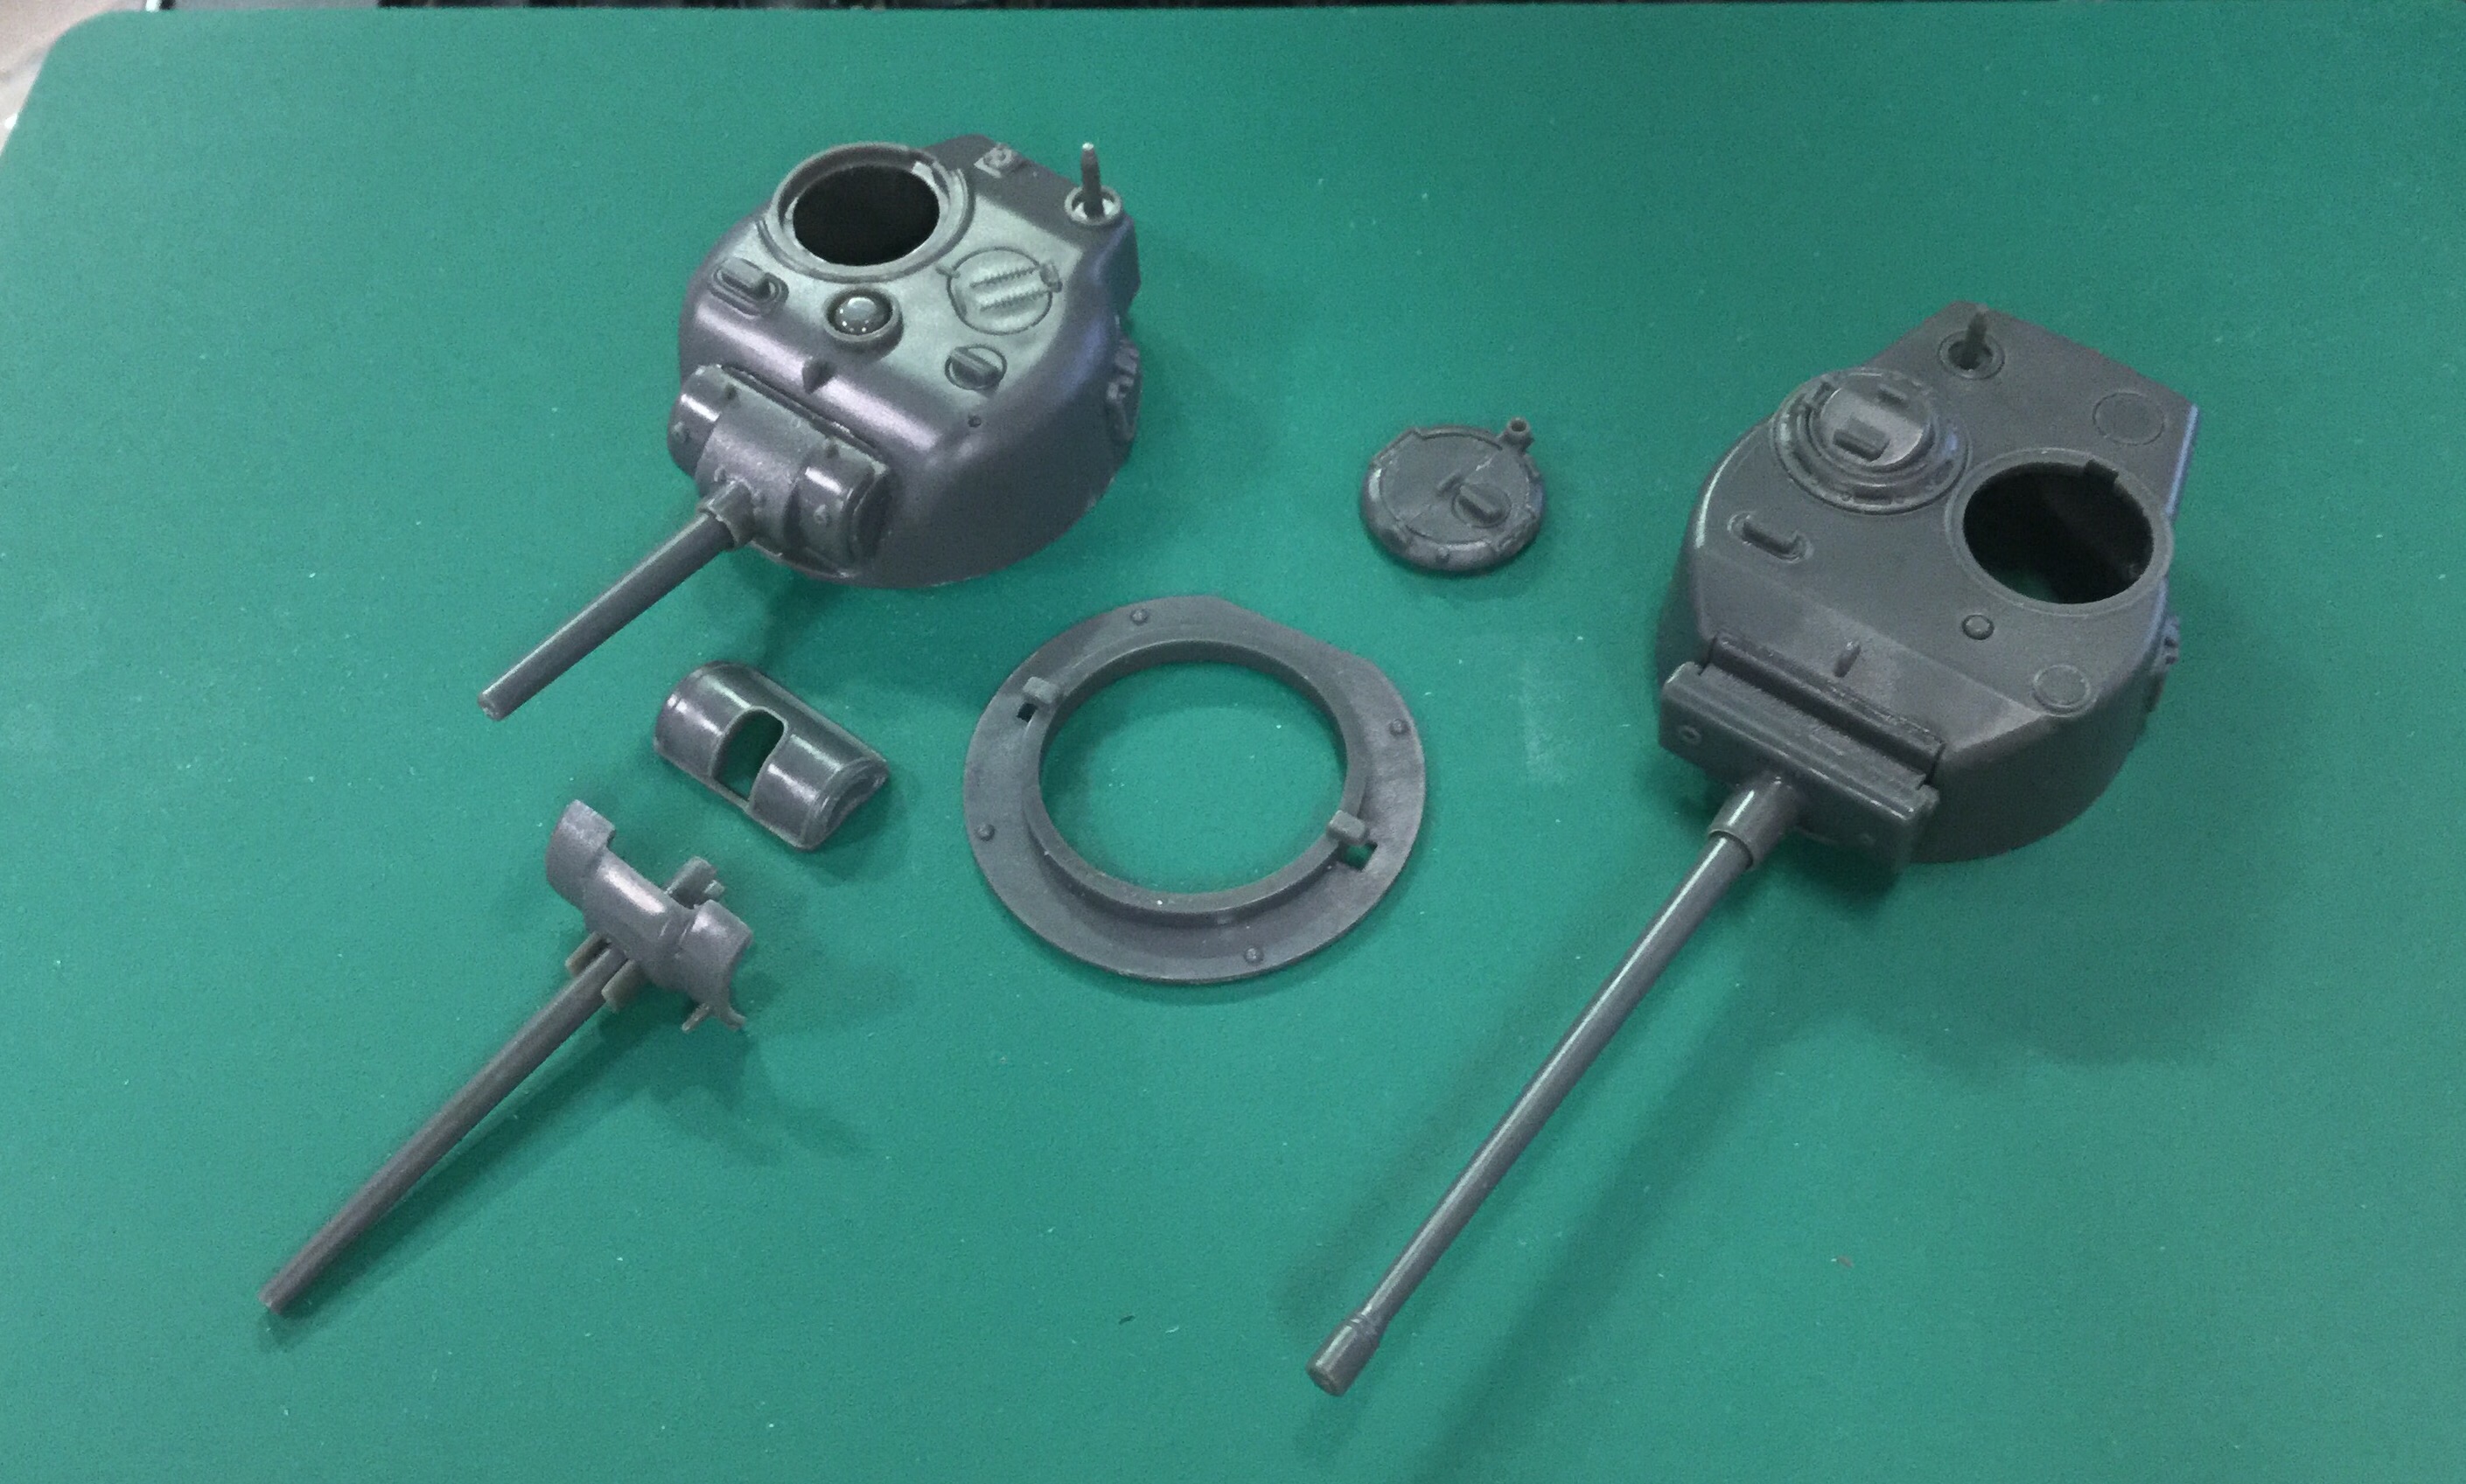
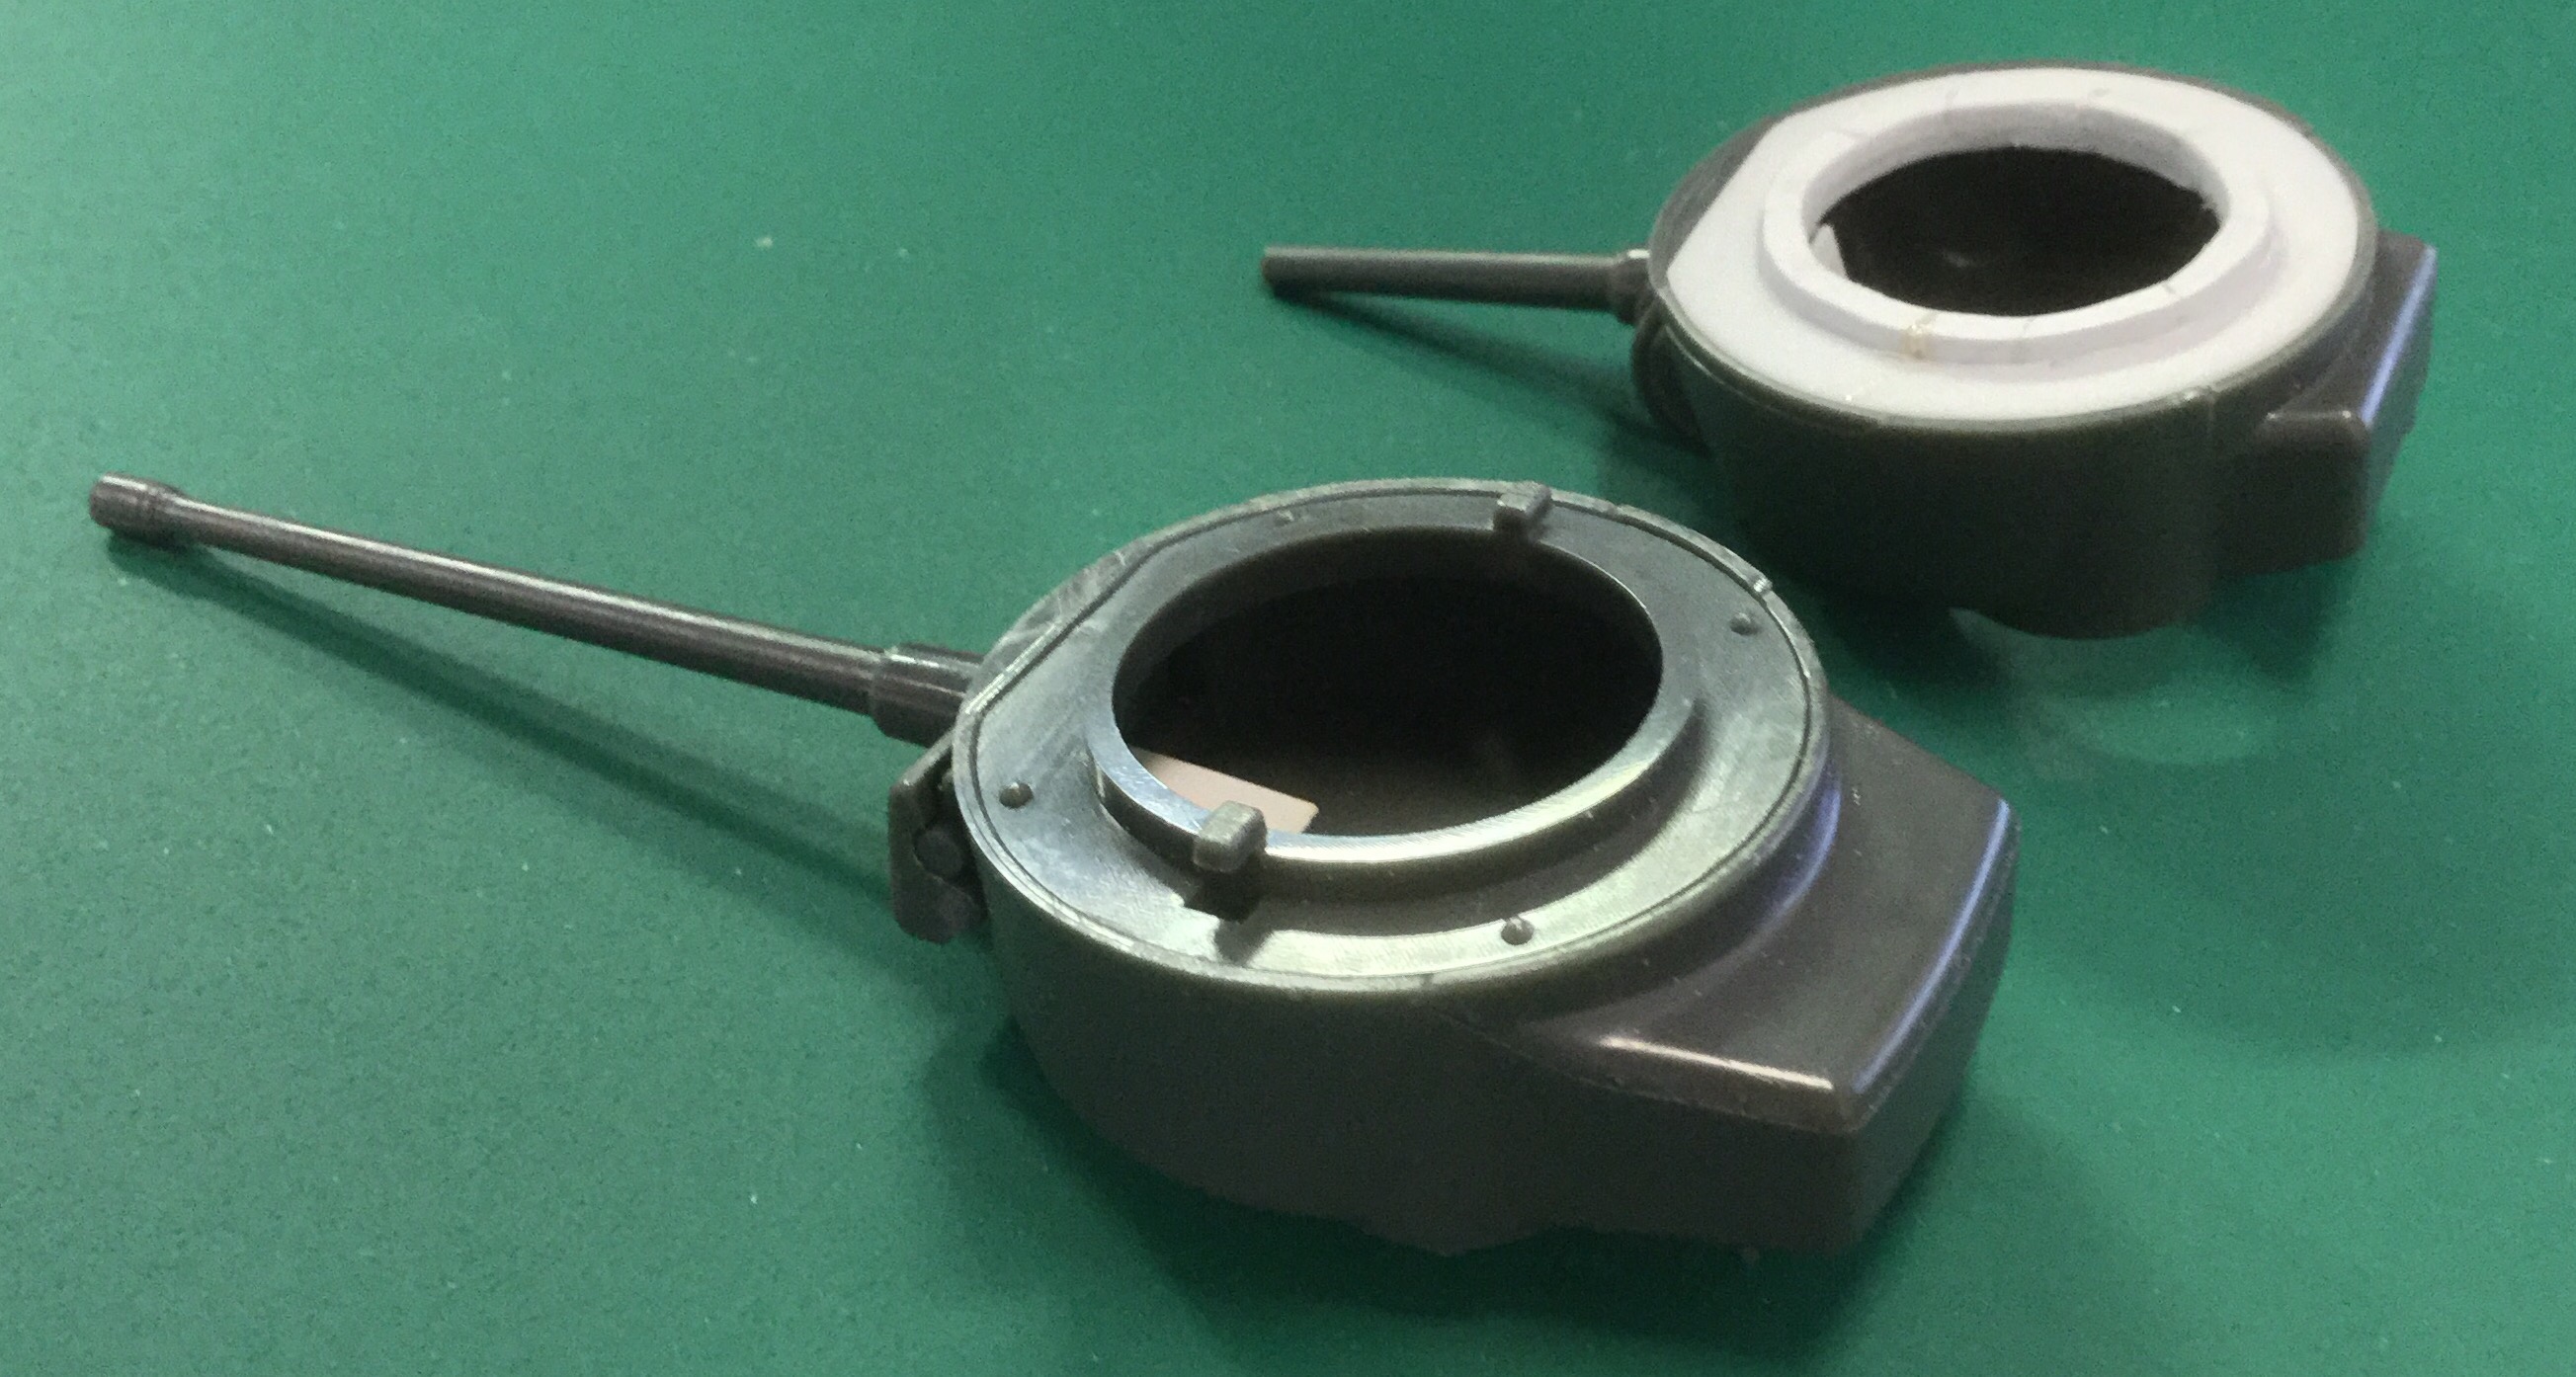
So, a normal production turret with option for either a 75mm or a 105mm gun, and a later turret with a 76mm gun. The normal turret comes with two pairs of mantle, inner and outer, and on first glance it wasn’t too obvious why. So take a second glance:
The 75mm inner mantle had ridges that fit into the grooves in the back of the outer mantle, it’s a nice detailed touch.. though a bit wasted, since a narrow outer mantle that would have showed off the details was not appropriate for a M4A3. So in that sense the extra inner mantle is a bit unnecessary. Nonetheless, it’s a good set of options… until you realise it has only one set of turret base/ ring, and one set of commander’s cupola, and one set of stays for the gun.
Which means you don’t have enough parts to do turret swapping, unless you get creative. Which is where it sorts of fall flat on the face. If you are expecting somewhat expert modelers to buy your product, they’d know how to get around this problem, so you might as well get the goodwill from not-so-expert (and lazy experts) and just provide the additional parts.. especially since the sprues looked to be able to take those parts.
So yeah, I got creative:
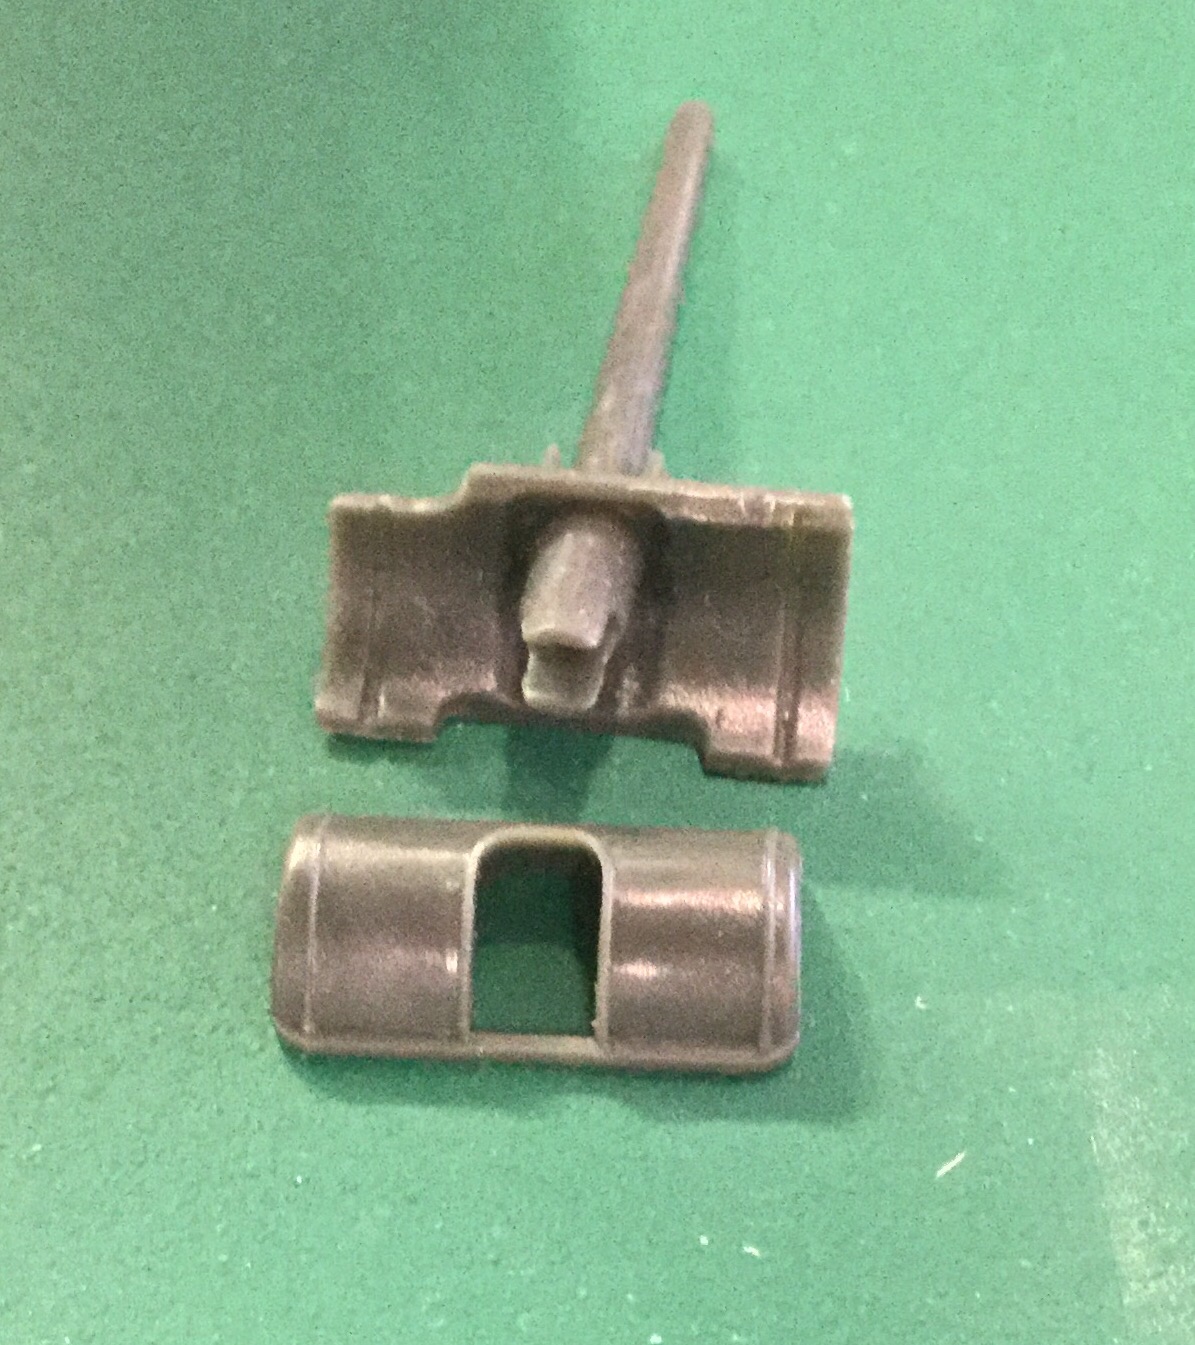
Another problem is that the Rubicon gun doesn’t appear to be designed to be have play in them — it seems to be required to glue the gun in a certain position. Personally I like guns to have some ability to elevate as both a play thing, and as a safety margin during transport. Rubicon’s can’t; the gun will obey gravity and flop downwards. By comparison, WG’s gun has friction stays and can lock in a few position. At any rate, I simply jammed appropriate plastic parts to make sure the guns don’t move beyond a certain limit. The 76mm was remarkably easy to do this due to the mantle design, so it didn’t take very long to do it.
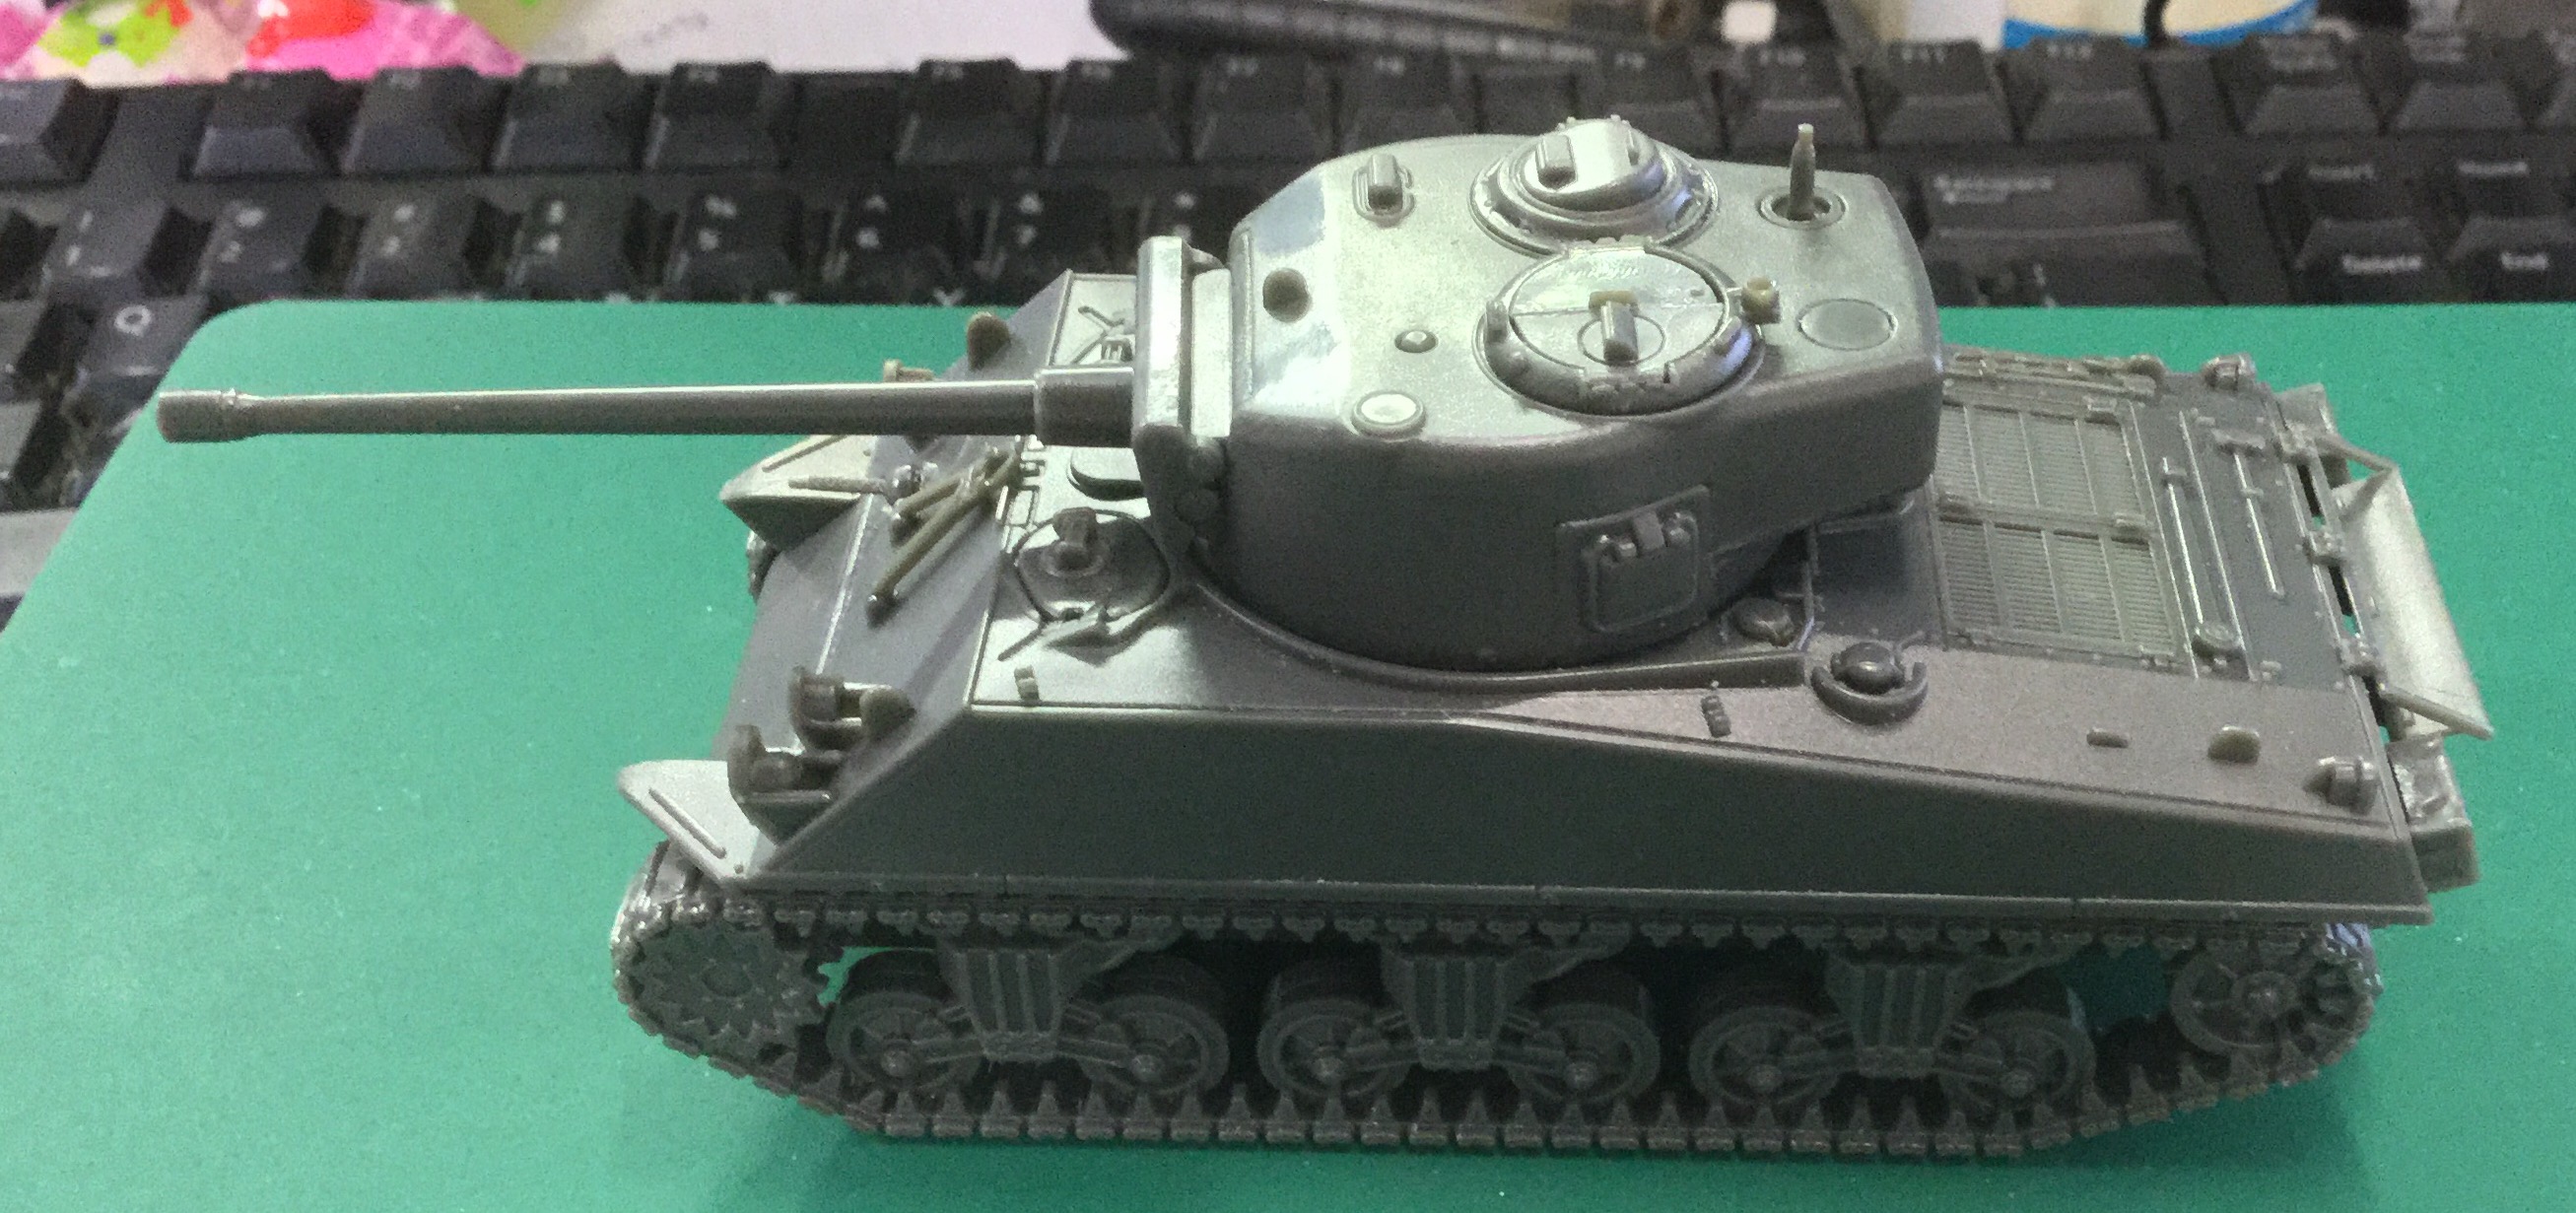
The turret base is a bit of a pain to work out, since I currently lack the ability to turn out smooth rings. A lot of slap and sanding. Not quite done since I still need the tabs, but essentially it can go into the hull now. Speaking of the hull, the detachable upper hull certainly made fitting much easier:
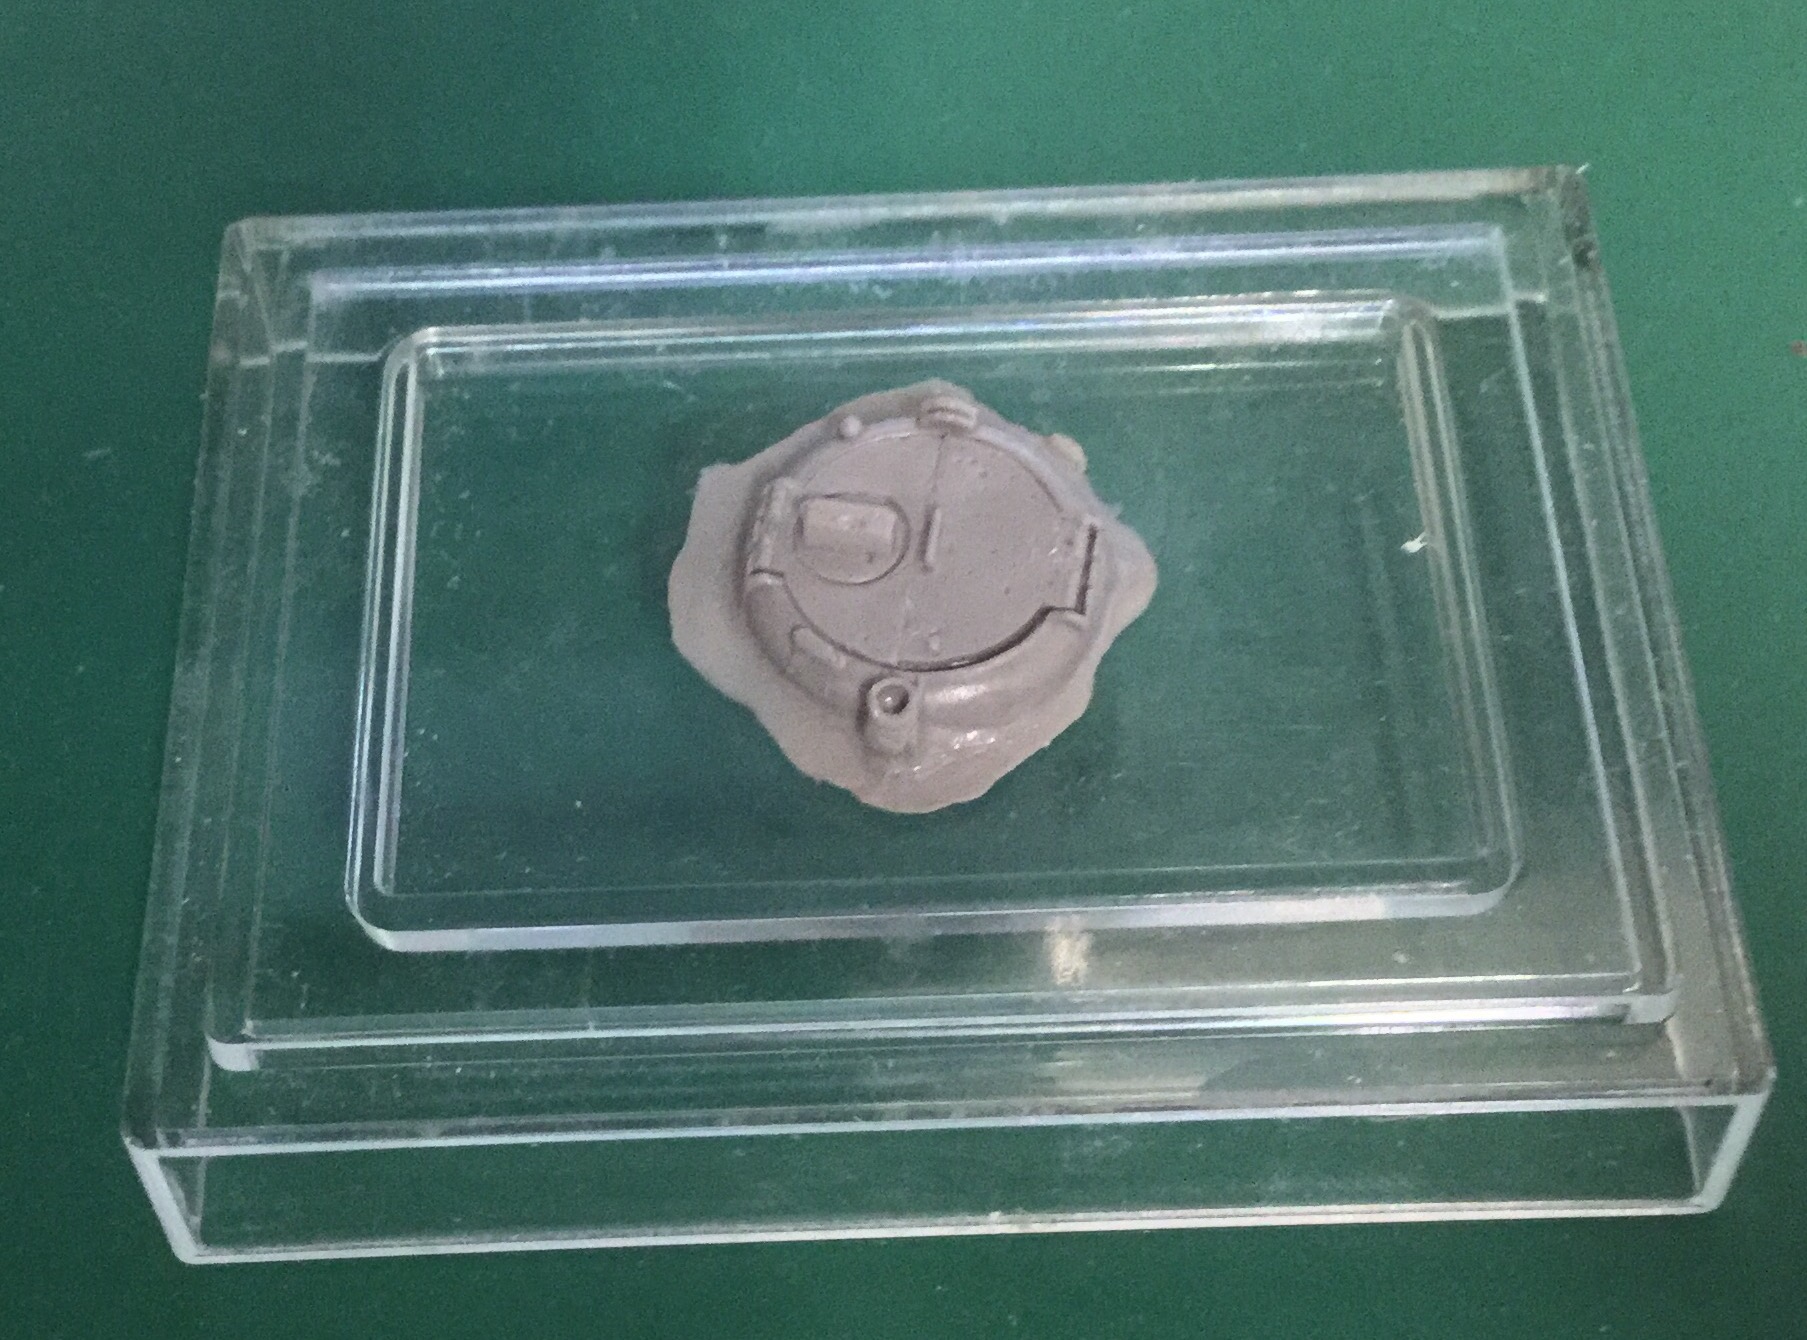
And finally, the top hatch. I’m not going to scratch build it. I just did a putty recast of it. Turned out fairly well, with some pitting on the hatch that I can easily mark as small arms fire.
Yeah so I ended up having to do quite a bit of work, especially on that turret base. I absolutely loathe working with 3mm plastic plates as they take a long time to work with, but that was what was called for. And recasting the hatch just made me have to break out putty and molding stuff. It’s not too difficult nowadays, but the kit was so close to being a great automatic choice. Ah well.
The 76mm Sherman
So the 76mm Sherman warrants a bit of a look since it’s the only 1/56 kit that is on the market, AFAIK. It’s not an unhandsome beast:
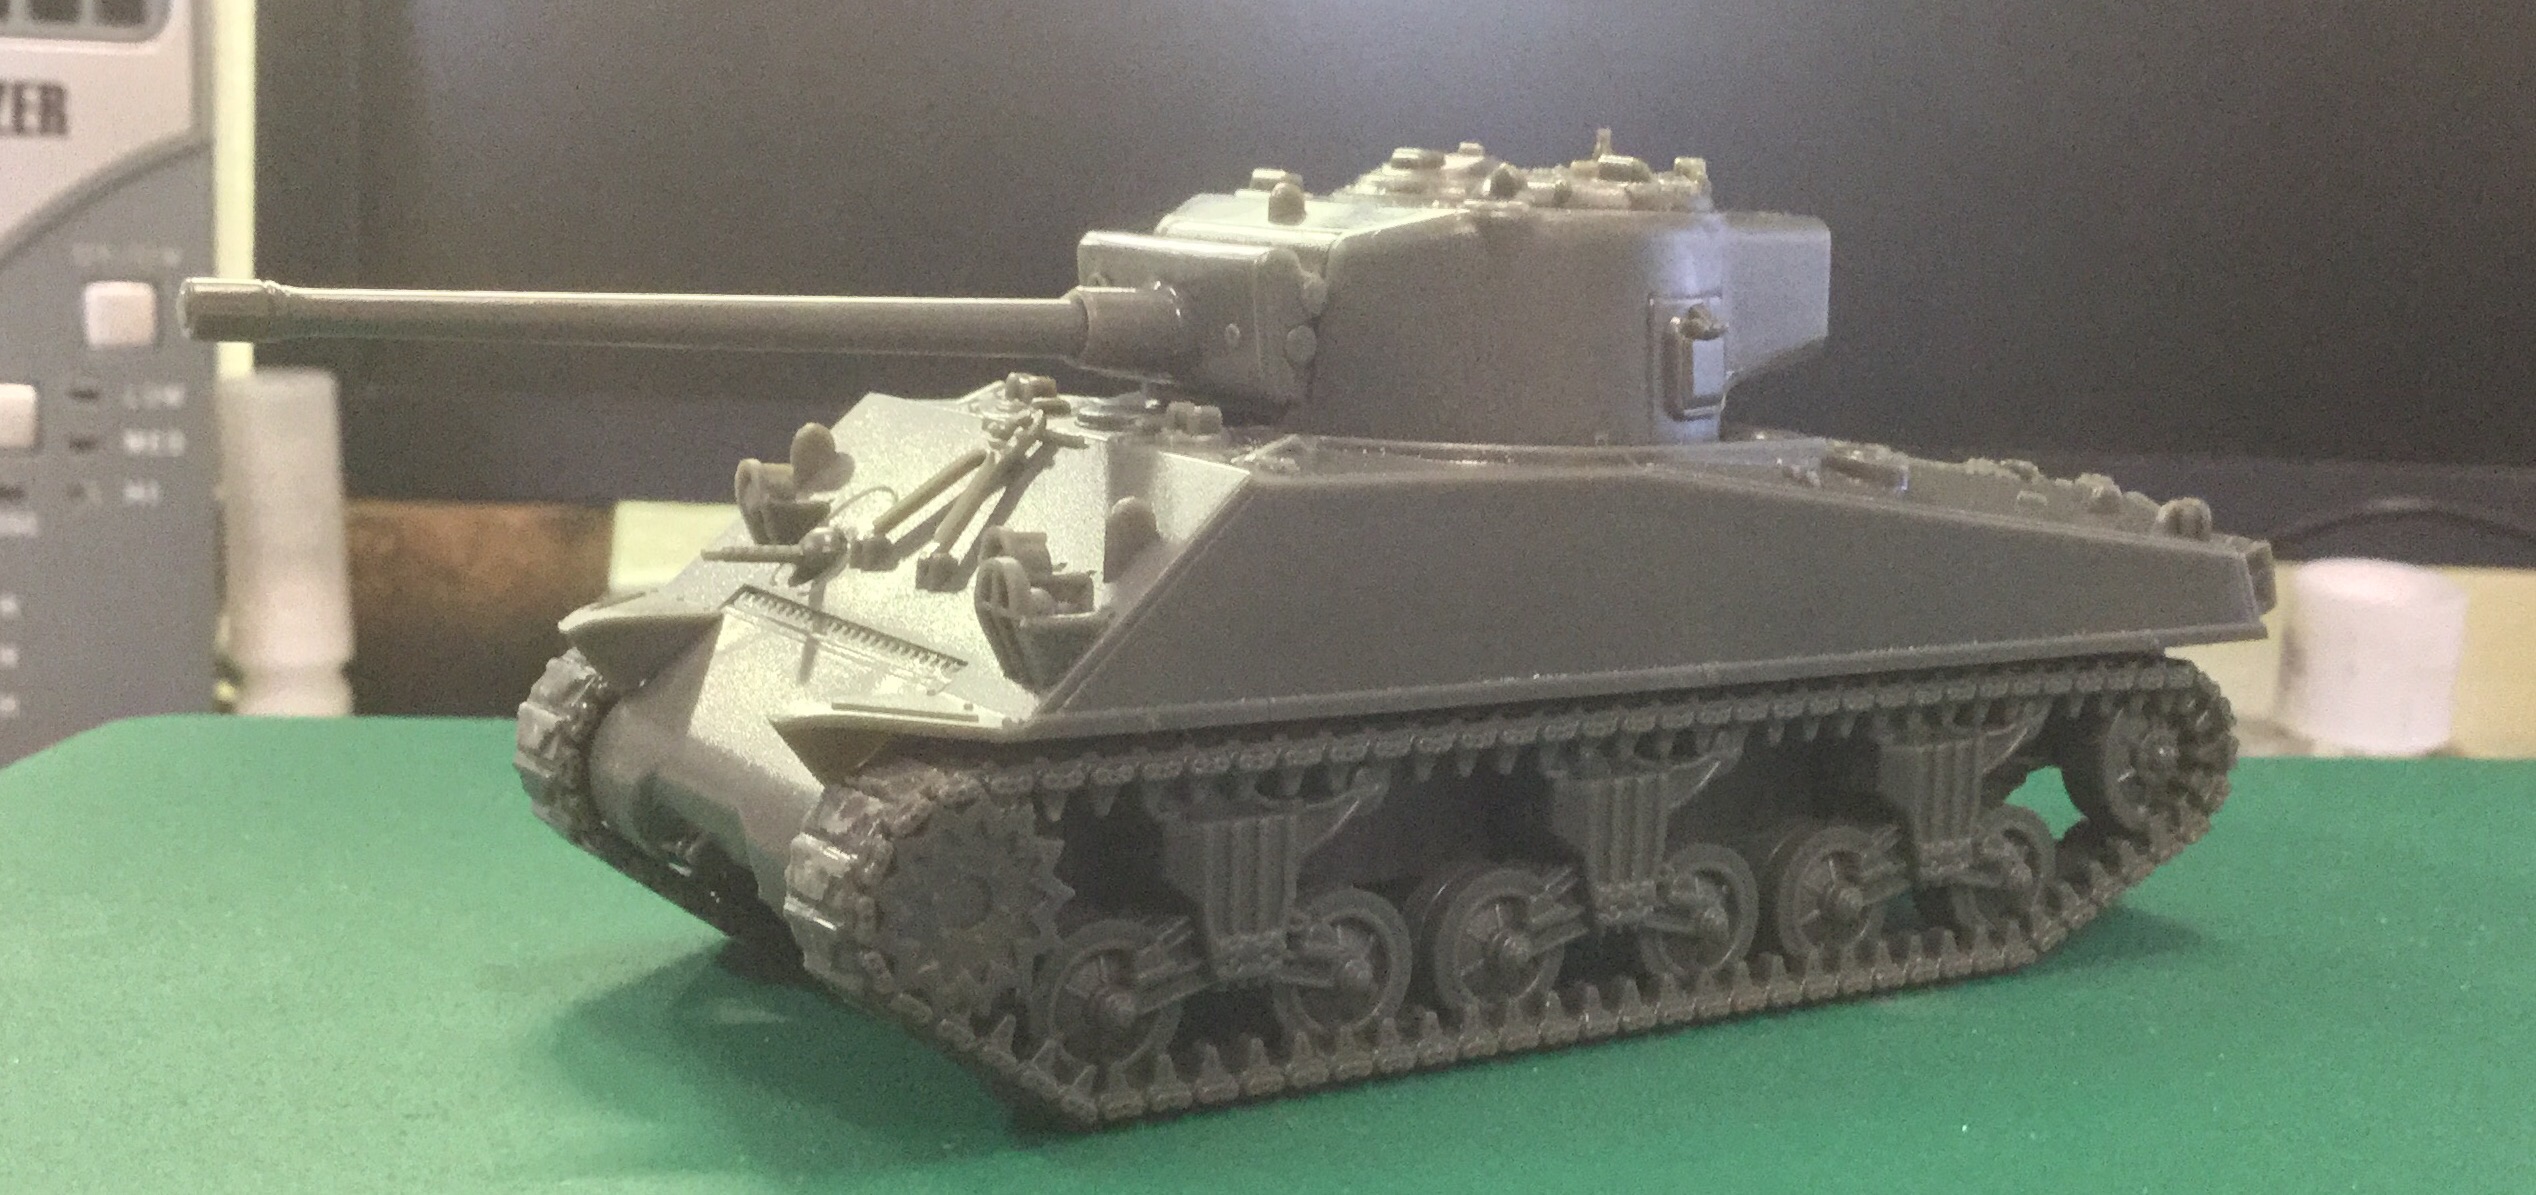
Overall looked the part.. oh just one more pet peeve. Guns don’t come pre-drilled, so something else I have to bore out. It’s not terrible, just something I have to get around to doing.
Actually this particular turret was a bit of fun. When I built my Warlord Games 1/56 Cromwell, I did try to put the Cromwell turret onto the Warlord Games Sherman, but it was a different ring size and couldn’t fit. The Rubicon turret ring size though, was a close enough match, so you get this:
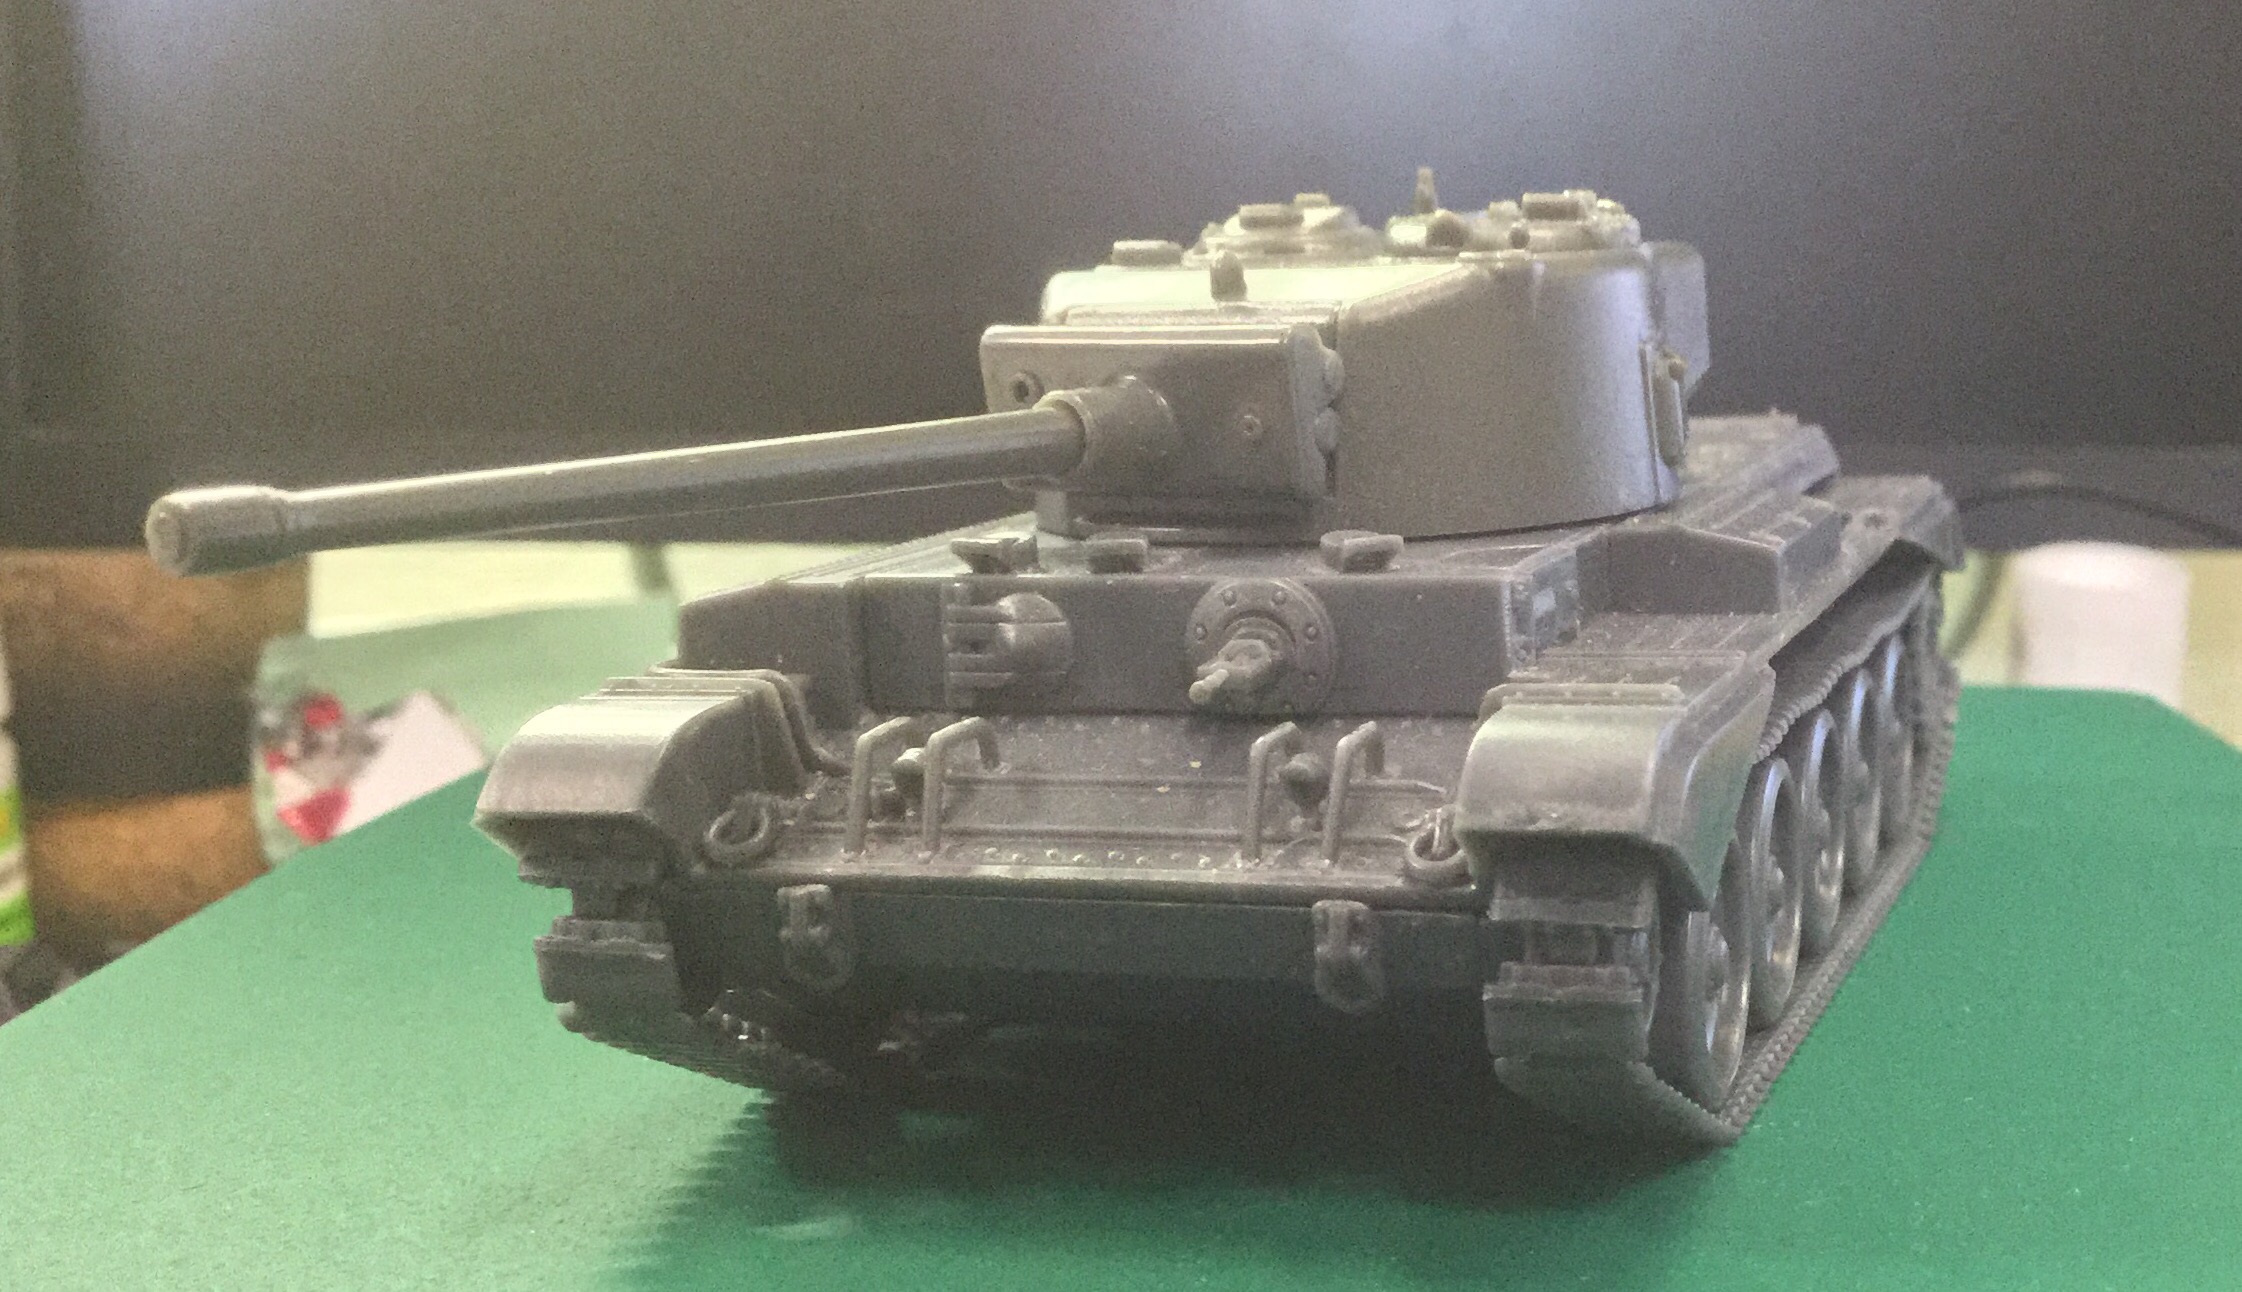
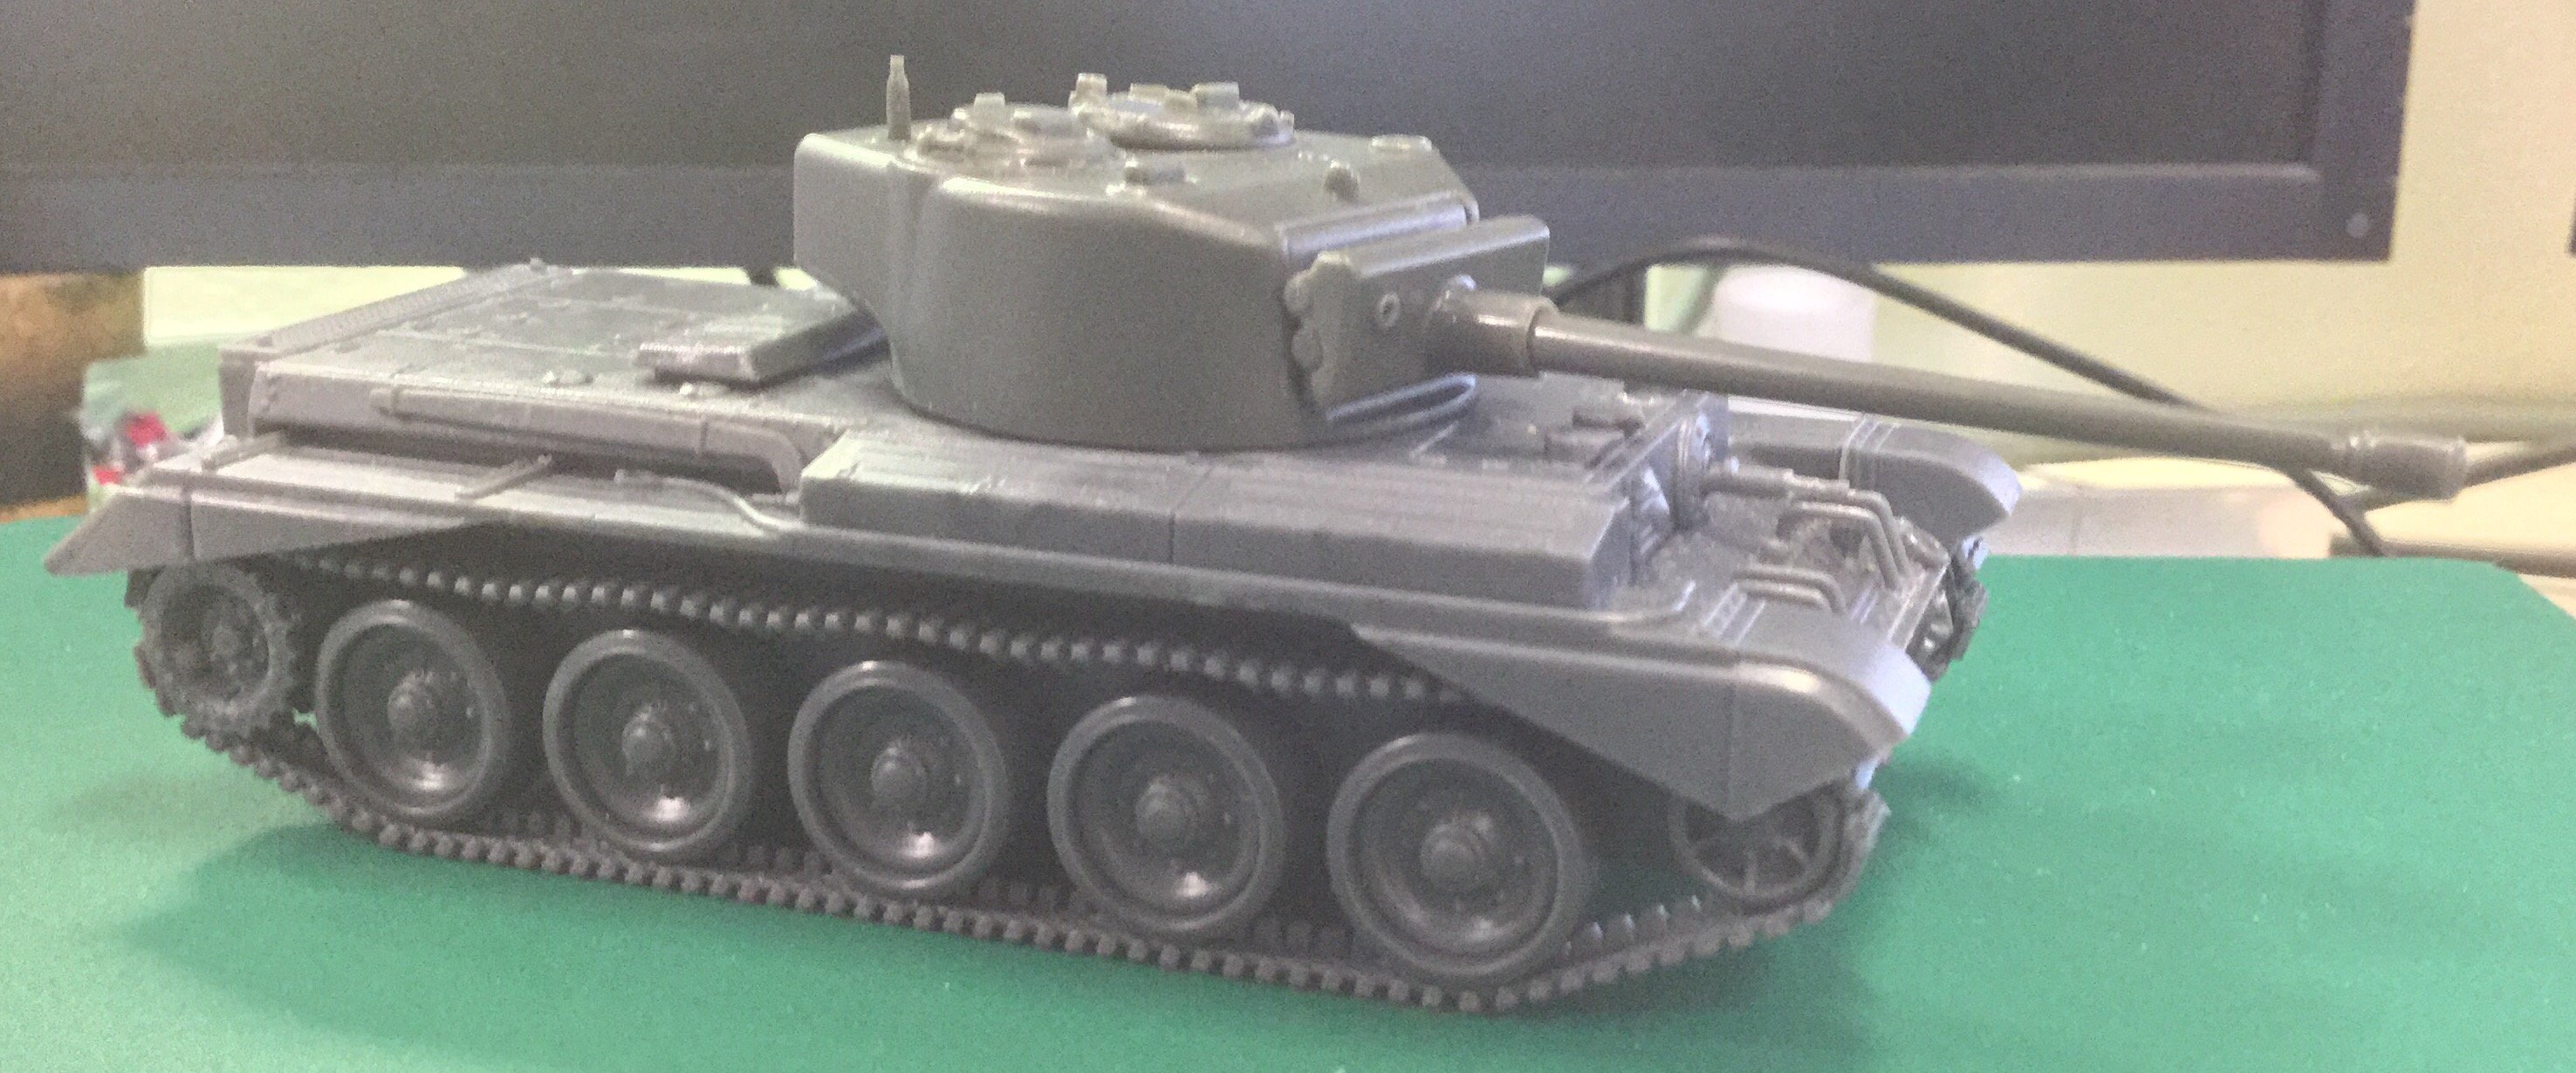
Looks like a bloody little Tiger actually.. a KleinTiger? 😀
At this time the Cromwell turret can’t fit onto the Rubicon Sherman as the tabs are just a bit bigger. I’ll rectify that at some point.
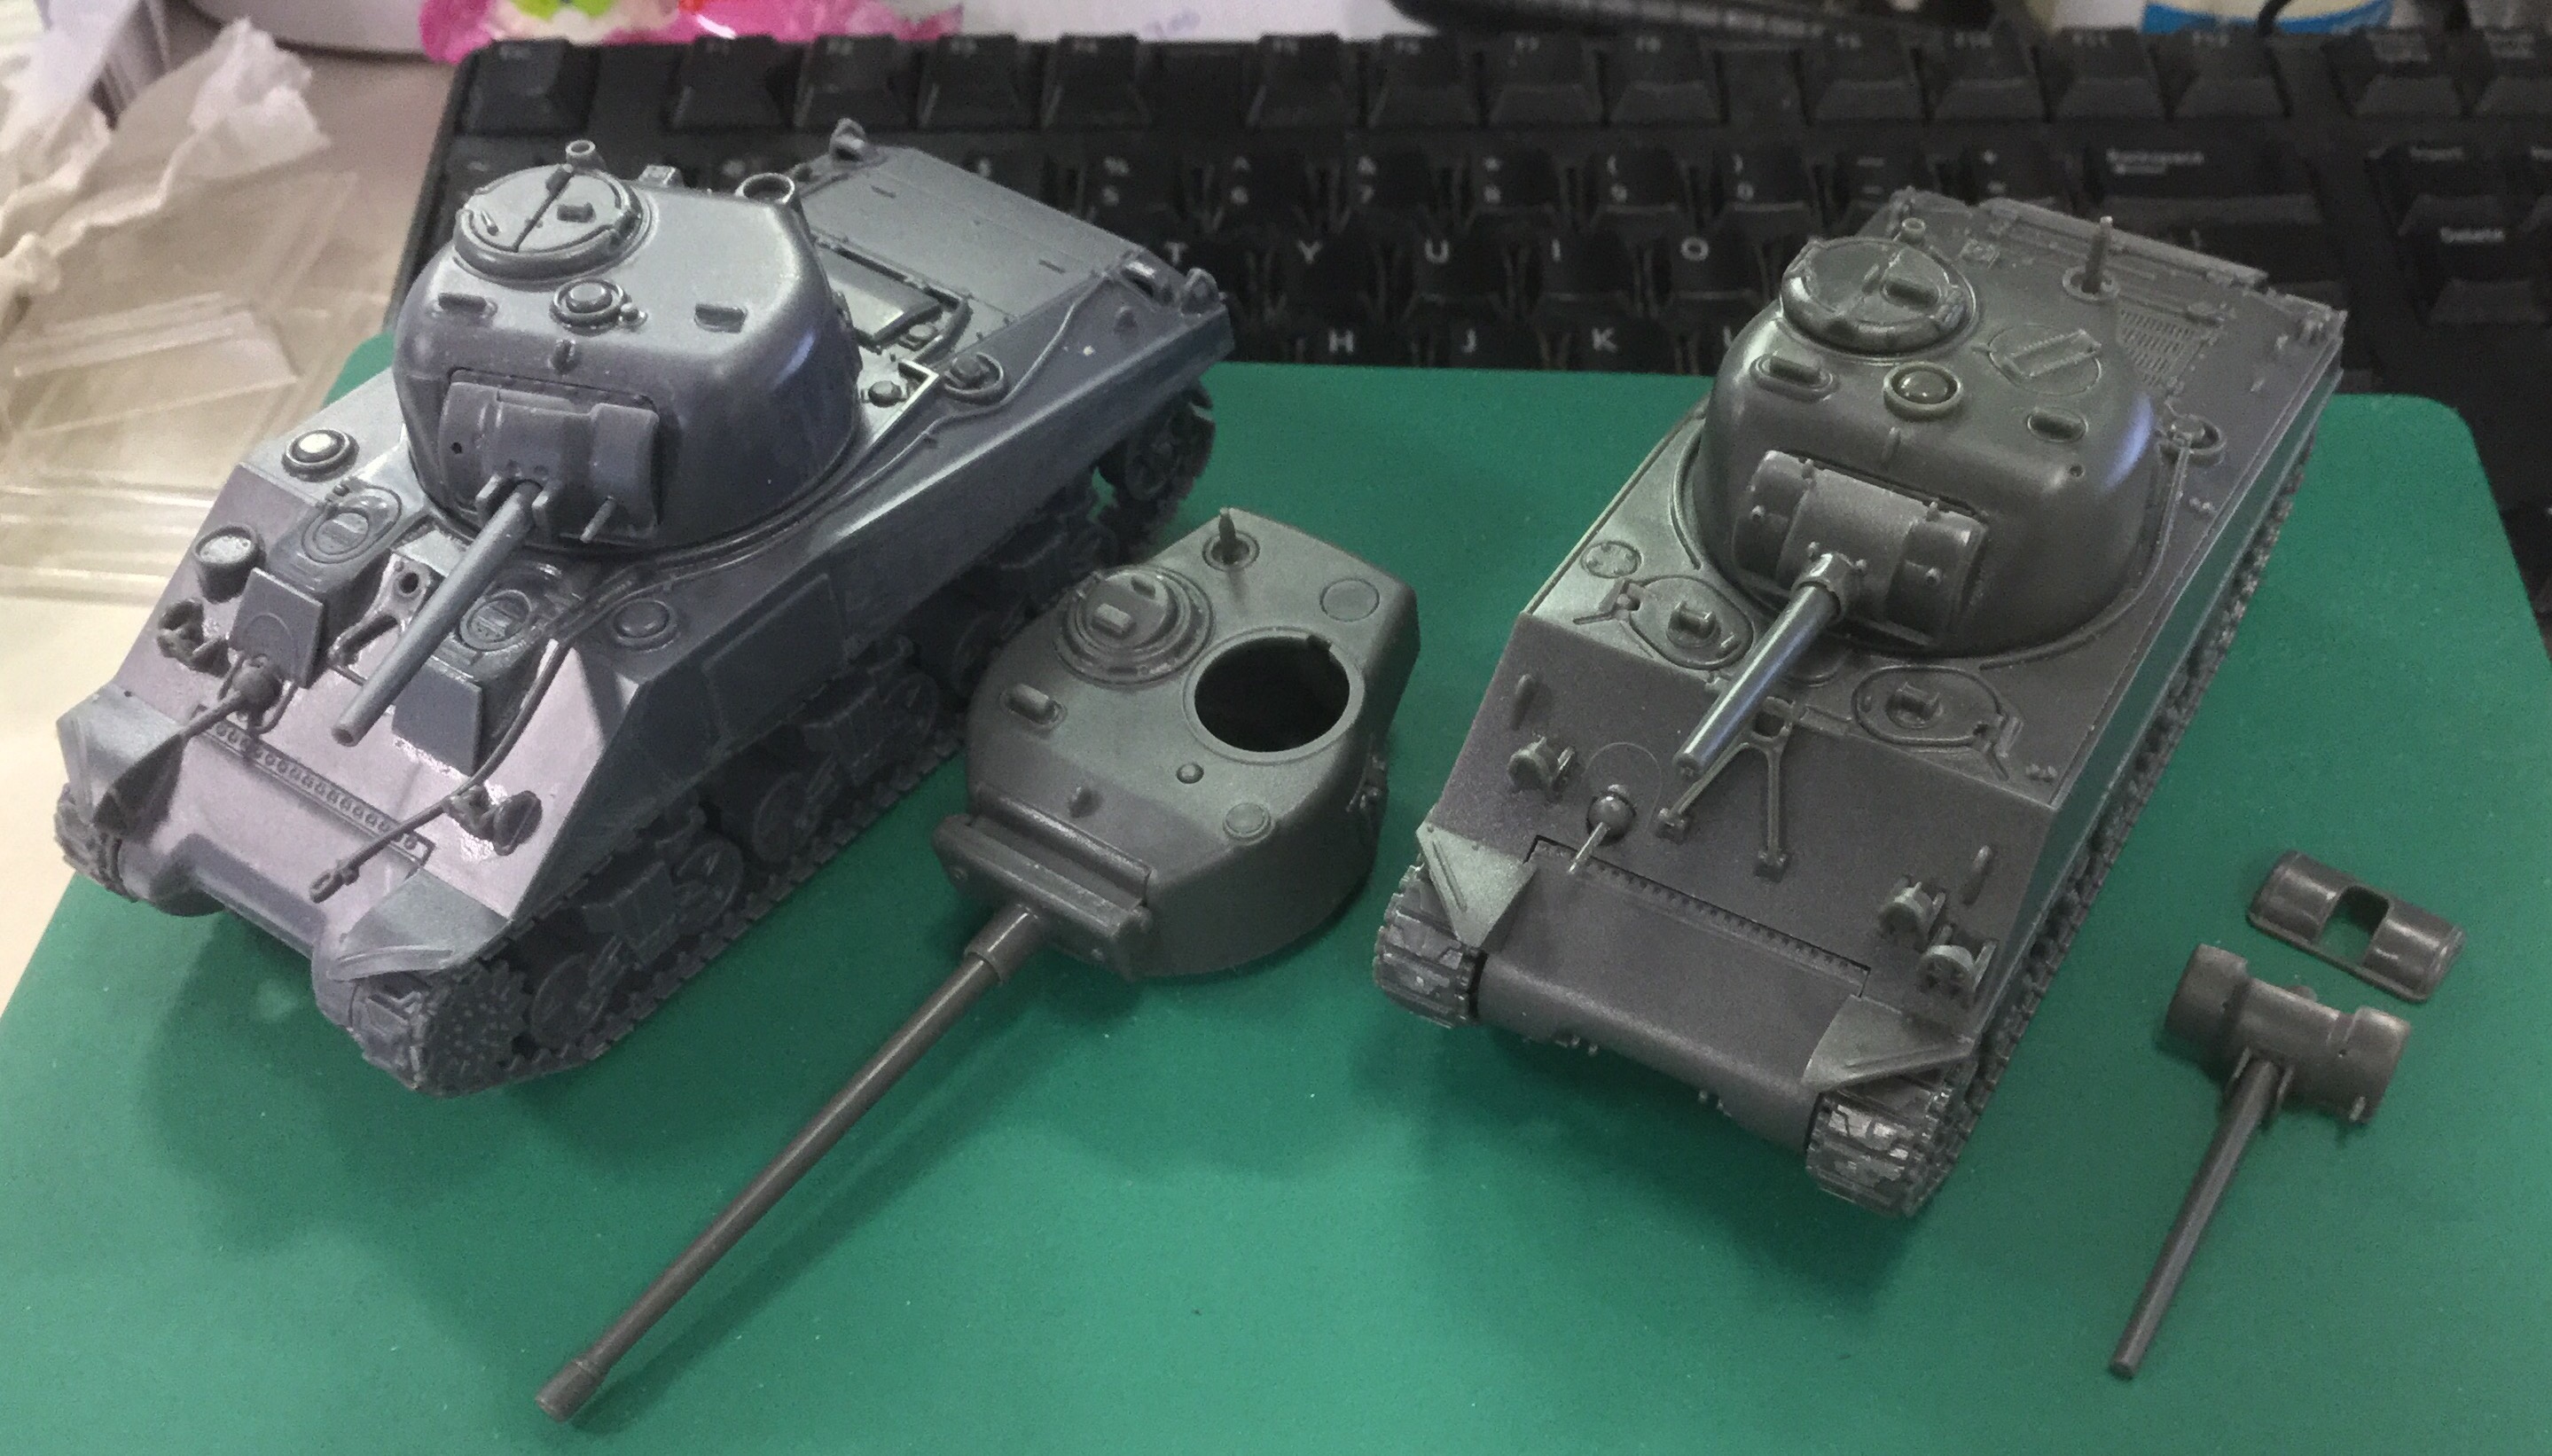
Compared to the Warlord Games Sherman
So all that’s well and nice, but how does that compare to a Warlord Games Sherman?
Well I realised I never actually did a review of the WG Sherman, so best you get is this… At any rate, let’s put them side by side:
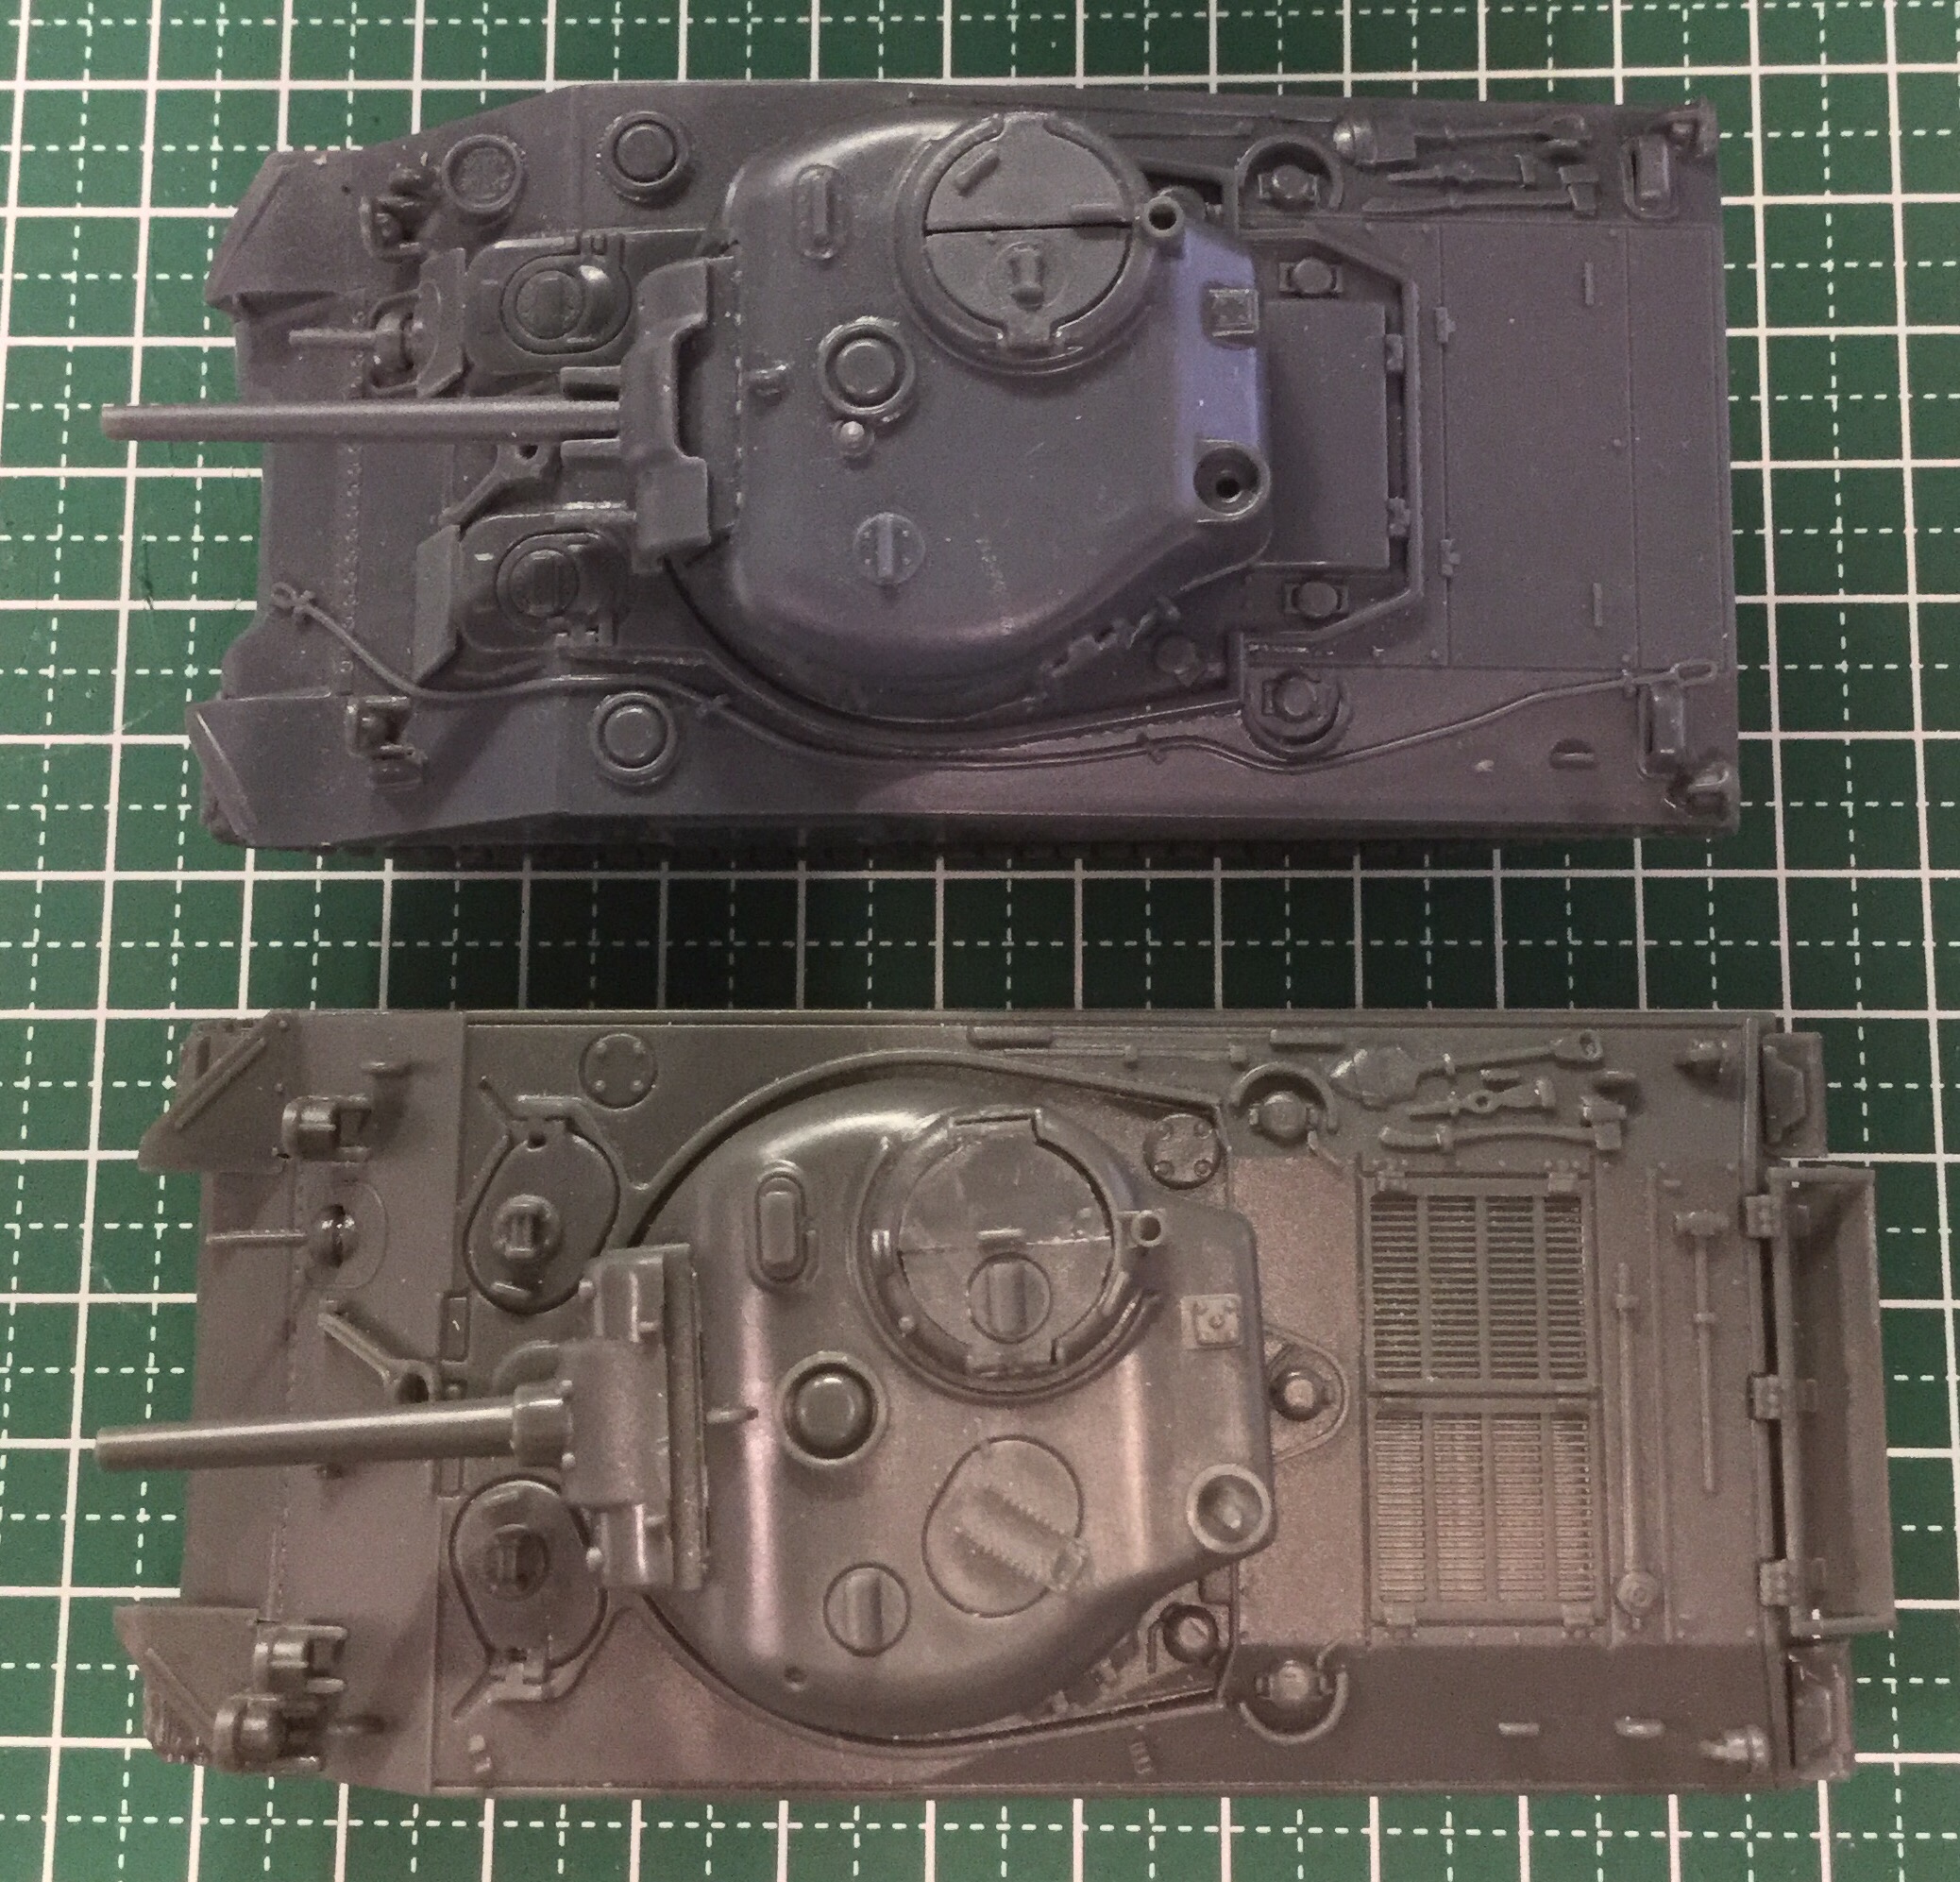
WG on the top, Rubicon at the bottle. Rubicon’s just a tad longer and might be due to the actual dimensions of the particular Sherman — there was one version that had to be a tad longer due to a change in engine. Can’t quite remember which though.
You can clearly see the difference in version of these two Shermans: Rubicon went with the later, large-hatch Shermans, and the change in engine is obvious from the grill of the engine deck. Incidentally I went with a 105mm Sherman, and didn’t make the gun swappable.
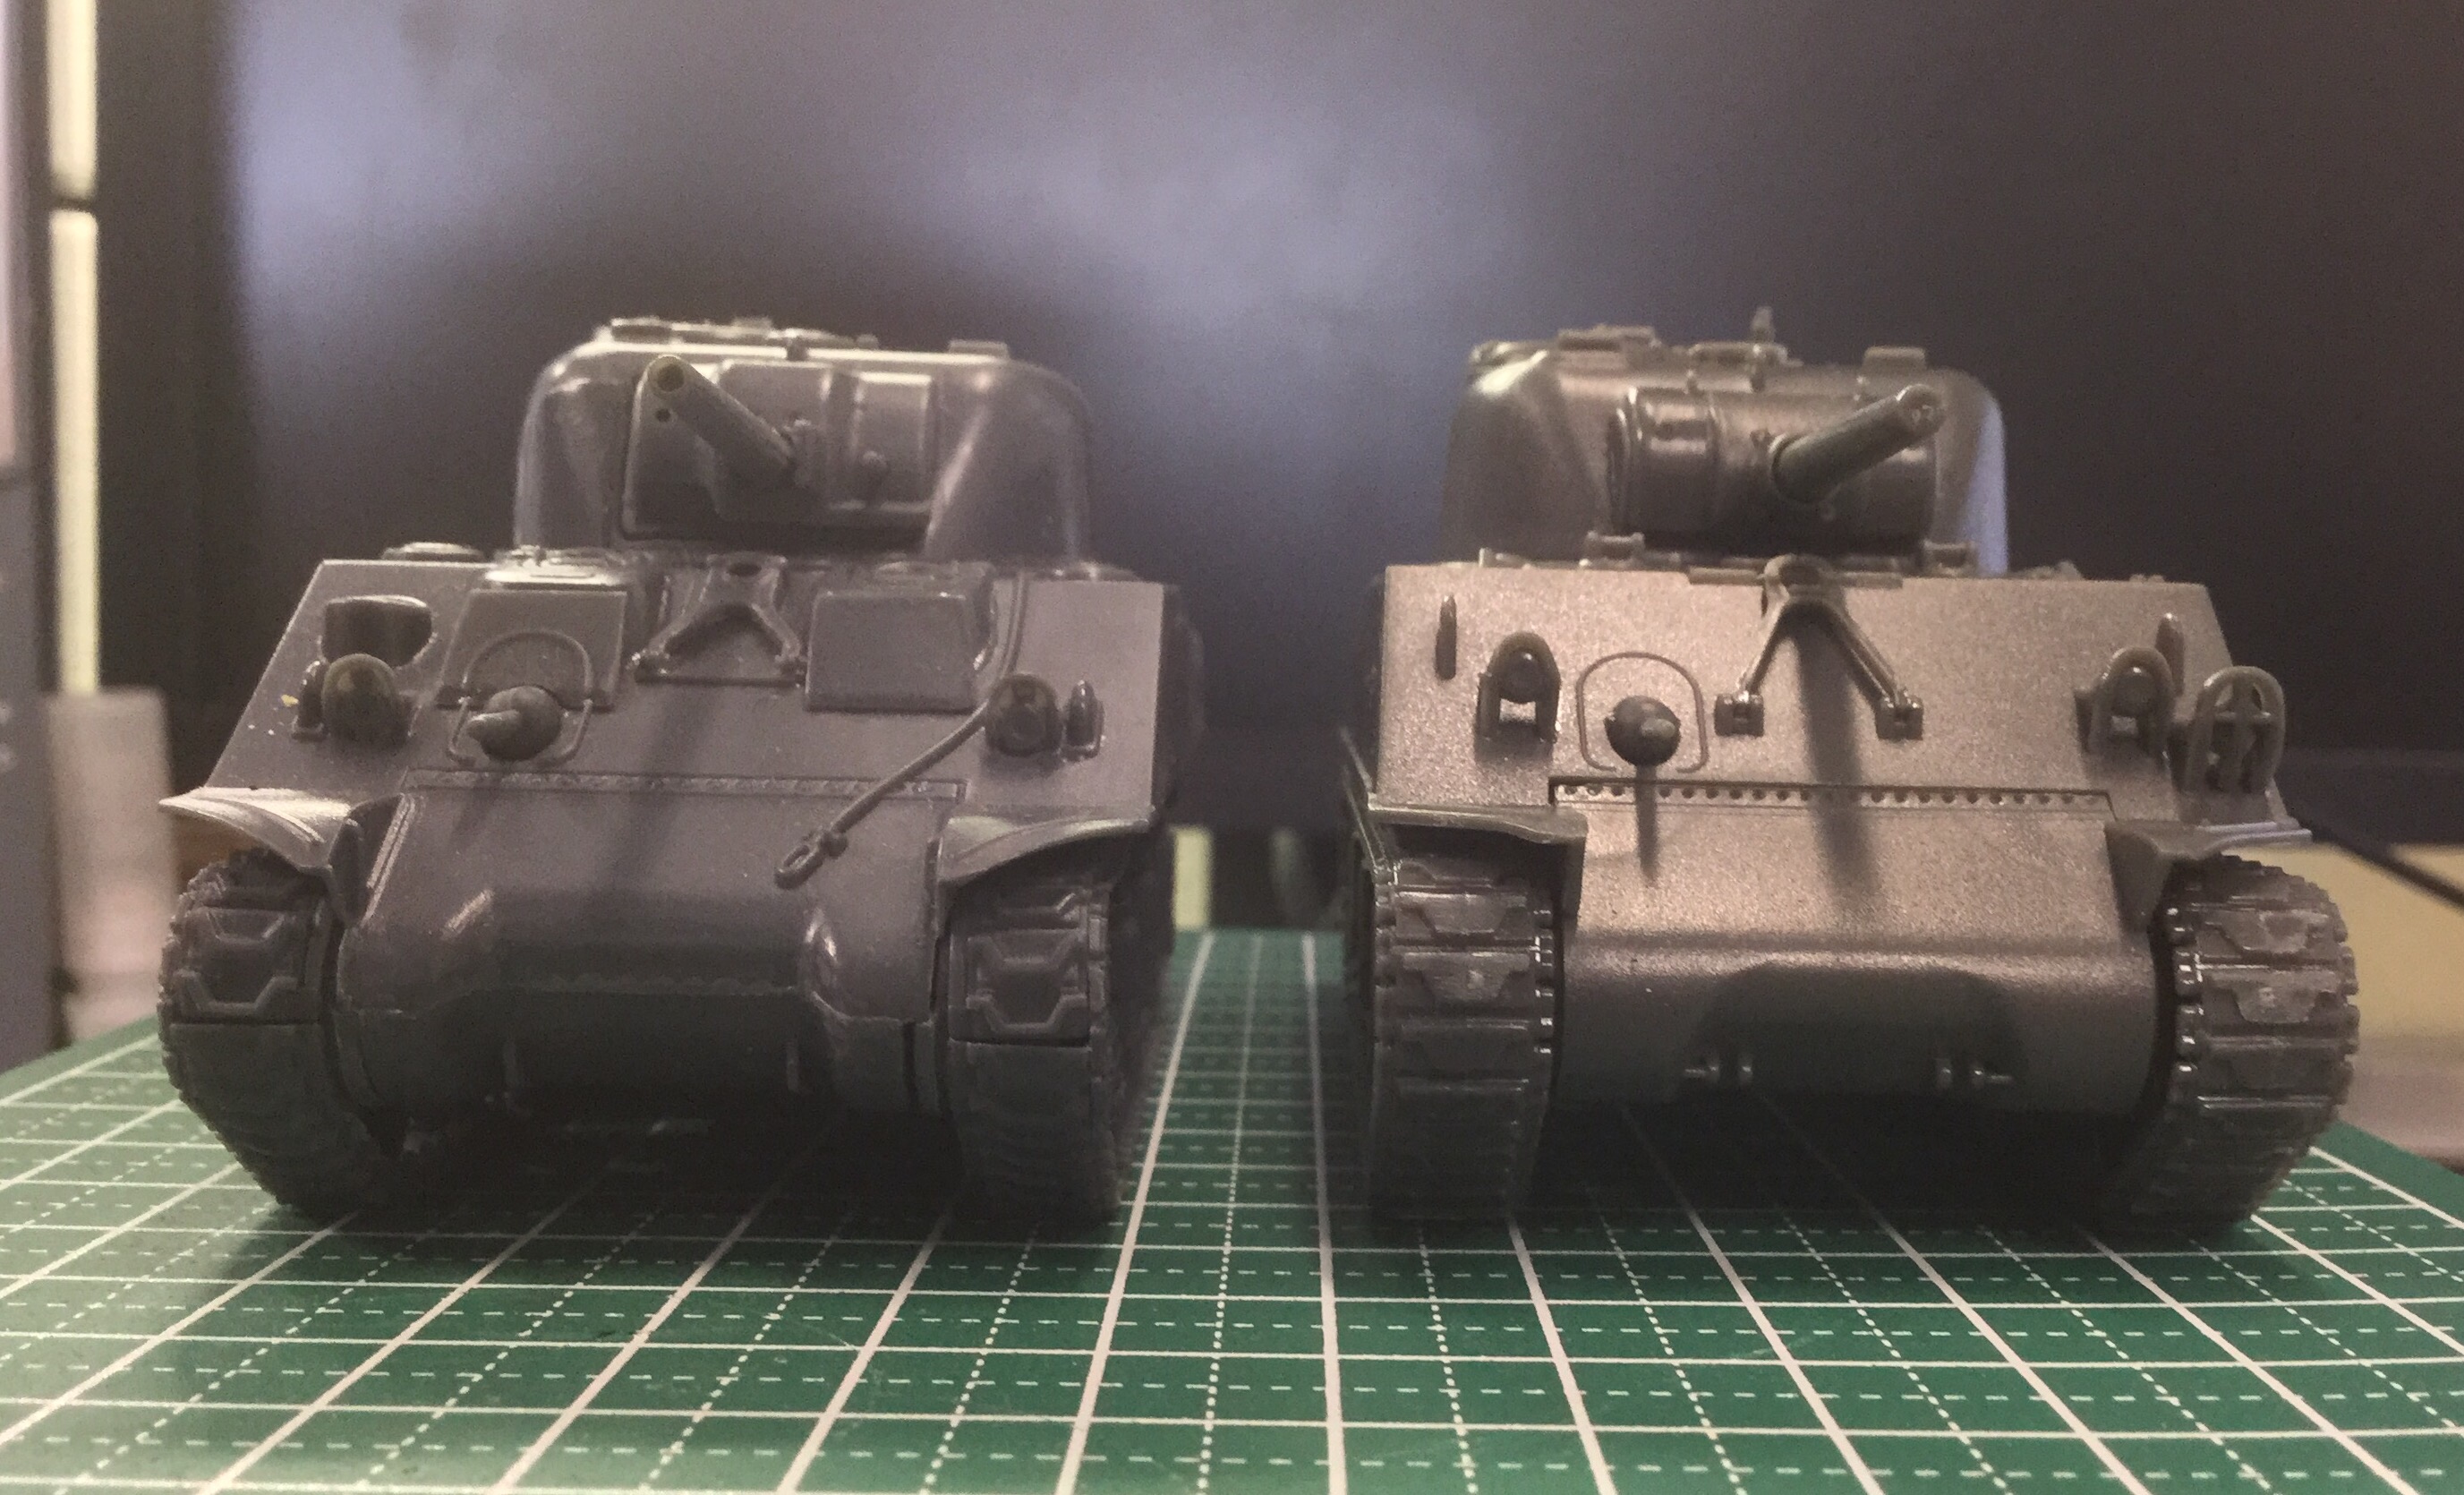
WG to the left, Rubicon at the right. The change in front glacis angle is obvious when you compare the two side by side. Otherwise, width and height are extremely similar, as expected. You can see the difference in track patterns here — the WG version is more detailed.
Also, Rubicon did the smart thing and simplified the light assembly. WG’s light assembly was a bit finicky and Rubicon just simplified the whole light and protection cage deal into a single unit. Works for me… And I assembled Tamiya’s Sherman lights.. those are even MORE finicky. I’m cool with simplifying that.
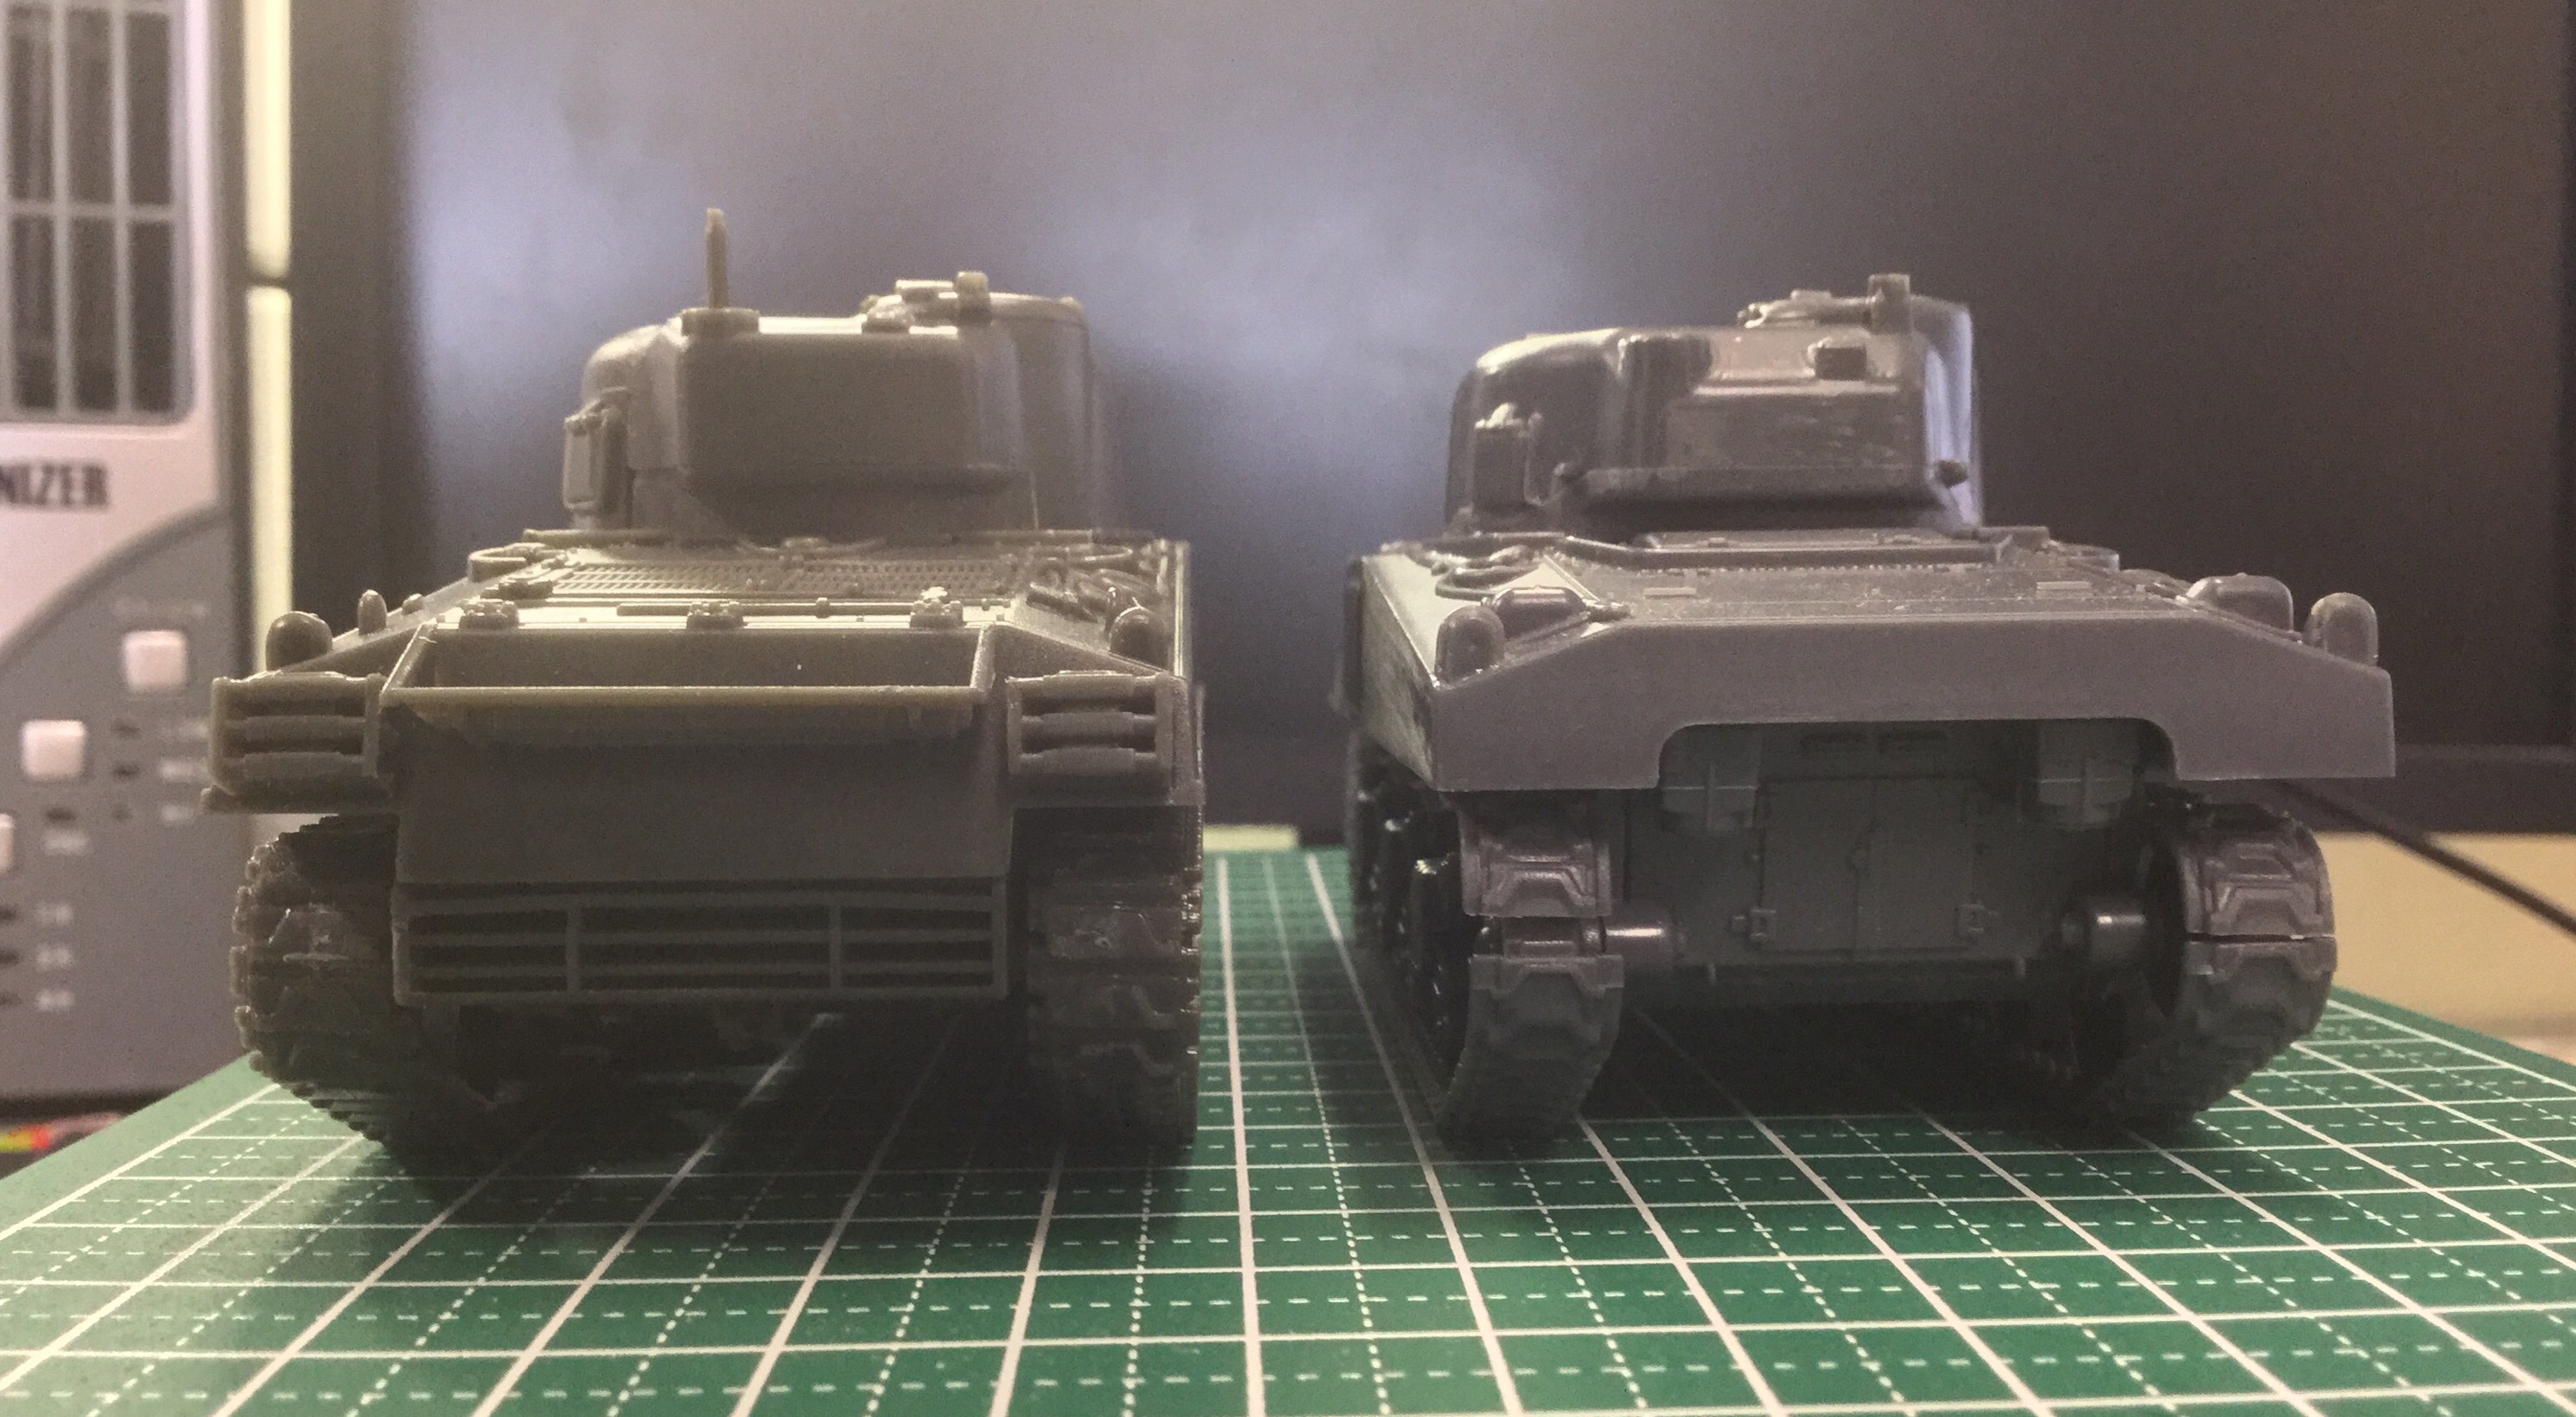
WG to the right, Rubicon on the left. Change in rear arrangement is obvious.
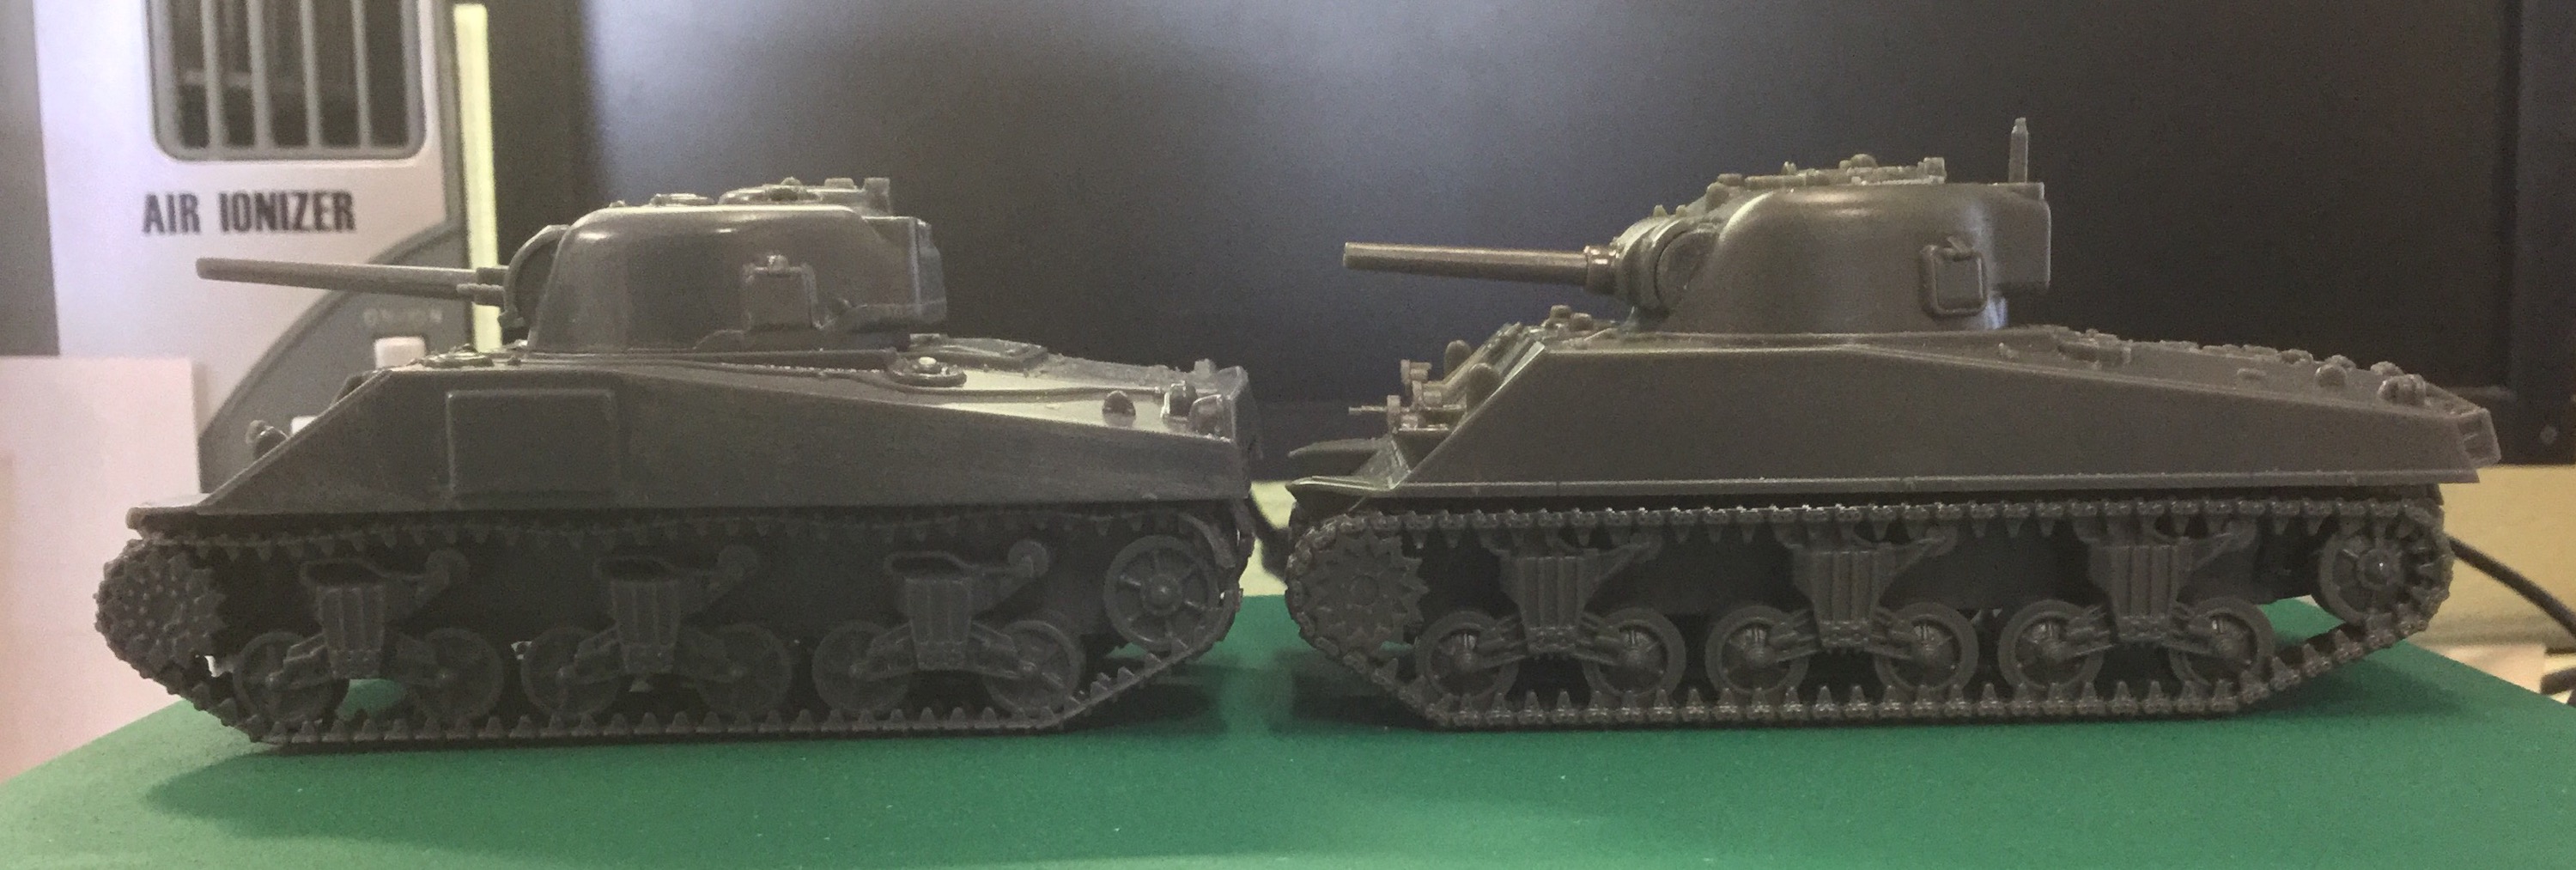
WG on the left, Rubicon on the right. Here’s another difference: WG had track slack, Rubicon is pretty much perfectly tensioned. Looks a bit off — nobody’s that good in the field! 🙂
So which is better? Toss up really. Both have good details. WG is a bit soft, but have better on the tracks; Rubicon has better hull details. Both’s build process is fairly fun, so no quarrels there. Rubicon provides more options but just fall painfully shy of “perfect”; it’s good, definitely more versatile than the WG version. I’d go with Rubicon just for spare parts (almost an entire turret is always useful to put to use somewhere..), but if you can find the WG Sherman cheap somewhere, it’s a good buy too.
To be honest, had Rubicon provided the extra parts, it’d have easily knocked the WG Sherman out of contention, at least for me. Having an entire spare and whole turret is a godsend to kitbashers, whereas just having “almost” spare parts just sorts of irritates me.
Anything else I’d have done differently? Yeah well, I’d have moved the sponson bottoms to the top hull, so that I can separate the top and bottom hulls that way. That would allow me to attach the running gear to the lower hull and paint them that way, with nearly full access to the tracks. The current way isn’t bad, it’s just two more sub-assemblies to keep track of before final completion.
Overall Rubicon’s M4A3 is a good kit, plenty of options and easy to assemble. It could have been a great kit with a little bit more work. Good value for money.