

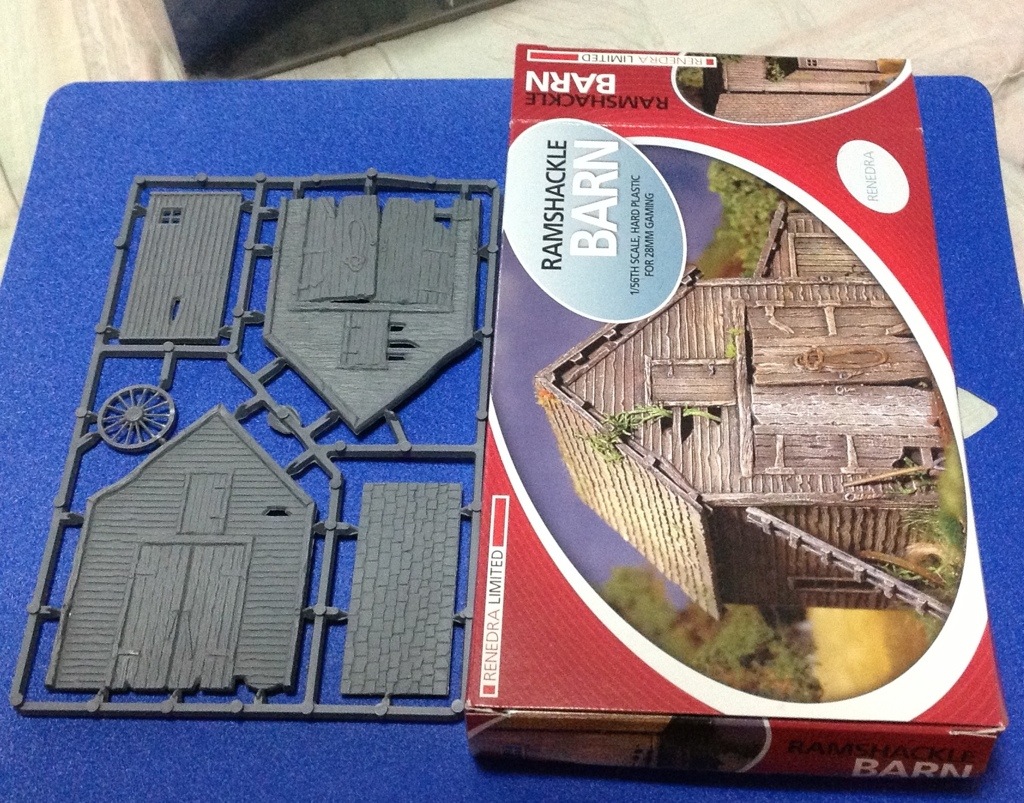
So recently, I picked up Renedra’s Ramshackle Barn. Renedra produces, amongst other things, a limited number of building kits, and I’ve been curious to see what they are like. Recently my Bolt Action minis started to require certain specific bases, which Renedra does produce, so. I put in an order for bases with them and since I’m getting those, might as well spring for one of their building kits. And who doesn’t need a ramshackle barn somewhere on the table? 🙂
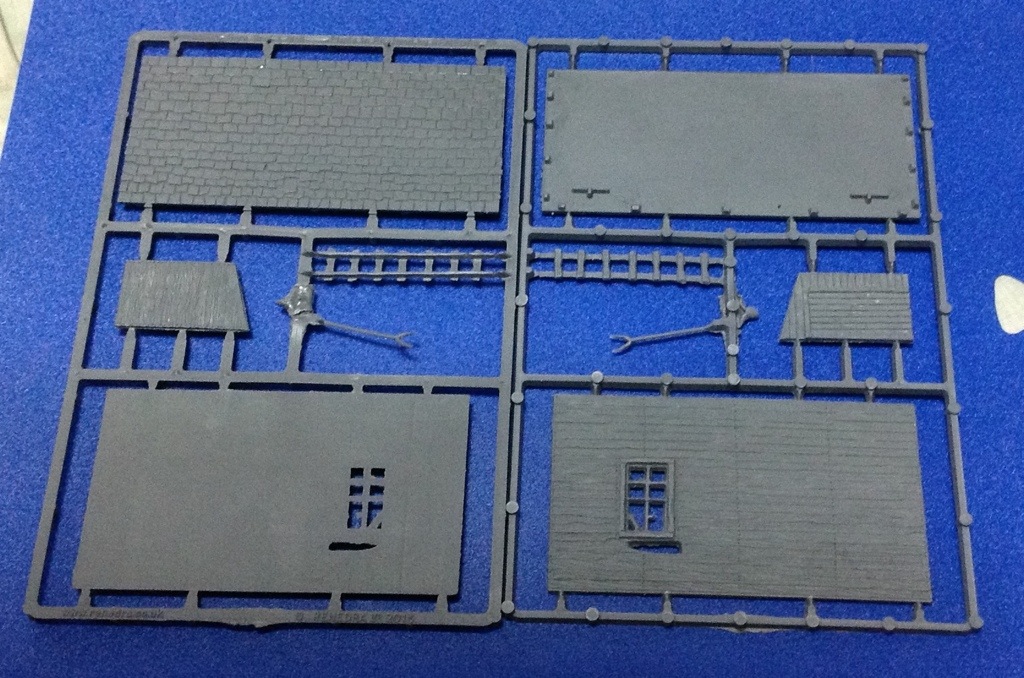
The kit comes in 3 sprues, with 2 being the same. The plastic leaves something to desire — it doesn’t sand well, being powdery and leaving a fine powder behind, necessitating a wash after sanding the gates. Some of the gating also puts stress on the parts when cut, my wagon wheel had white stress marks on the spokes after I cut it off the sprue. The casting also had a bit of flash/ fuzz to it, the type that is hard to clear given the small “damage” deliberately sprinkled in. Nothing a little Tamiya Extra Thin Cement couldn’t rectify though.
I didn’t quite like the hole you see under the window in the long side of the barn, since that repeats on both sides. It wasn’t until I was putting it together that I realize the side lean-to would cover that up nicely.. a nice touch, though I still don’t like it.
Instructions? What instructions? You see that diagram at the back? That’s it. It’s not rocket science though, and it’s fairly easy to figure things out. To add to it, the photo of the painted barn is quite good at showing the intended assembly, so it’s not terrible.
How does it go together? Well…
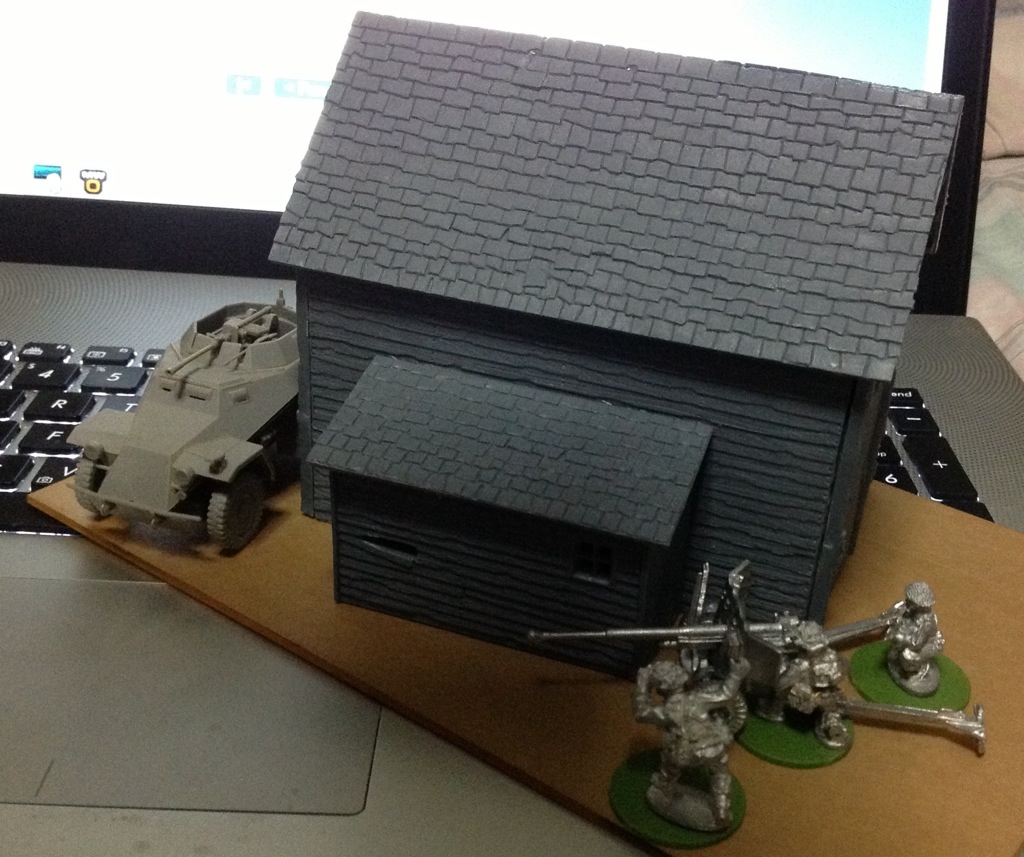
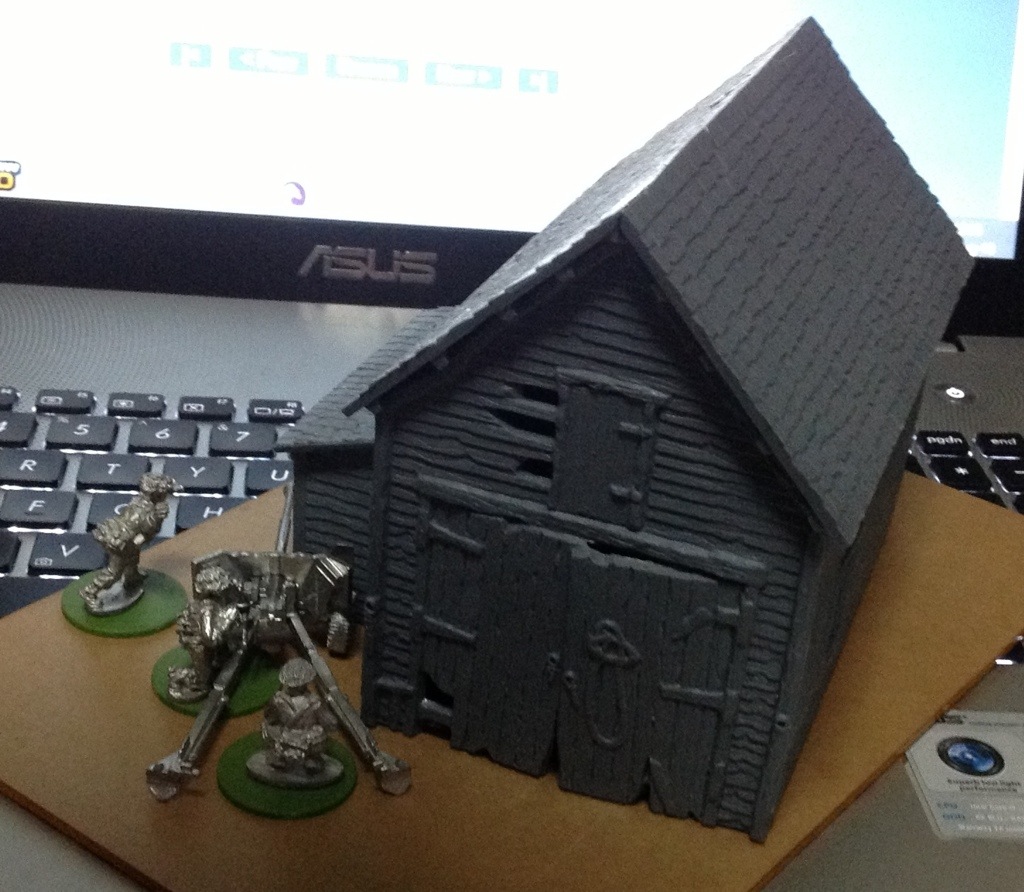
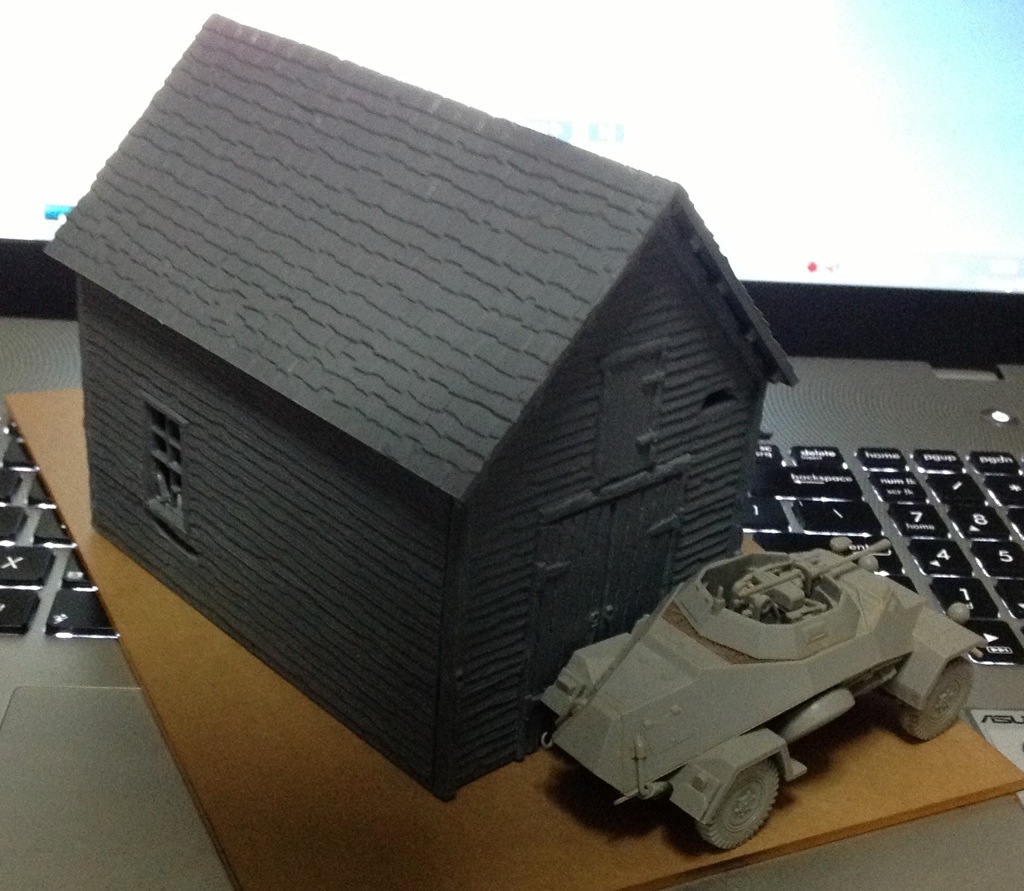
The assembled barn with a 28mm BAM British 6 pdr AT gun, and a 1/48 Tamiya German Sd. Kfz. 222 armoured car. Do note that the barn is marketed for 1/56 scale, which is what BAM advertises at; 1/48 would actually be a bit larger than 1/56, so you can see how tiny a Sd. Kfz. 222 is. The barn doesn’t look too bad next to them.
I actually had set things out so that the long side of the barn with the lean-to isn’t glued in yet. I might not glue it in at all, to allow access to the interior.. then again, there isn’t exactly many open doors or windows to shoot through, so I might just glue it in.
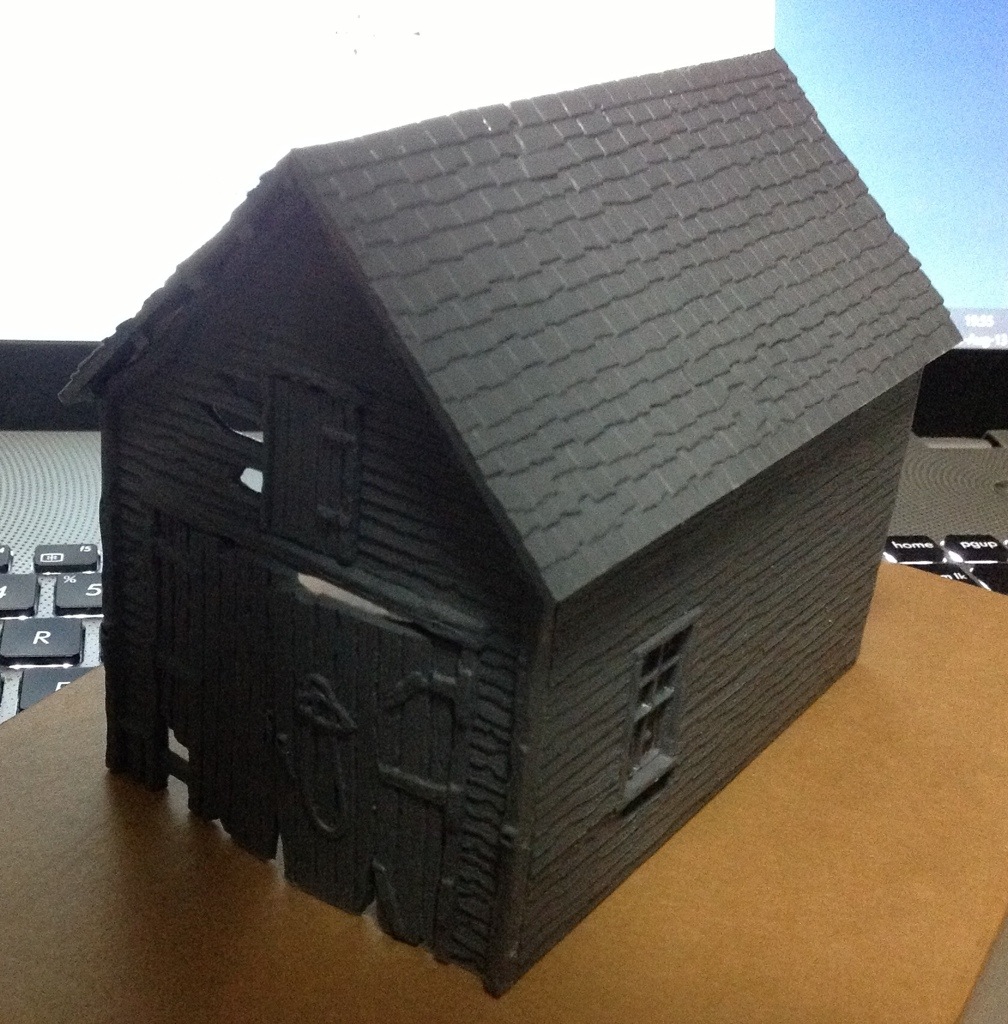
Some of the details I felt was a bit strange. Rope on the doors, for example, doesn’t seem to hang “right”. The assembly is actually fairly odd. Parts don’t fit. There’s fuzz on windows and stuff. Holes everywhere. In other words, it’s exactly what’s on the box: a ramshackle barn, neglected for some time. The only thing I have real issue with is the fit of the roof — the two halves join at the top, and there’s a beam there that doesn’t join well. I probably will putty the seam up, but leave most of the other stuff as is.
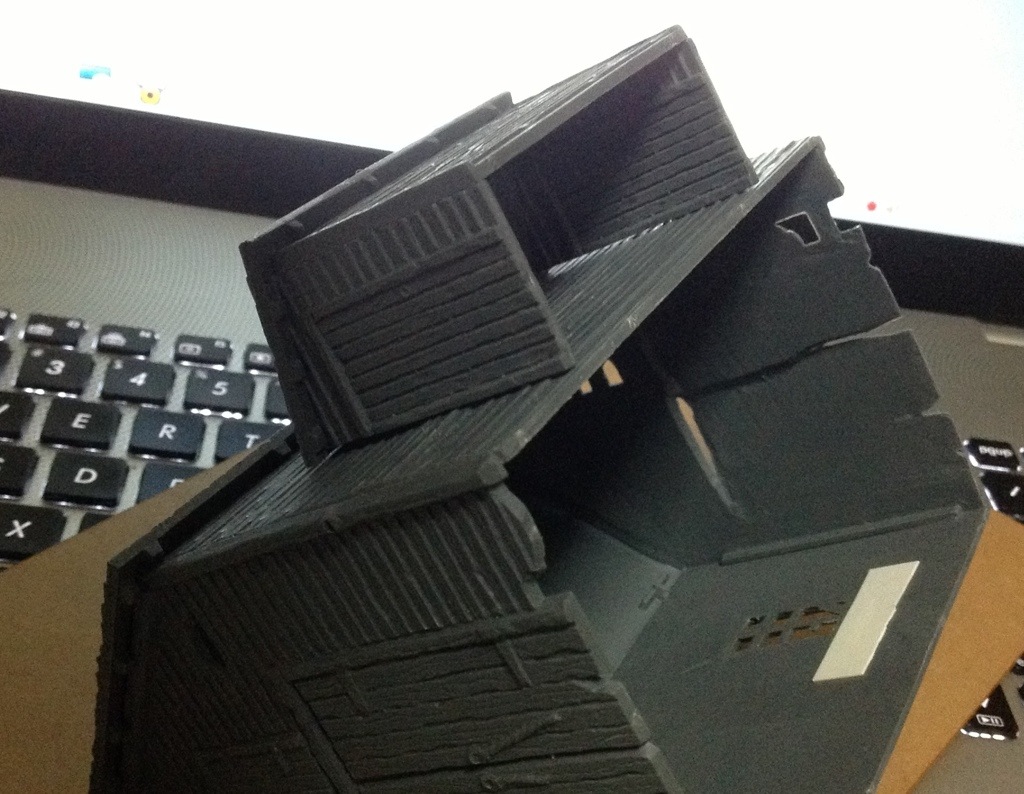
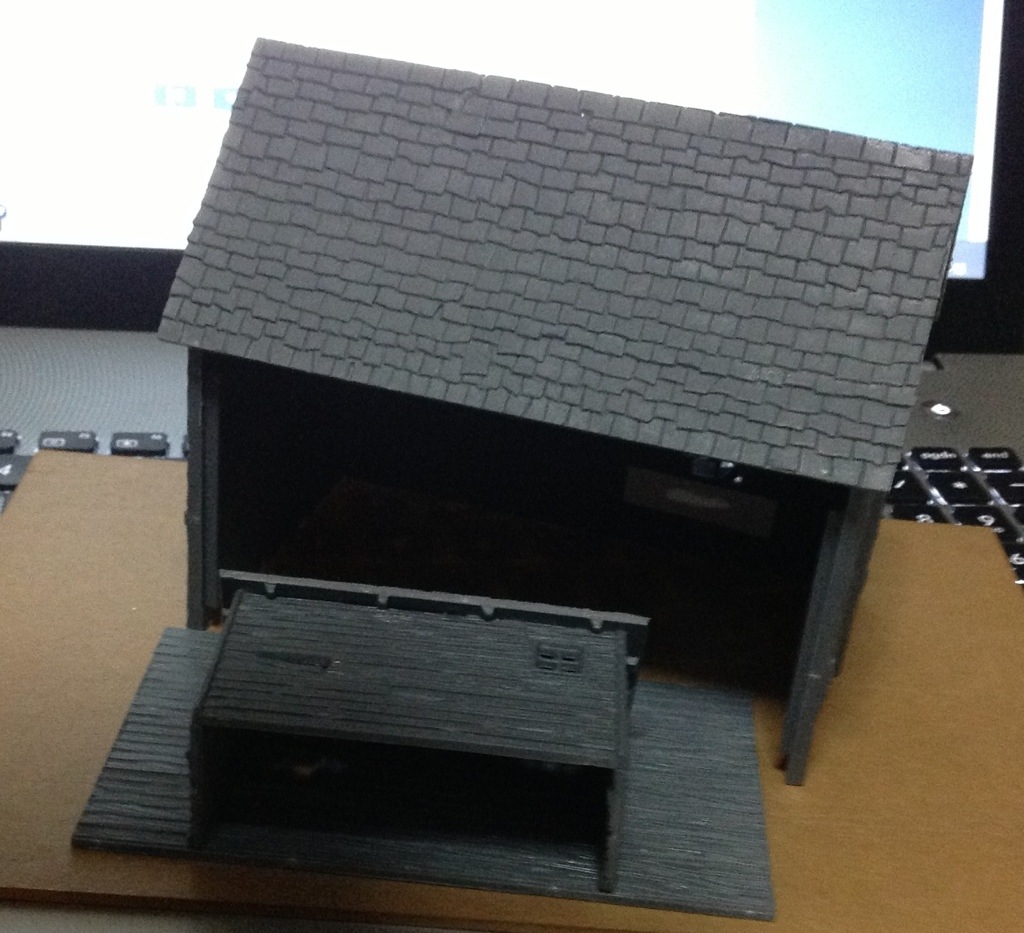
This backlit photo shows you the gap between the barn and the lean-to. Looks terrible, but it’s exactly what I expect from a ramshackle lean-to of a ramshackle barn. It keeps. 🙂 The white pla-card under the window is just a base for me to putty in the hole under the window, that’s just a personal pet peeve.
You can also see the backlit hole near the barn door, there’s a halo to it — that’s the fuzz I was talking about. Hard to clear it. I’m leaving it as it is, but wondering whether I should just plate up all the holes and windows, then paint the area black.
Overall, the ramshackle barn achieved what it’s meant to be. It’s not cheap per se.. but it saves me a lot of effort to scratch build the thing. You won’t need more than one or two in your collection, at least if you are aiming to provide a terrain collection for a single table. I’m not 100% sold on Renedra’s other building kit, but at least this one’s not bad. Or at least, so bad it’s good. 🙂